Mar 27, 2012 | DIY
 So how fantastic was Honestly, WTF‘s reinvention of the sunglasses case into a DIY Alexander McQueen-inspired box clutch last year? I think it’s safe to say that we all loved it – and all went out to the nearest store in search of a hard-sided sunglasses case forthwith.
However, I got to thinking: why not use something that may already be in your closet to make this?
Enter the velveteen jewelry box: often when we ladies receive or buy a piece of beautiful jewelry, it’s housed in its own velour-lined box. And those boxes are so pretty! Why not reinvent them?
I’ve held on to most of my velour jewelry boxes, not because I use them to store jewelry in still (I use flocked jewelry trays that stores use in their display cases), but because I thought to use them again somehow. And some of them were sentimental to me. Take this shell-shaped velour box – it used to hold a string of my grandmother’s pearls that I received when she passed away. The insides of the box had gotten old, deformed, stained, and crumbly over time…but the outside was still quite pretty. I thought it very Art Deco. And so decided to give it a second life, as a pretty box clutch. Here’s how I did it: (more…)
Leave Comment
Mar 25, 2012 | Fashion
 Hair: with Priscila Virgin Straight Extensions, braided into a low side French braid
Convertible Chiffon Top: Qojelly (from Marui 2, in Tokyo)
Rings: Limited Edition Marc by Marc Jacobs Daisy solid perfume ring, Love knuckleduster from Icing, Star pinky ring from Tokyo
Acid-Wash Skinny Jeans in Mint with belt: Forever 21
Glitter Canvas Flatforms: GoJane
Finally the weather’s been nice enough here to break out my new flatforms!! (more…)
Leave Comment
Mar 24, 2012 | Fashion

A well-rendered infographic on Etsy facts and figures, and how shopping handmade is changing the way we all buy.
xoxox
Carly
~If you like Etsy, buying handmade, or infographics with interesting statistics, please share this post on your Facebook!~
Thanks, Matt, for the heads-up on this!
Source: PromotionalCodes.net
Leave Comment
Mar 21, 2012 | Fashion
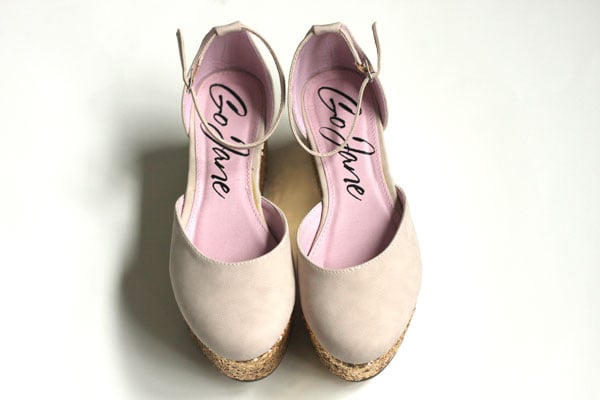 …in, fell head-over-heels for current trends…
…and bought myself a pair of flatforms.
I swore I wasn’t going to this Spring. I hated flatforms when I first saw them…and was sure I’d never come around to the idea of them.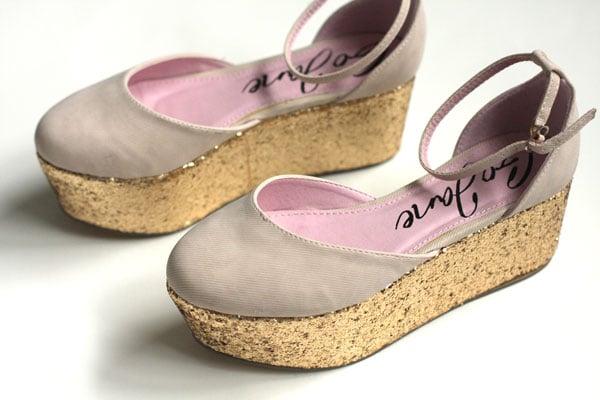
But these ones from GoJane.com are just so pretty. And Springy. And at a mere $15.95, I couldn’t resist.
Now if only it would stop snowing (!) here in Portland and I could take them out on a Spring frolic…
If you’re interested in them, you can snag them here:
(they have black with silver glitter too!)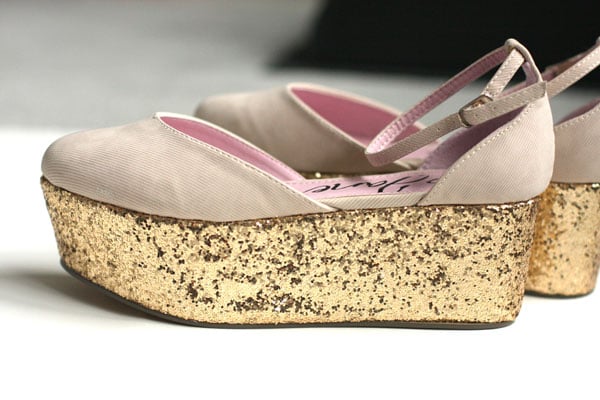
xoxox
Carly
P.S. I should be back to more regular posting Sunday…after my Maya final tomorrow and then a Fri/Sat all-day seminar class!
~If you know someone looking for affordable flatforms, share this post with them!~
Leave Comment
Mar 18, 2012 | DIY
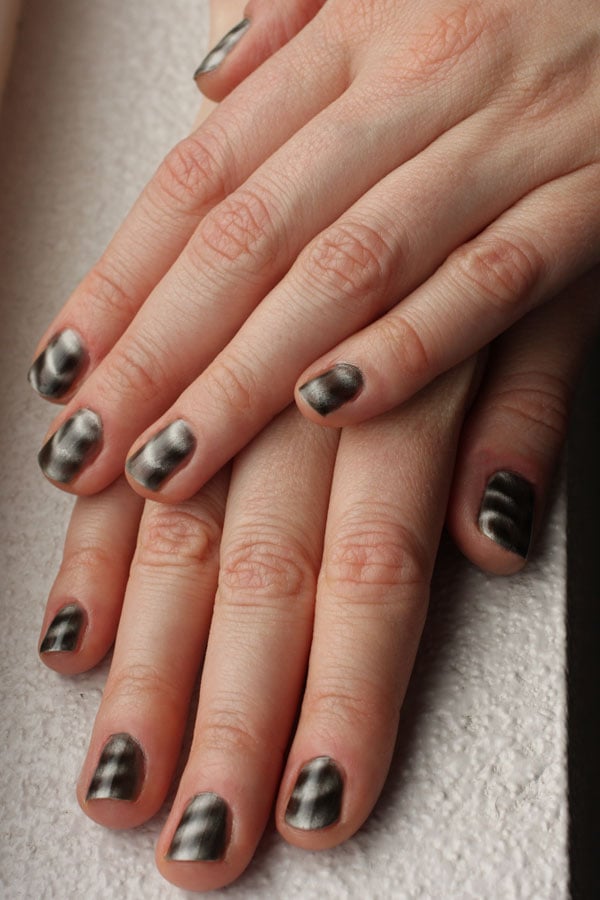
 As all of you have probably noticed, this year the newest trend for nails has been the magnetic manicure. Polishes with embedded iron filings in them respond to the pull of a magnet while wet…resulting in beautiful undulating patterns and subtle gradients across the nail.
Airbrush-style nail art made easy! Done in 5 seconds! And now popping up in stores everywhere.
I bought Nails inc. Magnetic Polish Trafalgar Square in order to try out.
The color, once applied, reminds me of dark grey iron filings, with bands of light silver waving through. And the polish was surprisingly easy and fun to apply. Here’s how:
1. Start with clean, dry nails. The instructions on the bottle do not say to use a base coat, so I also left it out.
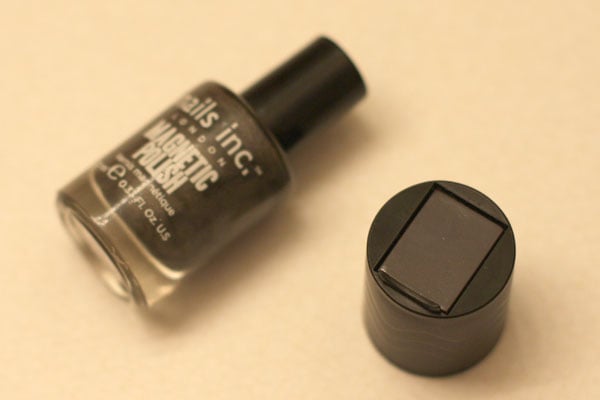
2. Remove the magnetic cap from the bottle. This particular one creates wavy patterns.
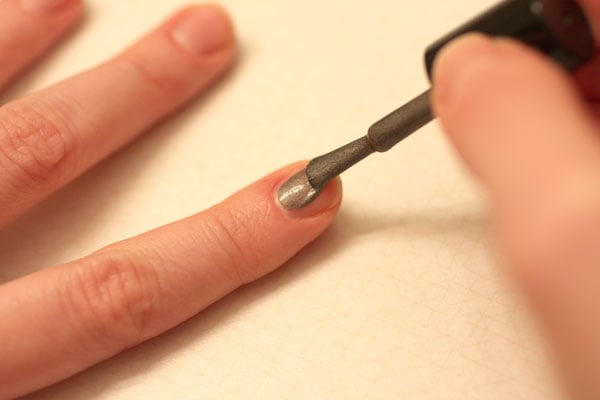
3. Apply a generous amount onto your nail – really glop it on there!

4. Quickly, while the polish is still wet, apply the magnet. You press the rounded ridge just below the cuticle and the magnet will sit about 1/8″ above your nail.
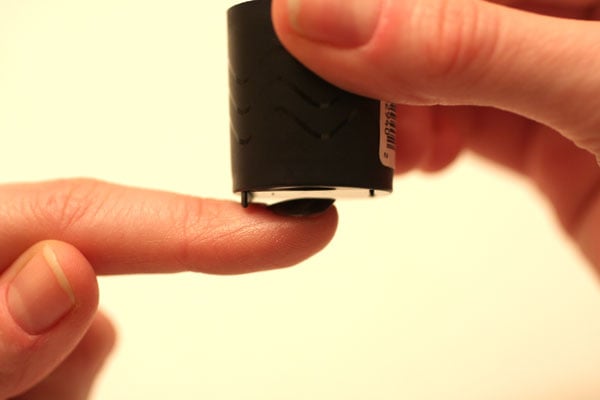
Hold that magnet there for about 5 seconds, but don’t let it touch your nail! (You may also see some polish lifting up and securing itself to the magnet…if so, just separate the magnet a little more from your nail.
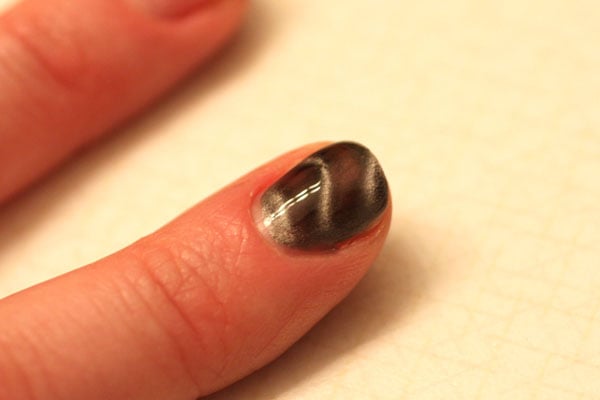 Pretty easy, right? Repeat for the rest of your nails. Once dry, add a clear topcoat to extend the life of the manicure.
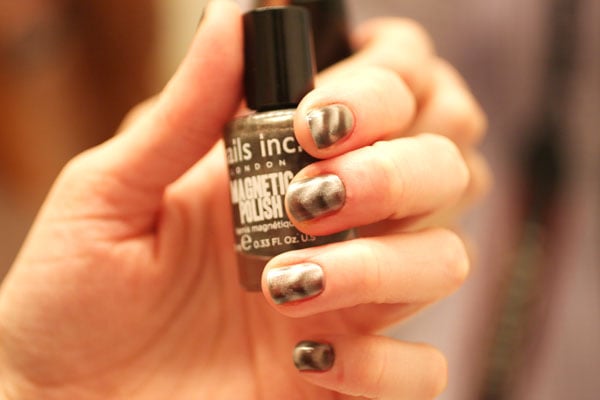

I did find that one coat, even when glopped on thickly, tended to be a little too translucent for my taste. So to deal with this after putting one coat on and applying the magnet…
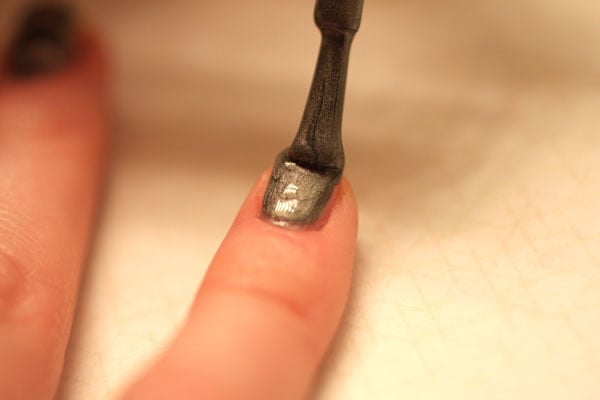 I spread another thick coat on (not even waiting for the first to dry!)…
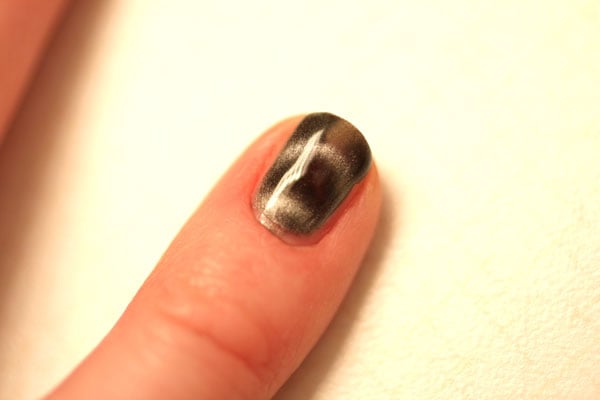 And then reapplied the magnet. As you can see, the dark areas are a lot darker, and a lot less translucent. I think this is something you’d have to play with depending on the color of your polish and how opaque you want it.
Now I’ve also recently spotted $10 magnetic polishes available at Ulta (Magnetix Nail Lacquer from China Glaze), so having this lower-cost option is great. China Glaze also sells a separate magnet that has 3 different designs on it which looks really fun to play with. Or I might steal something off my refrigerator to see what happens!!;-)
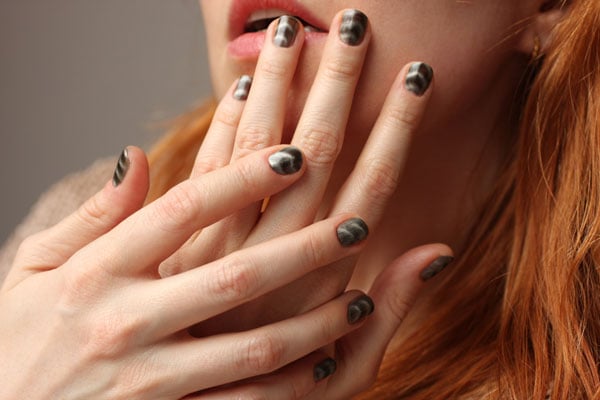
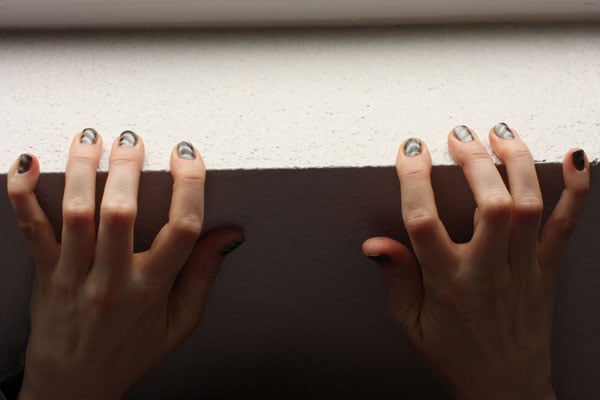 How about you guys? Have you tried out these magnetic polishes – or are you thinking of giving them a whirl?
xoxox
Carly
~If you liked this post, share it! I’d love it if you added it to StumbleUpon! {click the little orange + sign below…}~
Leave Comment











