Mar 6, 2012 | DIY
 Woohoo!
March is here! Portland is beginning to pull itself out of a long, dreary Winter (hellllloooooo daily hailstorms!) and things are happening over here in this corner of the world! I’m feeling more like myself than in ages – and have even gotten back to more frequent DIY’ing! So let’s all shrug off those cobwebs of Winter, throw our shoulders back, and head straight-on into Spring and all the beauty and promise that it brings. And what better way to celebrate the changing seasons than a little DIY??;-) 
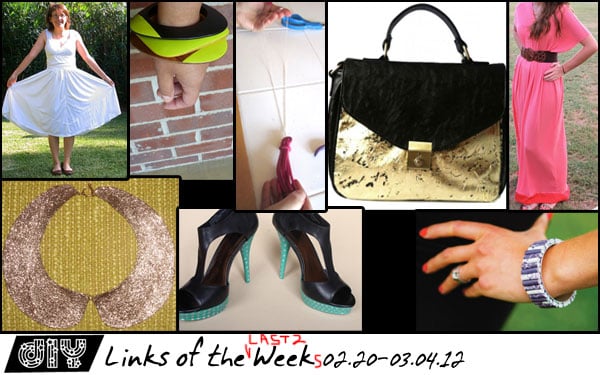
For the bold DIY’er: how about a DIY Spring Wedding…DRESS, that is, made out of t-shirts? How fabulous is this??? From CRAFT Magazine’s blog.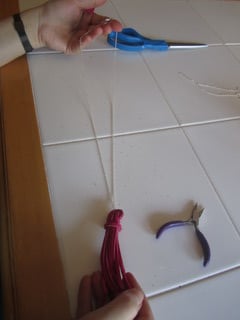
Smashion’s blog came up with a cute DIY leather tassel necklace, inspired by a piece from Jewelmint. It’s a great way to use up some old leather scraps! (And believe me, I have a ton of those leftover from various projects throughout the years.;-)
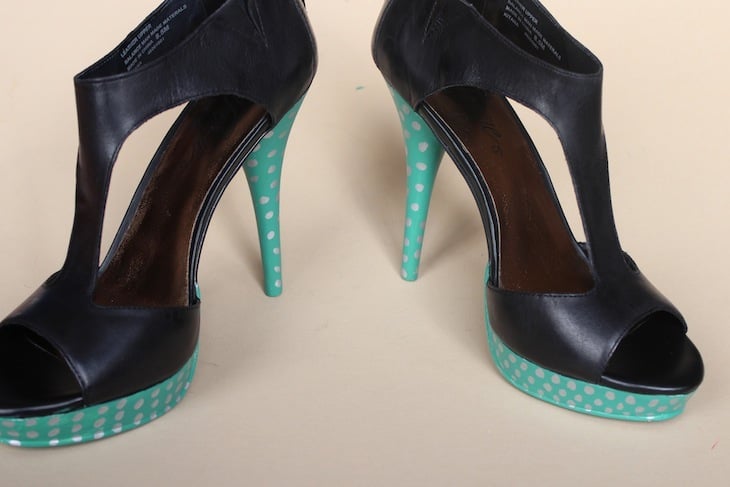
Stripes and Sequins made these beautiful Springy polka-dotted DIY Loeffler Randall-Inspired Shoes! Different treatments on your shoe’s platforms are so in right now…and you could do pretty polka dots, stripes, flowers…anything that strikes your fancy.
 This sweet Boho Maxi Dress from Sweet Verbena is super-easy, bright, and fun! Looks like I now have my go-to Summer lounging dress!
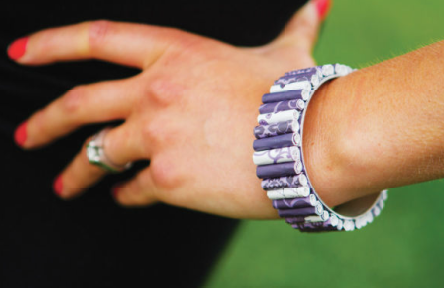
Use quilling to create rolled floral paper beads – and glue onto a cuff! This Modern Bouquet Cuff Bracelet from Michael’s will look great using a slightly thicker cuff – and some floral scrapbooking paper.
Create a sparkly, sweet DIY Glitter Peter Pan Collar with Made by Geneviève. Just a little bit of Mod Podge and you can attach practically anything to anything! Think how pretty that will look with a little LBD or lightweight Spring sweater. And if you’re needing a pattern for that collar, you can pick up a copy of my DIY Pattern: The Peter Pan Removable Collar from my Etsy store!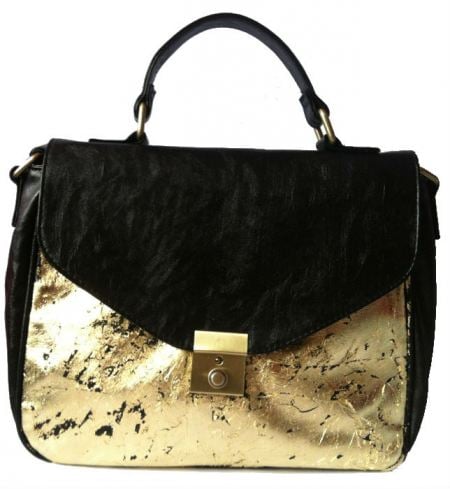
How about this GORGEOUS DIY gold-leafed tote – a handbag makeover inspired by MIMCO by Beyond the Open Spaces? It looks so expensive and luxurious now, you’d have a hard time convincing anybody that you didn’t pay a bundle for it!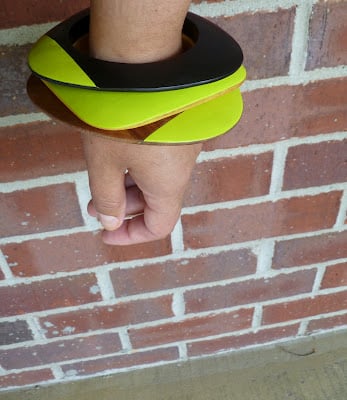
Soccer Mom Style shared her tutorial for some Neon Detail Painted Wooden Bangles, and I’m dying to makeover my old bangles too! Neon is so perfect for Spring/Summer 2012!!
If your project was featured above, feel free to grab a button and share the DIY!

<a href=”https://chiccreativelife.com/category/links-of-the-week”><img src=”https://chiccreativelife.com/wp-content/uploads/2012/03/diylotwfeaturedbutton-2.png” /></a>
If you have a DIY how-to or tutorial that you’d like to see featured on Chic Steals, please email me at carlyjcais at chic-steals dot com – and I’ll try to squeeze it in to one of my Links of the Week posts! (Tutorials/how-to’s with steps and photos included please! So everyone can share in the DIY goodness:-)
xoxox
Carly
-all photos copyright their respective authors; photo array by me-
~If you liked this post, please share it!~
Leave Comment
Mar 5, 2012 | Fashion
 scanned from Vivi Magazine November 2011 (I think). SLY sweater.
Over the weekend I was working on a DIY tutorial for the above SLY-brand sweater. Hey, a sweater covered in puffy spores…I thought it was cute!! I started photographing the steps, placing the craft store pompons onto my thrifted teal sweater with Aleene’s Jewel-It! Embellishing glue.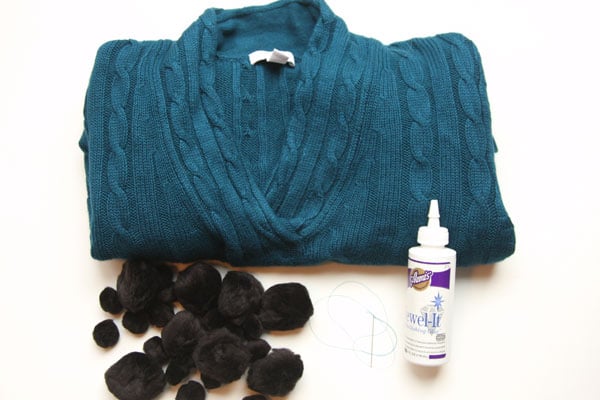
I put a little too much glue on some of the pompons and it spread out beyond the pompon edges. I thought, “No biggie – it’ll dry clear and won’t be noticeable.” Little did I realize it was QUITE noticeable.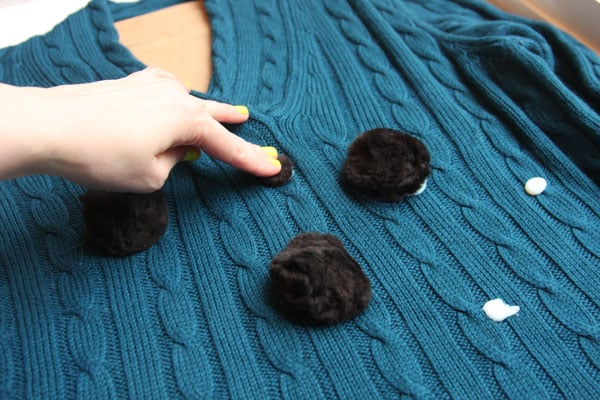
And then I decided I didn’t like the look of the sweater with the pompons after all, regardless of the glue issues. They looked too much like craft store pompons – i.e., krrrrrap glued onto a sweater – rather than the pretty felted wool puffs of the original.
So after gluing pompons onto both the front and right sleeve…AND waiting for them all to dry…I made the snap decision to undo all my work and rip them off to resurrect my sweater. I don’t know why I changed my mind so abruptly. Normally I am very sure when I embark on a DIY project. But it seemed a pity to do this to this pretty sweater. And then…
O.M.G. This Jewel-It! stuff is so permanent, I couldn’t get it off. Hours of peeling, washing, scrubbing, and more peeling ensued. I gave myself a blister on my thumb from all the scraping and peeling. And still I cannot get the glue off.
From the advice of the company’s customer service line, I have spent most of today applying Goo Gone! to all the glue spots, and further rubbing and scrubbing and peeling and blotting.
 I want to cry just looking at what I’ve done to this soft, pretty sweater that I was so thrilled about when I scored it at Goodwill. In just the perfect on-trend teal, too! In a nice, roomy, comfy size!! Ugggggghhhh…
I managed to get one spot off (mostly)…so now I have 16 or so to go…
And my whole sweater reeks of petroleum now…
Theoretically, my black-spore-sweater-DIY would work OK on maybe a different kind of sweater, maybe one that doesn’t have any cabling and is stiffer like the one in the photo. Totally DIY-able by gluing craft store pompons onto it, people! And be careful with Jewel-It! cuz you just can’t get it out once it’s applied!! Lesson learned.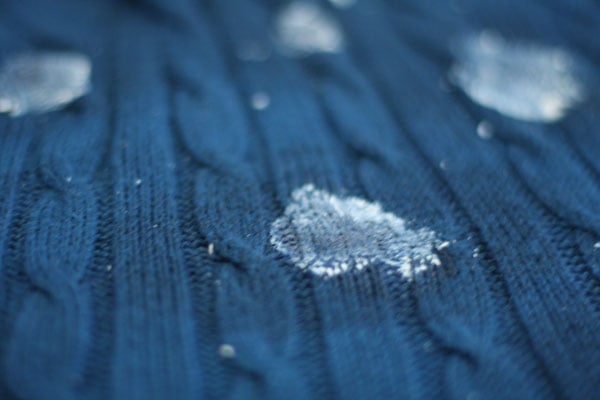
Do any of you have any spectacular DIY FAILS like this one??? Do share! I’m just heartbroken over what I’ve done to this poor, innocent little sweater…:-(
xoxox
Carly
Leave Comment
Mar 4, 2012 | DIY
 Removable collars have been the must-have-it accessory for the past year now, and I honestly didn’t think there were any more varieties I hadn’t seen. Bejeweled! Neon! Flowered! Pearl-encrusted! Leather!
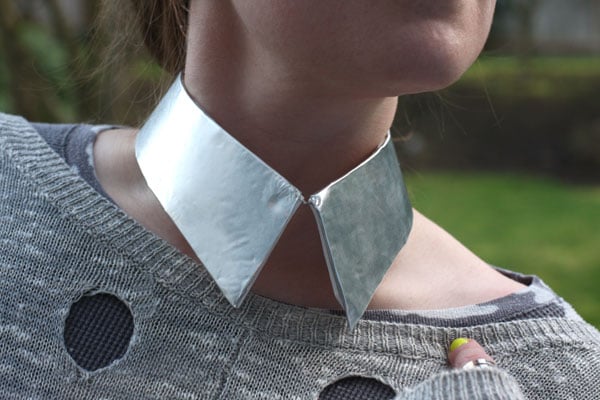
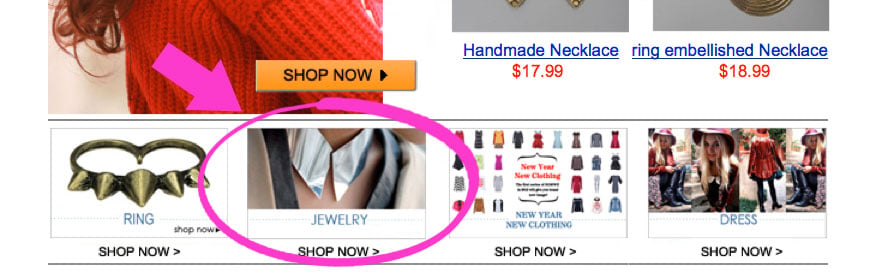 But this metal collar necklace from a Romwe.com newsletter (above) caught my eye – and I was heartbroken to find it was sold out. (Here’s a similar one if you’re interested.) “I can make that,” I reasoned, and set about doing it. (No soldering involved!!) With just some foam, embossing metal, and jewelry supplies, you too can make your very own chic metallic accessory! Here’s how:
You Need: (more…)
Leave Comment
Mar 3, 2012 | Fashion
 I’ve got a bad cold so am heading to bed early…but hopefully a full night of Nyquil-induced sleep will have me back behind the computer and get this tutorial up for you guys!
 Hope you like it! Til tomorrow then…
xoxox
Carly
Leave Comment
Mar 1, 2012 | Beauty
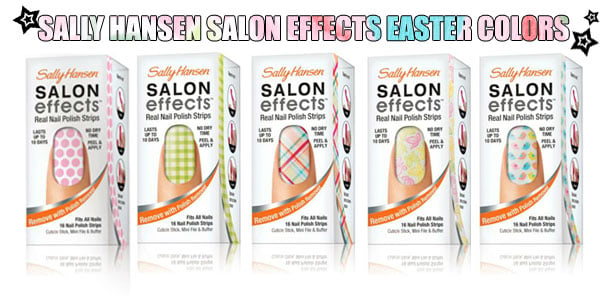 I’ve been enjoying Sally Hansen Salon Effects Nail Polish Strips for awhile (mostly in the pretty glitters they offer!) – and was pleased to see that they’ve come up with some great new patterns, just in time for Spring!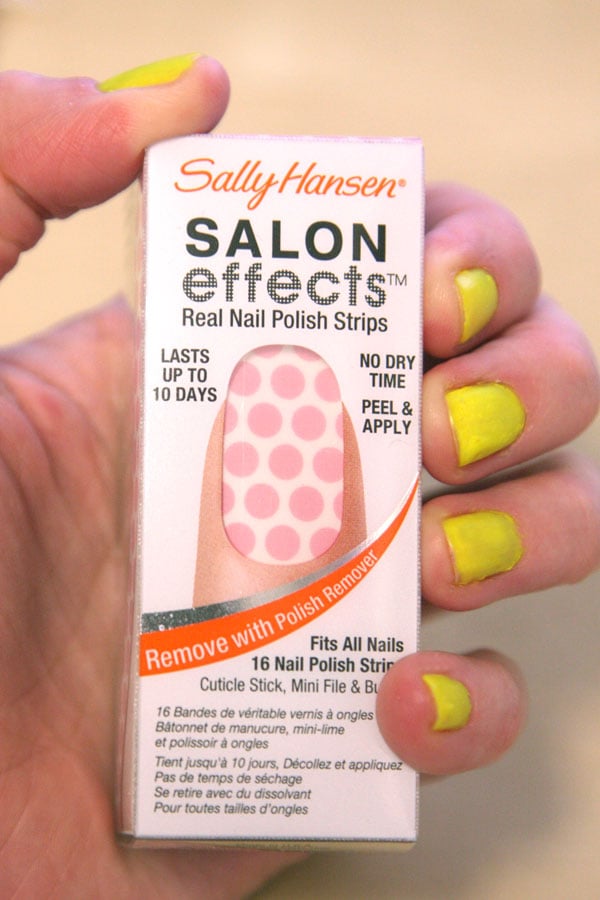
I picked up the pink polka dot pattern (“Pink-A-Dot“) the other day – and as soon as my fluorescent yellow mani needs replacing, I’ll be trying this one out! (which will probably be soon…ahem)

photo from my January review last year
The review I posted of them when the original colors came out last year garnered a lot of interest; if you’d like to check out the post to see the step-by-step, you’ll find it here!
What do you guys think? Any pattern/color strike your fancy?
…And if you’re looking to buy them, you can find them at Walgreens, Target, CVS, and other drugstores nationwide…as well as online at Ulta.com!
xoxox
Carly
flower texture source; product collage by me.
~If you liked this post, please share it!~
Leave Comment











