Aug 6, 2010 | Fashion
I love love love ASOS.com. Their clothing and accessories are always fashion-forward, well-designed, and their website has me drooling for hours. It was also not too long ago that the cost of having items shipped all the way from the UK to myself [on the U.S. West coast] was pretty daunting. Then they introduced their $9 flat rate shipping…but still I wavered.
All that is a thing of the past because readers – they are now offering FREE, yes, scot-FREE! shipping to U.S. addresses until September!! Is this a reason to jump for joy, or what?
The site offers so many brands (like Gap, Sam Edelman, Mango, French Connection, Kitson, Disney Couture, Free People, and Whistles) and their Fall ASOS line is just in. Plus, ASOS magazine, featuring Olivia Palermo, is brimming with eye-candy and delectable style.
Here are some of the things I’m lusting after now that I know shipping won’t cost a dime:
Check it Out Now!
(Free shipping both ways on all U.S. Orders through 8/31/2010)

Aren’t the snail earrings just adorable??
I meanwhile will be agonizing over the striped Whistles dress and the Contrast Cup Strappy Babydoll…which to get…which to get…?
xoxo
Carly
Leave Comment
Aug 6, 2010 | DIY
Myself and 9 other DIY bloggers were selected to compete in Style Sample Magazine and New York Design Shop’s Create Couture Challenge.
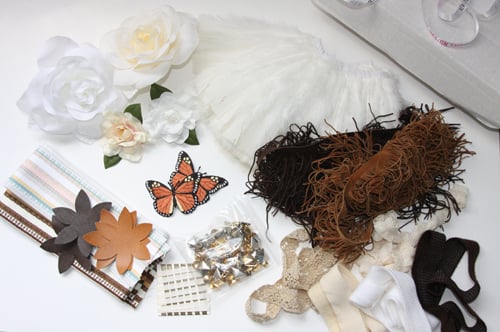
We were all sent the same box packed to the gills with trims, studs, and flowers, and were asked to make “one or more projects.” I made 12!
The leftovers.
I used almost the entire contents of the box, hoping to create as many different projects as possible that could appeal to a wide range of ages and styles, as well as making the projects as simple as possible (so anyone could replicate them) and using as few outside materials as possible, in order to truly showcase New York Design Shop’s products. But I wanted my finished creations to be durable, wearable, and look polished – and be pieces that could potentially stand up to scrutiny in any retail store.
So here’s another of my projects:
Feathered Cape
You Need:
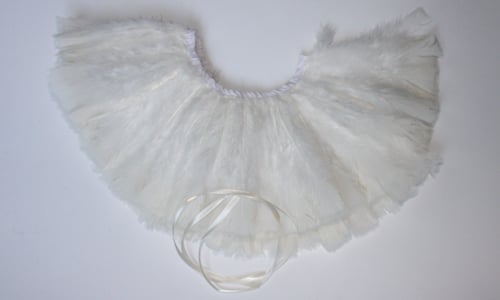
*White Feather Fringe
*Baby Single Face Satin Ribbon in Cream
Additional Tools/Materials:
*scissors
*fabric glue
*hot-glue gun
*lighter
How-to:

1. Cut Ribbon in half.

2. Squeeze a small amount of hot glue into the ribbon opening on the top of the Feather Fringe, and stuff the end of one piece of the ribbon inside. Do the same for the other piece.
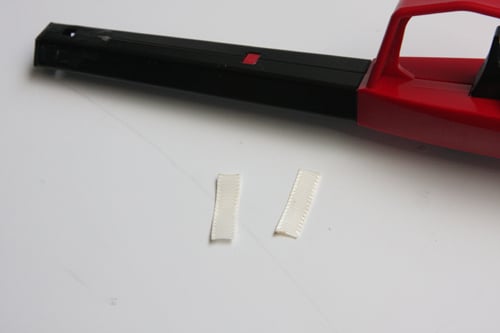
2. Cut a small piece about 1″ long from either end of the ribbon, and heat-seal raw edges with the lighter.
3. Use fabric glue to glue the small pieces of ribbon around the raw edges of the Feather Trim top.
4. Cut the ends of the long ribbon pieces on an angle and use an open flame to seal them.
You’re done!

Feeling angelic and light as air all swathed in feathers…
If you enjoyed this project I’d love to have your vote!
(One vote is allowed per unique IP address, anywhere in the world. You don’t have to register or leave your name or anything! But if you do leave a comment in your vote, you are automatically entered to win one of the projects by the Contest Winner. Now that’s a great way to share the love!!:-)
Thanks for looking!
xoxo
Carly
Save
Leave Comment
Aug 5, 2010 | DIY
I probably won’t be able to post all of these because the contest is only open until the 10th of August.
But I’ll do my best!
Myself and 9 other DIY bloggers were selected to compete in Style Sample Magazine and New York Design Shop’s Create Couture Challenge.
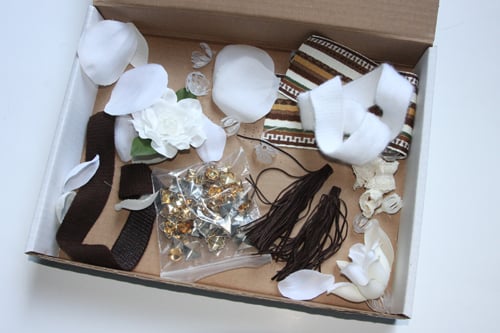
We were all sent the same box packed to the gills with trims, studs, and flowers, and were asked to make “one or more projects.” I made 12!
The leftovers.
I used almost the entire contents of the box, hoping to create as many different projects as possible that could appeal to a wide range of ages and styles, as well as making the projects as simple as possible (so anyone could replicate them) and using as few outside materials as possible, in order to truly showcase New York Design Shop’s products. But I wanted my finished creations to be durable, wearable, and look polished – and be pieces that could potentially stand up to scrutiny in any retail store.
So here’s the first of my projects:
Petal-Front Top
You Need:
*White Rose Pin (petals only)
*Cream Rose Pin (petals only)
Additional Tools/Materials:
*t-shirt
*scissors
*fabric glue
[prep: wash and dry shirt to remove sizing and chemicals]
How to:
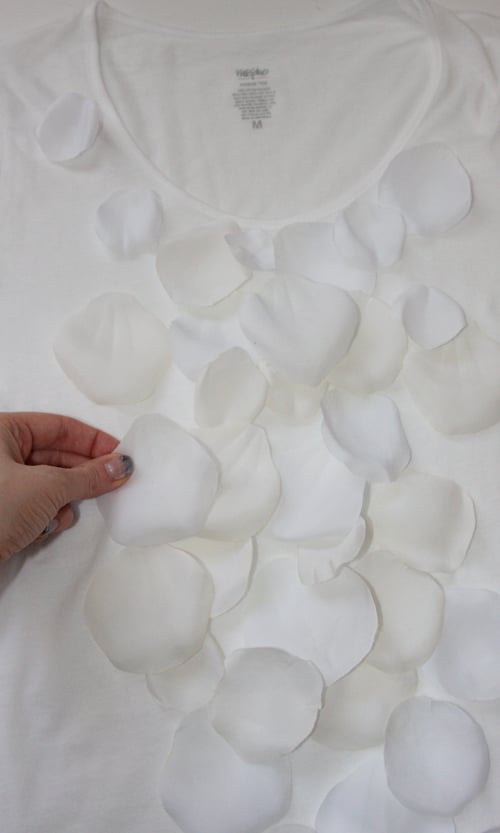
1. Pull apart Rose Pins, and separate into petal pieces.
A pile of petals!
2. Trim petals apart, and round their tops so they are really “petal”-like.
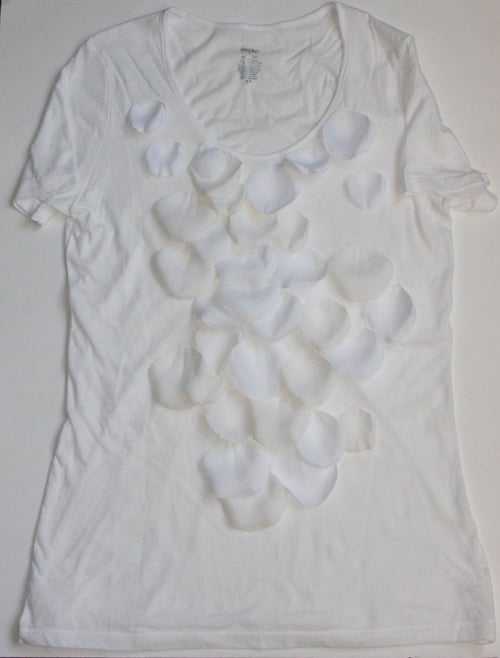
3. Use fabric glue to glue petals onto t-shirt. (You can sew their tops instead for a more RTW look.)
You’re done!
This top also looks sophisticated tucked into a slim skirt for work or under a soft cardigan.:-)
If you enjoyed this project I’d love to have your vote!
(One vote is allowed per unique IP address, anywhere in the world. You don’t have to register or leave your name or anything! But if you do leave a comment in your vote, you are automatically entered to win one of the projects by the Contest Winner. Now that’s a great way to share the love!!:-)
Thanks for looking!
xoxo
Carly
linked to
Leave Comment
Aug 4, 2010 | Fashion
Rainbow Bow Tunic Dress: DIY from a Men’s Shirt
Marquis Pattern Alternating Opaque/Translucent Tights: Japan (Shibuya-109, Poko a Poko)
Shoes: Michael Michael Kors
haha -It’s such a rhetorical question. You can never have too many bows.:-)
Plus, I’m being facetious. As many of you probably know already, I’m not really a big color person. It’s probably because my hair is naturally orangey, my lips are naturally deep cranberry, and my eyes jade green (all in contrast to my white-as-death-complexion covered in tan freckles) that I’ve always felt I have wayyy to much natural color on me and don’t need that much in my outfit.
But I couldn’t resist with this top – which I DIY’d from an oversized men’s long-sleeve shirt…tutorial COMING SOON!
I made it so that one can wear it backwards or forwards, depending on where one wants the line of bows – a feature which makes me just thrilled.:-) This crazy-colorful rainbow of bows deserved to be paired with something just as nutty.
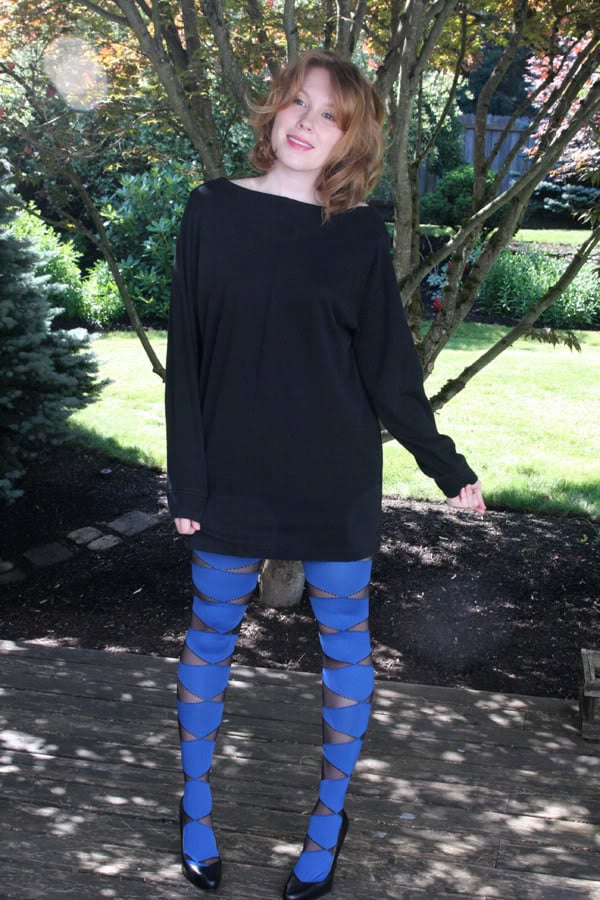
So I chose these uber-cool tights scored in Japan (that I first saw in a magazine more than 6 months prior, so the fact that they were still available given the lightning-speed turnover of Japanese fashion was nothing short of miraculous! Though then again Poko a Poko, a hole-in-the-wall legwear boutique carrying everything from the super-cheap trendy stuff to the more obscure and pricey designer labels, tends to carry the same items year in, year out.) I love the design of the tights, which I’ve never seen before – but the harlequin-print inevitably reminds me of clowns and jesters. I still love them, though, and can’t wait to wear them more often in the Fall. (Recently, it’s been in the 50’s until about noon here in Oregon, so it’s necessitated some warm dressing.)
The shoes were another awesome Goodwill find: $14.99 for Michael Michael Kors pumps in PERFECT, unworn condition. Why do people get rid of these things??

Hope everyone’s having a great week!
xoxo
Carly
Leave Comment
Aug 4, 2010 | DIY, From You
Can Carly ,I`m 16 years old ,I love fashion and I tried start to sew .I`m not very good and I ask you to post a DIY : how to make high waist shorts . Thanks you ,and sorry if I did some mistakes (my english is not perfect )=)
Leave Comment