Apr 11, 2017 | Fashion, Score!
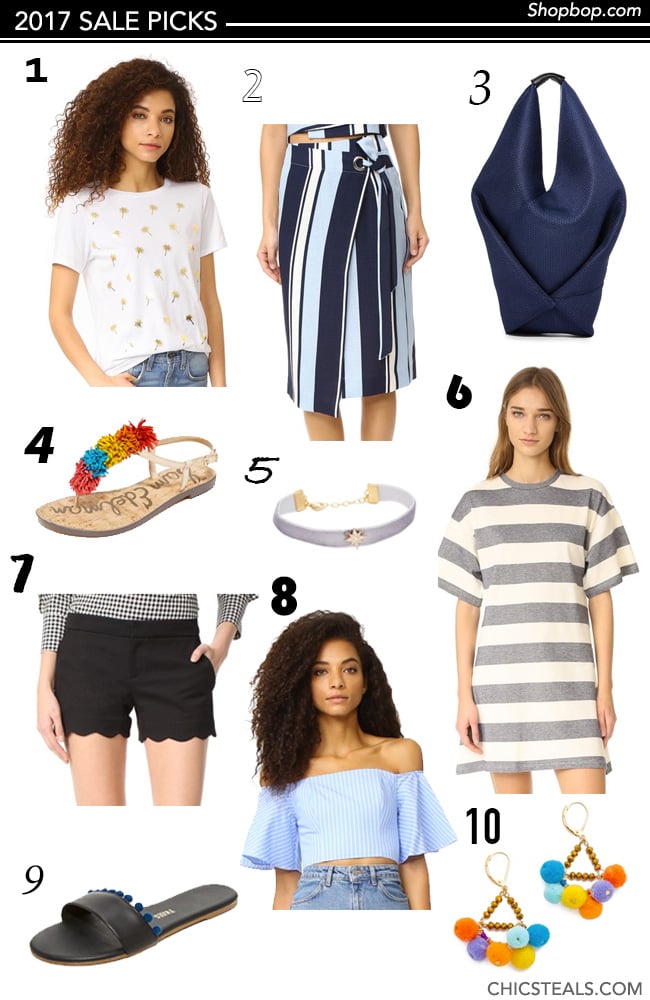
The first huge sale of 2017 is live on Shopbop. com – where you can save BIG and score some amazing deals on brand-name and fashion-forward merchandise. And yes, every order gets 20% off or more with code EVENT17!
Some great transition pieces for a Spring vacay as the weather warms up and we head into Summer:
1. South Parade Palm Trees Tee, $46 // 2. J.O.A. Stripe Wrap Skirt, $75 // 3. MM6 Hobo Bag, $190
4. Sam Edelman Gates Fringe Sandals, $90 // 5. Shashi Starburst Luna Bracelet, $35 // 6. The Fifth Label Chelsea T-Shirt Dress, $78
7. Club Monaco Amber Shorts, $89.50 // 8. Fame and Partners Cenit Off Shoulder Top, $38.70
9. TKEES Alex Pom Slides, $90 // 10. Rebecca Minkoff Savannah Pom Pom Chandelier Earrings, $58

The Sale is now LIVE – one day early for you guys as Chic Steals readers! 😀
xo
Carly
The Event of the Season sales is open now until Friday, 4/14, at 11:59 PM PST. Some brands are excluded from the sale. See here for a full list of excluded brands.
Leave Comment
Apr 3, 2017 | DIY

I was beyond thrilled to be invited back to Oregon’s KATU Afternoon Live show last month – to demonstrate how to make these beautiful DIY gemstone-topped jewelry boxes (for Valentine’s Day…or any other gift-giving occasion really!)
Watch below as I demonstrate with host Tra-Renee how to make your own to rival those $45+ boxes you see at the home decor stores!
How to DIY Your Own Gemstone- (or Agate, or Geode) Topped Jewelry Box
DIY Supplies for Making Your Own Agate Jewelry Box That I Mentioned in the Video:
Gold Calligraphy Pen: this is the type I used for painting the raw edges of the boxes; it creates a lovely metallic finish
2-Part Epoxy: you can use any kind as long as it’s clear, I used
this one and it’s never EVER coming off that box!
Mod Podge Dimensional Magic (for a glossy, resin-like finish): Michael’s, Jo-Ann Crafts, or
online here
Happy DIY’ing!
xo
Carly
Save

Leave Comment
Feb 11, 2017 | DIY

In the past couple days I’ve shared some fun projects with Paper Mart and I wanted to combine them all into one round-up in case you missed any. Instead of the typical candy or chocolates, use your creativity and surprise your honey (or make some pretty decor!) with these ideas:
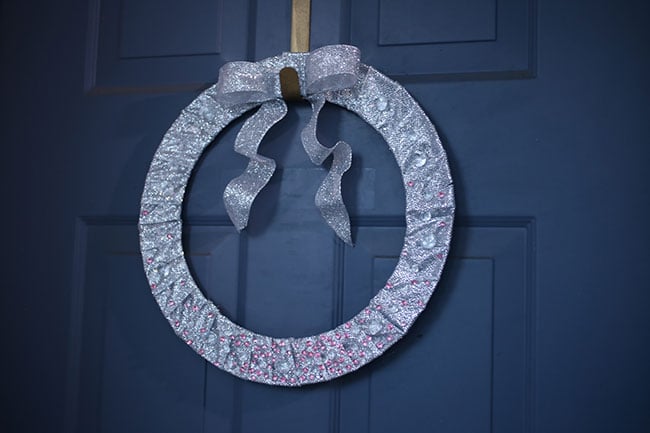
DIY Valentine’s Day Jeweled Wreath
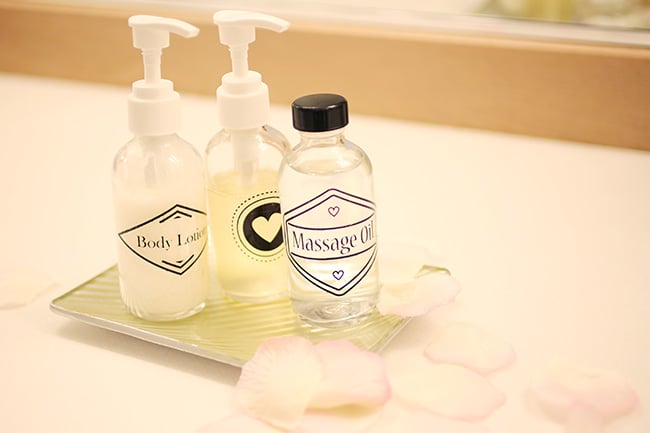
DIY Valentine’s Day Labeled Glass Bottles
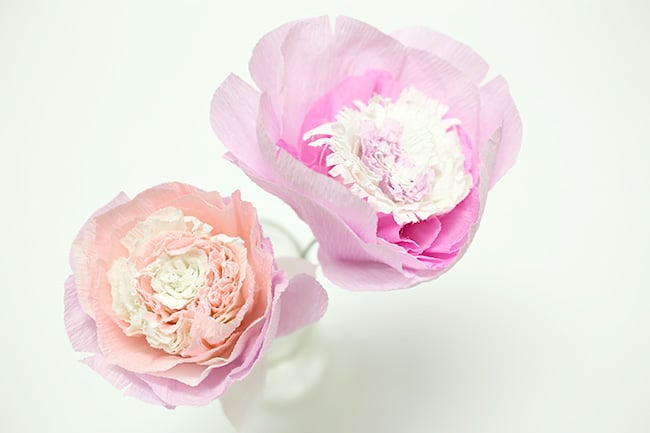
DIY Valentine’s Day Crepe Paper Peony Flowers
Thank you to Paper Mart for supplying the materials to make these projects!
Happy DIY’ing – and Happy Valentine’s Day!
xo
Carly
Leave Comment
Feb 10, 2017 | DIY

This project is in collaboration with
Paper Mart. I was provided supplies to create a Valentine’s Day tutorial. All opinions are my own. My full Disclosure Policy is
here.
No matter how beautiful real flowers are…sometimes you want something that can last forever…and can be the exact colors and style you’re looking for. I understand. We all want this.
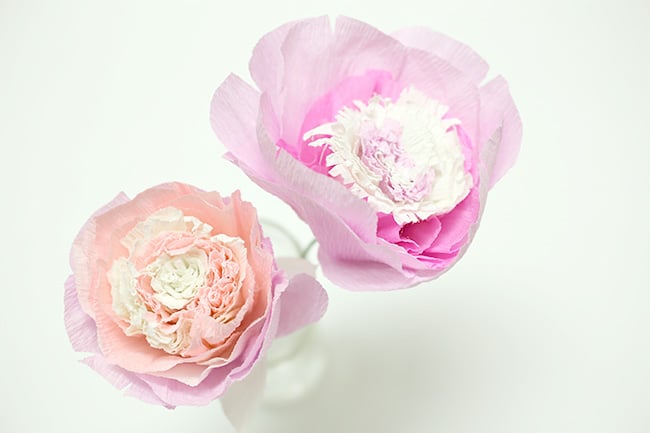
Enter the DIY floral craft: the crepe paper peony, a pretty layered flower that can be any beautiful color scheme you wish…and will last no matter the occasion. For this tutorial I’ve teamed up with Paper Mart again to bring you a fun DIY right in time for Valentine’s Day. Here’s how to make it:
How to Make Your Own DIY Paper Flowers (Crepe Paper Peonies)
You Need:
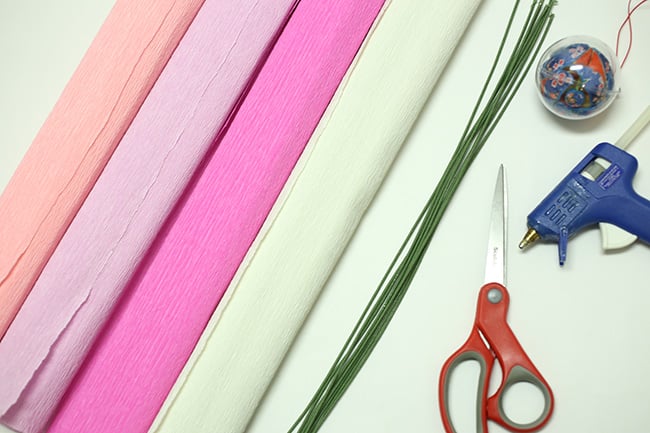
choose your favorite colors: ivory crepe paper / rose crepe paper / pink crepe paper / hot pink crepe paper / light green cloth-wrapped floral stem wire / round ball or ornament / scissors / hot glue & glue gun
How To:
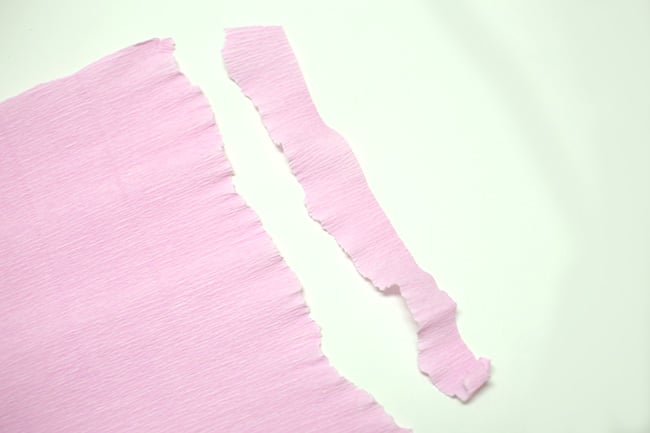
1. Tear a long strip of crepe paper (perpendiular to the grain) along the top edge of one of the colored rolls of crepe paper. Tear another similar length from the white crepe paper.
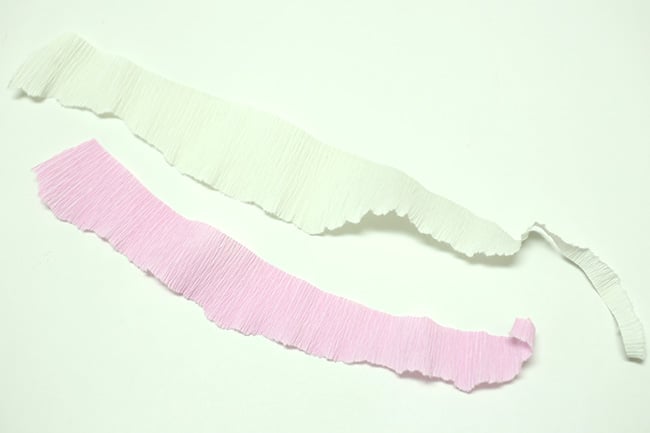
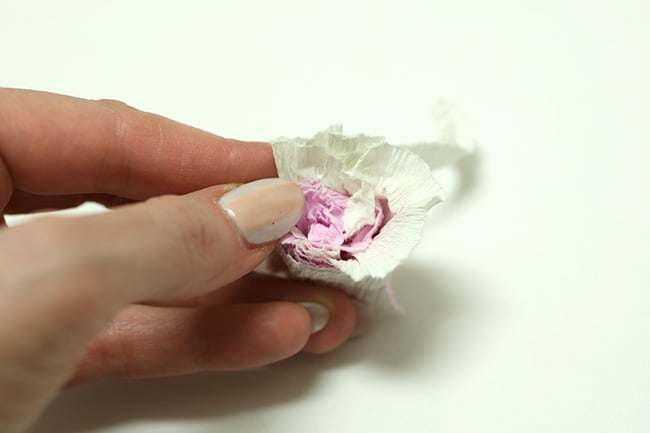
2. Start rolling up the crepe paper into a bundle, folding back on itself and crumpling the folds here and there for a more natural look.
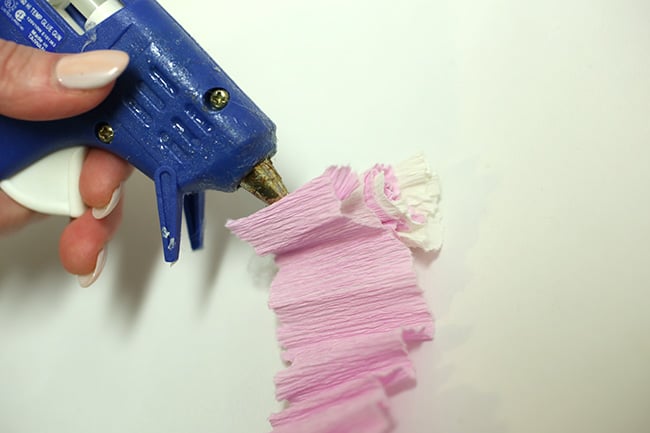
3. Use hot glue to glue down the folds into a roll.
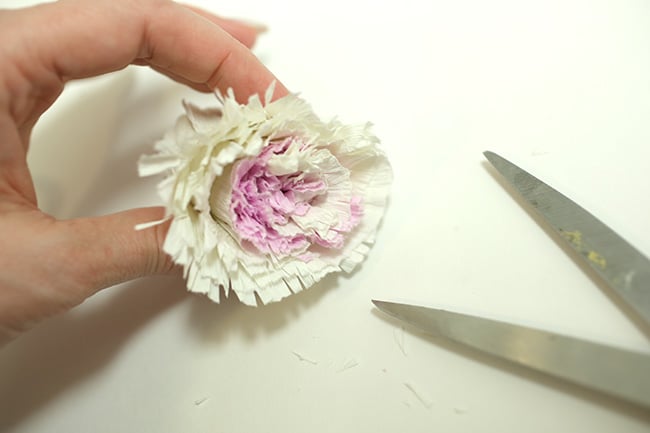
4. Keep adding layers of white and colored crepe paper ripped edges until you have built up a nice thick roll.
5. Use scissors to snip the top edges and distress them.

6. Cut a long piece of colored crepe paper about 2″ wide, parallel to the grain.
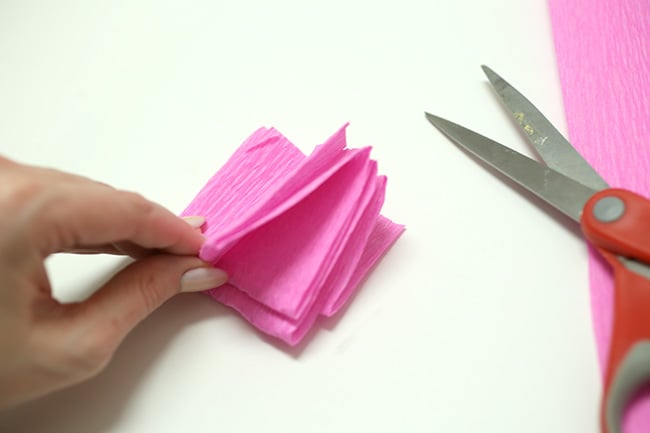
7. Fold the paper on itself to create a stacked accordion.
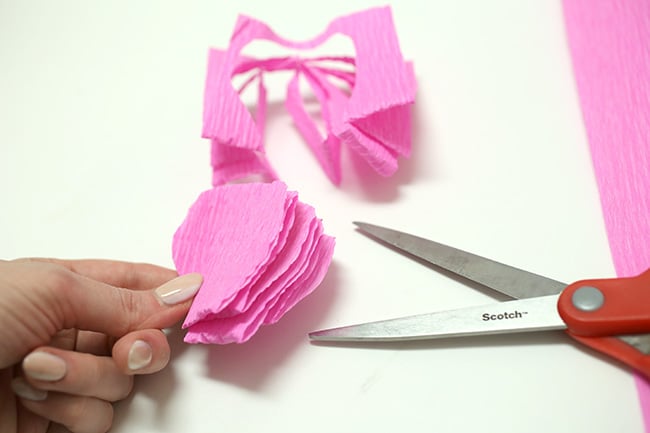
8. Cut a petal shape in the stack, with the bottom of the petal at where the folds are in the stack.
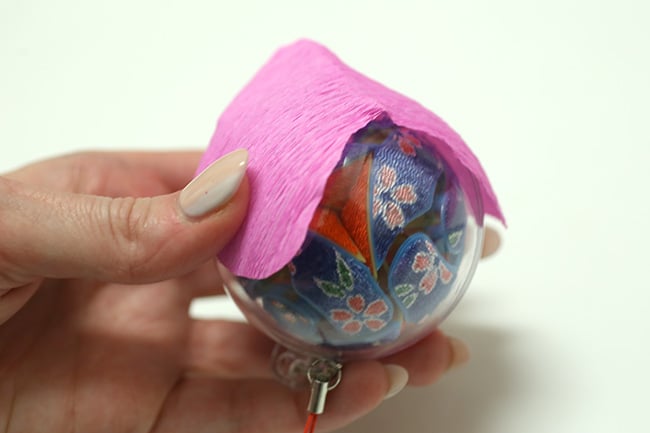
9. Separate and spread each petal pair over a round ball, stretching and shaping the paper to the ball.
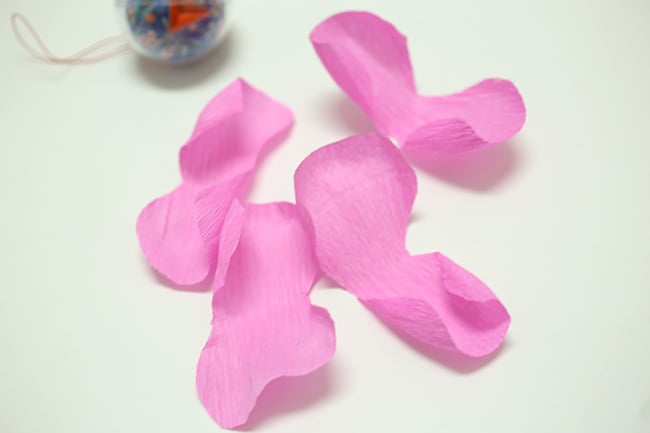
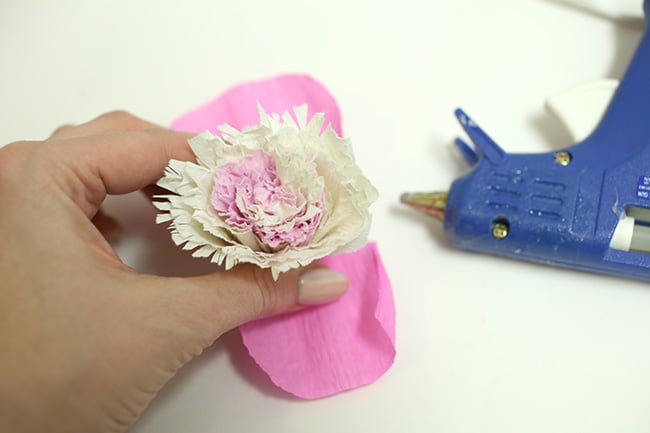
10. Glue the center roll to the middle of one of the rounded petal pairs you just made.
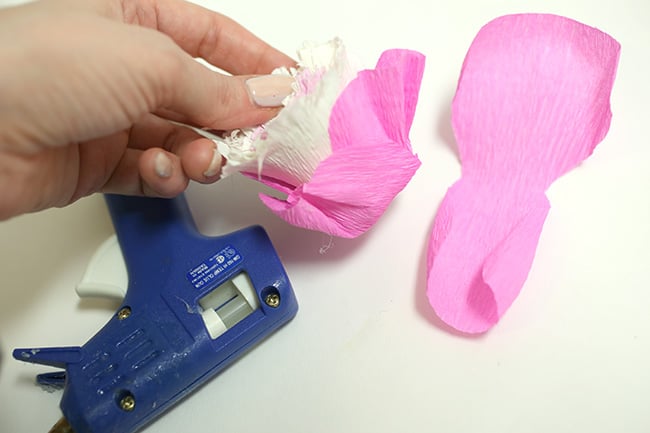
11. Glue another petal pair onto the bottom of that, at a 90-degree angle to the previous petals, and fold the petals up around the center, cupping it.

12. Keep gluing on more petals, making more from different colors of paper, and cupping around the center as you go.
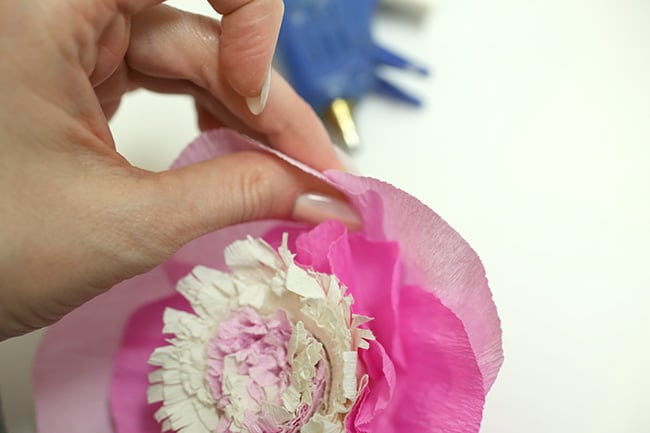
13. For a more rounded shape, overlap slightly and glue the edges of petals together.

14. Cut small notches in the edges of the large petals to look like a real peony.
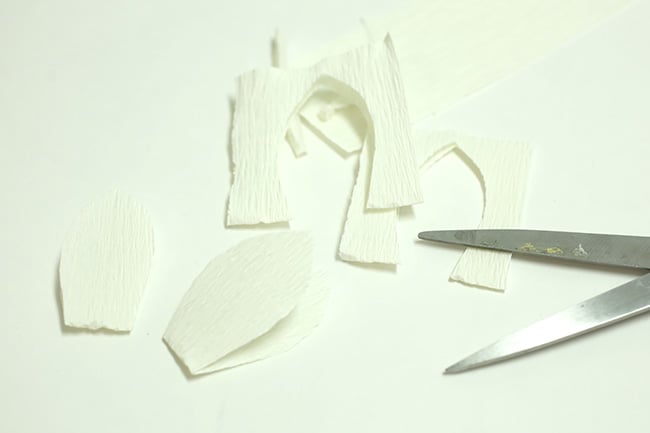
15. Cut a 1.5″ wide piece from the white crepe paper (parallel to the grain) like in Step 6, accordion fold it, and cut joined leaf-like shapes from it.

16. Glue the white leaf-like shapes in an X to the bottom of the flower.

17. Stab the floral wire into the center of the X, pushing through several layers deep into the flower center. Hot glue around the hole in the bottom to secure.
And you’re done!

These flowers are kind of fiddly to make, so I recommend having something to watch on TV whilst doing it…but the results are so satisfyingly worth it!
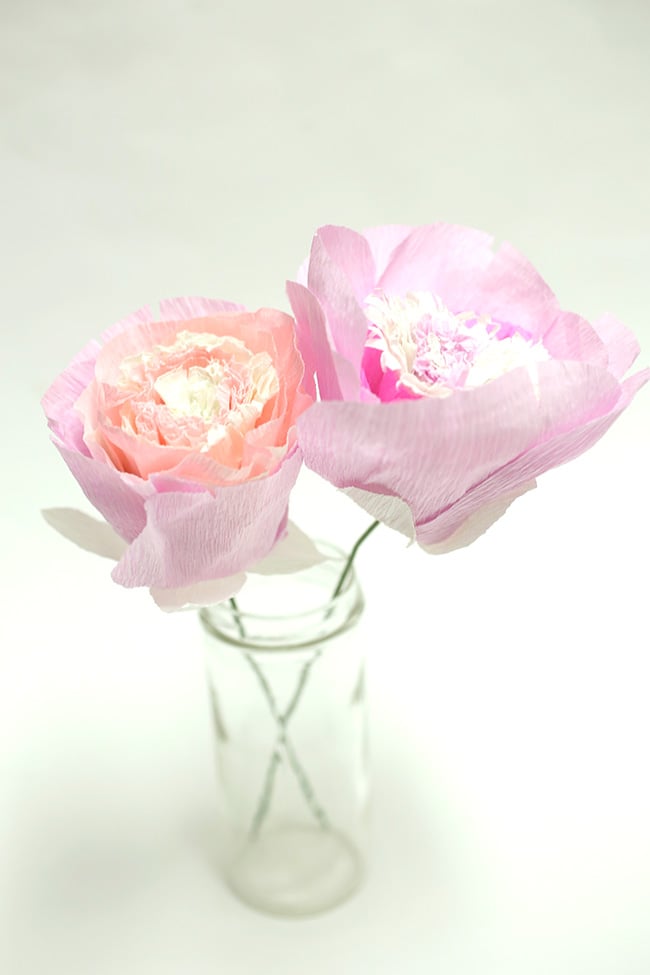

Pretty, unique to you, and everlasting…what’s not to love?
So some of you may also be wondering…why are we using crepe paper for this when regular paper could work just fine too?åÊ Well here’s why…
Why You Should Use Crepe Paper for Floral Crafts and Flower DIYs
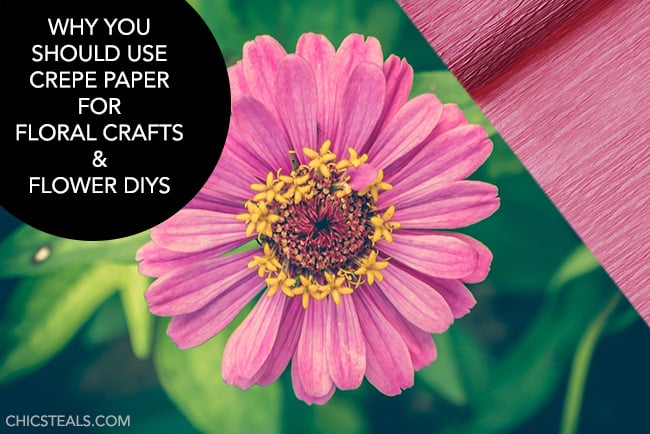
Crepe paper lends itself really well to creating petals and leaves, because of its natural texture. If you look closely, although the petals of some flowers may appear smooth, many have a slightly wrinkled or puckered texture that is well-mimicked by the crinkles in crepe paper. Got a leaf or a petal with a a veiny, ribbed texture you want to recreate in a realistic floral craft? It’s very easy to duplicate using crepe paper…whereas a regular un-textured paper will look flat and unnatural compared to the real thing. The problem is that crepe paper can be too crinkly overall, so stretching the crepe paper out when making flower petals will produce a texture that is smooth, curved, and stretched out in one area, and tapering down to an area that is crinkled and puckered. This looks very realistic! (This technique works great for roses, plumeria, or peonies that have smoother petals, whereas stretching may not be necessary for daisies, cosmos, zinnias, or other varieties.) Try it sometime to see how much more realistic your fake flowers look when you use crepe paper for your floral crafts!
 Happy DIY’ing!
xo
Carly
Save
Save
Save
Leave Comment
Feb 8, 2017 | Media

Hi friends, tomorrow I’m going to be a guest on KATU’s Afternoon Live show with Tra-Renee again!
Back in January when I was first on the show they ended up not airing the replay online, which was a bummer. I would have posted it had they did!
So I’m going to be back tomorrow – this time demonstrating some pretty DIY crystal jewelry boxes you can make yourself. They make great gifts (and would be perfect for a Valentine’s Day gift for that special lady in your ife!)
If you’re in Oregon you can watch it on channel 2 (or 16, depending on your cable provider). If you aren’t in Oregon or don’t have cable you can catch it live here:
Watch on Thursday, February 9 from 3PM-4PM PST for my 5-minute segment with Tra-Renee and see how to make your own chic DIY Gemstone-Topped Jewelry Box!
xo
Carly
Save
Save
Save
Save
Leave Comment











