May 9, 2010 | DIY
Like I wrote in an earlier post, I’ve had flowers on the brain. (Thus all those fabric flower patterns in that post, and in my Threadbanger roundup.) I was going to do these as a DIY tutorial for my Tuesday Threadbanger post, but then realized they weren’t really worthy of a full-fledged tutorial. I got the idea from a lovely pair of furfur flowered ballet flats I spotted online recently. (I do love furfur!) To make them was almost embarrassingly easy, but here’s the how-to if you guys are interested:
You Need: (more…)
Leave Comment
May 6, 2010 | Media
I’ve been featured in the April 2010 issue of the Philippines’ Meg Magazine, alongside fellow DIY blogger-extraordinaires Shini (Park & Cube), and Erica (P.S. I Made This).
Wow, my first hard copy magazine feature!
(click for larger image)
Thanks so much to Denise and the team at Meg for putting together the feature – I am so humbled and grateful!
xoxox
Carly
Leave Comment
May 6, 2010 | Fashion
‘Nuff said.
$285 from UnitedNude. Gorgeousssssssssssss.
They also sell the Cherry-colored and the Nude one at Endless.com here for between $142-$144.
But the blue one’s so much bettteerrrrrrrrr, yes?
xoxoxoxo
Carly
can u tell it is late at night and I am dopey/dizzy/up too late?
Leave Comment
May 5, 2010 | From You
Thank you for your question!
xoxox
Carly
Leave Comment
May 5, 2010 | DIY
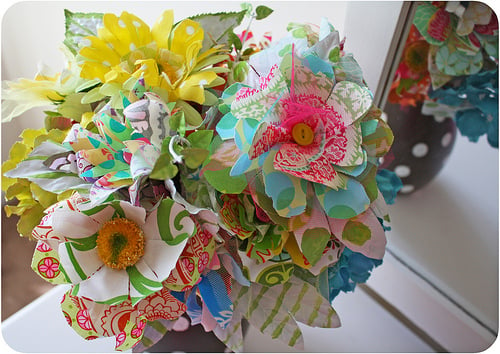
With Mother’s Day just around the corner, probably the biggest question on everyone’s mind is what to get for the mother in their lives. DIY a lovely gift for a Mom of any age – using fabric and glass, two of the best materials known to the modern gal. Here’s an internet roundup of some great projects to create flowers that last forever, and beautiful jars to display them in or use as knicknacks around the house:
Happy Together makes a beautiful bouquet out of multilayered fabric flowers by tracing the shapes of store-bought flowers to make a pattern.

If you’d like some patterns for making fabric flowers without having to sacrifice store-bought blooms, I’ve shared a few patterns for a camellia, carnation, dahlia, and lush camellia on my site Chic Steals.

If you’re looking for rose-making how-to’s, here’s a tutorial on DuhBe for a satin rose bloom, a Rolled Fabric Rose tutorial downloadable pdf from Portobello Pixie, and a Tattered Fabric Rose Tutorial from Everyday Chaos.
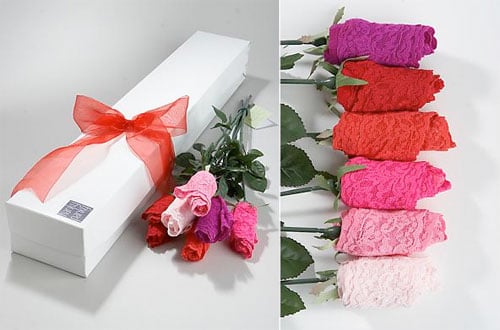
You can also buy small fabric gifts for Mom (decorative pouches, stockings, scarves, underwear * o * …) and roll them up tightly to make your own rolled rose bouquet, adding straws, wrapped wire, or takeout chopsticks for stems. (Taking a leaf from Hanky Panky, seen above.)
Now as to what to put your lovely flowers in…
And if you want to go all-out and present in a beautiful vintage-style faux blue mason jar, Bridal Buzz has the how-to for ya.

To take a break from the “must give flowers for Mother’s Day” mantra…what not think a little out of the jar box? If Mason jars are on your mind, maybe Mom would love this handcrafted terrarium that Craftzine can help you with?
The Home-Made Sun Jar from Instructables user cre8tor is another fabulous use of the jarred variety.
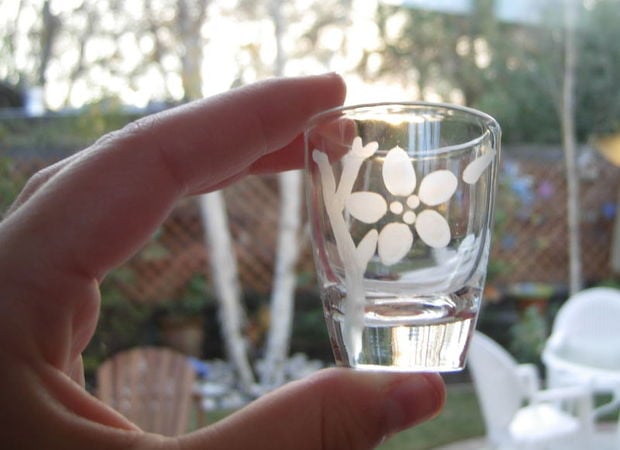
You could also make Freehand Etched Glass Votives, thanks to Instructables user Robyntheslug.

Or, you could make hand-poured candles in jars, courtesy of Centsational Girl.
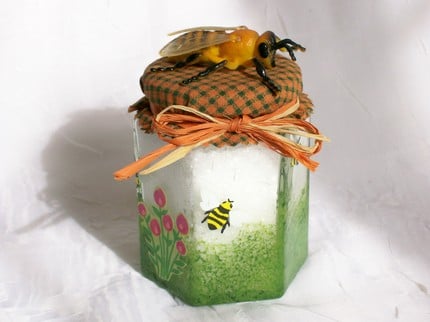
Bath salts…bath fizzies..bath bombs…lotions…find every single recipe you could ever want for home-made bath & body products at Craftbits.com, and present in a beautiful jar.
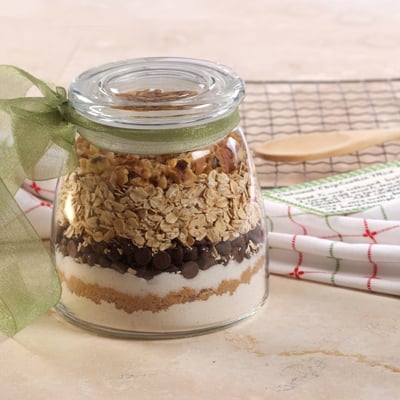
Or even a jar of a homemade cookie mix, granola, or hot cocoa might work well for a mother with a sweet tooth. (Guilty!) See RazzleDazzleRecipes for a ton of great cookie-mix-in-a-jar recipes.
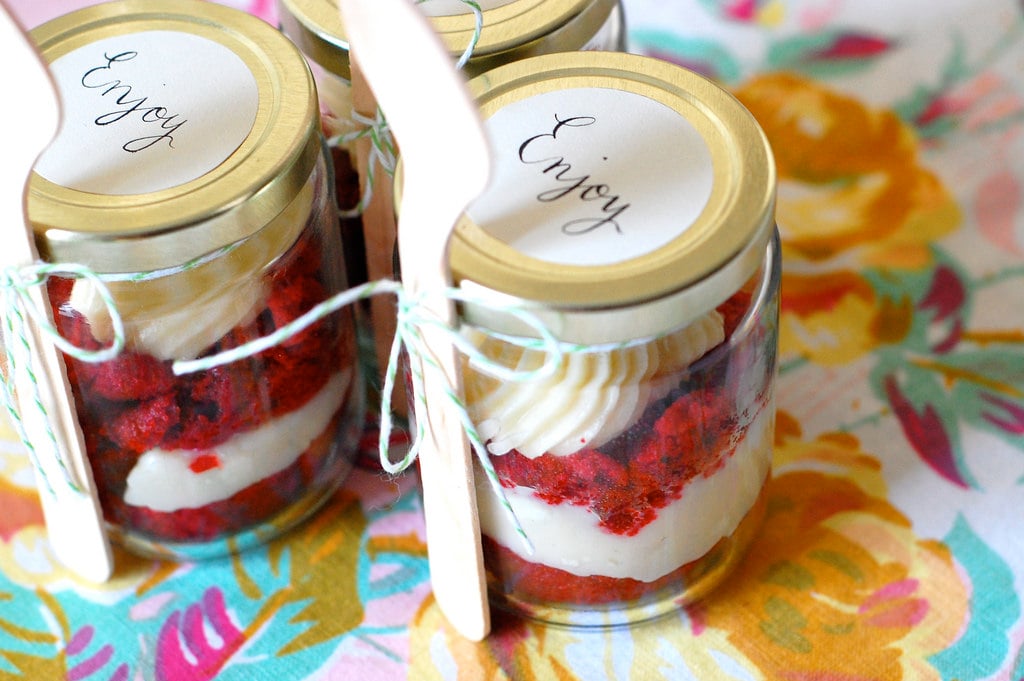
And isn’t this ingenious? Cupcake in a Jar recipe, courtesy of MyCakies.Hope that’s planted some seeds for some great DIY ideas for Mom…and if your Mom isn’t the type to swoon over flowers or decorate with jars and knicknacks…well, there’s always a gift card to Amazon.com, right?
Have a Happy Mother’s Day!
xoxox
Carly
top image from stockphotopro.com
as posted on Threadbanger
Leave Comment
May 4, 2010 | DIY
 With Spring officially here and Mother’s Day just around the corner, I’ve had flowers on the mind. But not just the ones growing in my garden – handmade ones, using scraps of fabric from a number of past projects. I’ve posted before about one of my favorite flower-making books, “Ima Sugu Tsukuritai Co-saju” [“Corsages I Want to Make Right Now” Bunka Publishing, 2006].
I shared the camellia flower pattern before, so I’ve reposted it below for you guys:
My English translation is above. The book page is 8 1/8″ wide by 7 7/8″ high if you want to print it out, in order to make sure the petal pattern is sized correctly. The pattern requires the use of a round-headed stylus (also called a “cup”) in order to create the rounded, 3D-effect to the petals. Not completely necessary, but it helps create a finished, professional look to your corsage.
From last year’s Men’s Shirt to Cute Summer Shirt Dress tutorial that I wrote, I used some extra leftover fabric to make a carnation corsage.
Here is the how-to and pattern below:
Here are a couple more projects in the book…a dahlia:
And a lush camellia:

Okay…I’m all translated-out!
If you would like to check out more reference books in English for making fabric flowers, two of my favorites are Heirloom Ribbonwork , which constructs flowers out of ribbons, and Handmade Flowers from Paper and Fabric
 , which has more paper flower projects than fabric, but the projects can easily be adapted.
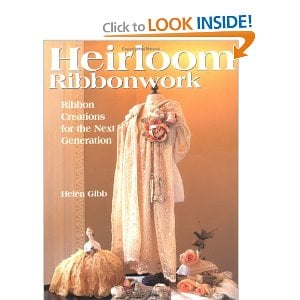

Both are incredibly inspiring and have you making different types of fabric flowers than just roses (which have how-to tutes all over the internet already)…but ribbon daffodils? velvet bouvardia? If you were patient and had a lot of time – they would make a beautiful bouquet for Mother’s Day, that lasts forever. Lovely blooms will break up any DIY monotony.
Have a flower-filled day!
xoxox
Carly
~If you liked this post, please share it!~
Leave Comment
May 3, 2010 | Life
I’m back! (Kind of.)
Thank you, all of you, for helping me out by responding to that poll I posted regarding the content here. (Almost a full fifth of my followers responded!!) Thanks to your invaluable feedback, I’ve begun re-tool (insert Beavis & Butthead-y laugh here*) this site and the content for you guys. Hopefully I’ll get back on track soon, with a site RE-DESIGN and a PLAN.
I’ve come down with cold #4 in the meantime.
So I’ve really tried to rest, sleeping about 16 hours for three days in a row.
Not on my computer, to tell the truth.
I’ve stayed away from my computer, as much as possible.
I’ve had my doctor test for a whole bunch of stuff.
And, of course, have come up with a big, fat, ZERO.
But since I’m finally on the mend and the bronchitis and the cold are getting better, I figured I should lay off the tests and just see what happens.
So I’m tentatively returning to the online world, but trying to keep it limited.
I’ve also launched my own personal webpage (www.carlyjcais.com) as a general portal to everything that I do, including Chic Steals. (So you may have to click through that page first to get to this blog, which may have surprised some of you a little.)
I’m also putting together my animation/illustration/art blog from my main site above (under the /blog heading once I get my FTP protocol set right), so I can finally have an online portfolio for unrelated-to-fashion-art stuff.
And for Threadbanger my Tuesday tutorials are only going to be every other week, and in-between I’ll be doing DIY round-ups or something similar for them. But I’ll still be doing tutes here, so don’t worry! And there hopefully will be a lot more cool stuff on the way….
So thanks for sticking with me, guys and gals!
xoxox
Carly
Okay, you caught me. I find cats cute and amusing.
(photos from Icanhascheezburger.com, wowfailblog.com, good-times.webshots.com, images.clipart.com, blogtown.portlandmercury.com)
Leave Comment
May 2, 2010 | Fashion
Just updated one of the items at ShopChicSteals… (both rings worn above)
I can also make the cross ring in silver, since a few readers had expressed interest.
$12 a ring
($3.50 shipping to a U.S. address, $5.00 to Canada, $7 shipping internationally)
Email me to let me know if you’re interested!
I have also now listed these items in my Etsy shop carlyjcais…please check it out if you prefer the Etsy platform!
Ooh! And I have a great idea for a necklace too…will post soon…
xoxox
Carly
Leave Comment
Apr 29, 2010 | DIY, Life
I received this question awhile ago from lovely reader trashywriter and I’ve been remiss about answering it. (Sorry!)
Carly, I saw an ad in the latest Vogue, absolutely LOVED the top worn by the model and have finally located it in a catalog. It looks elegant even though it is a casual material and I was wondering if it would be terribly difficult to DIY?
Here are some more photos of the top in question:
You sure know how to pick them!
In the same vein, a similar twisted Burberry skirt DIY showed up on Anywho.dk awhile back, and summarily made its way around the ‘net. (Click above for the tutorial.)
Now, as to this shirt…This top is elegant and sexy, to be sure…but it looks like a pain to DIY.
By best approximation, you could:
1. Buy a slim-fitting V-neck long-sleeved shirt (preferably RAGLAN sleeve seams) that has some stretch to it, and about 1 yd (60″ wide) of similar fabric (stretchy fabric – so important!).
2. Remove front from shirt, using a seam-ripper to preserve the seam allowance.
3. Cut fabric in half width-wise.
4. (If you have a sewing mannequin, pin shirt back together on mannequin. If not, you’ll have to place the front piece flat and pin fabric to it.) Place pieces on top of the shirt-front, gathering at the sleeve seams, pinning there, and twisting at the front in a knot. Secure the other ends of the fabric pieces with pins at the side-seams of the front piece.
5. Pin front to back again, and try it on. (If you have a sewing mannequin that is the same size as you, you probably don’t need to try it on, but you do need to get that front knot tight and conforming to a 3D shape. You can’t pin it flat and then just sew the seams back together as in the shirt tutorial, since there’s too much shape to the front half of your body.) Reform the knot to get it tighter, and re-pin to front piece.
6. Now sew the front piece back on to the shirt. If your material is S-T-R-E-T-C-H-Y enough, you should be able to wear it without needing that back zipper!
As you can see from the original, the front knot is so unfailingly tight (and I believe the shirt is a cashmere blend), so the original requires that back-zipper to get into it. I believe if you choose a material that is not cashmere but has some stretchy manmade fibers in it, you’ll be able to conform it to your shape without having to add that zipper – and without having the seams fall apart or rip when you wear it. If you can – OVERLOCK those seams for extra strength!
Hope that helps – and sorry I haven’t made an example for you; I’m a little under the weather lately.:-)
Best of luck, and please share if you make one!
xoxox
Carly
Leave Comment
Apr 28, 2010 | DIY
 After spotting this editorial in Lucky Magazine back in winter, I decided I wanted a foldover-style boot too!
  So chic – and it visually slims up your legs, working in both casual and more edgy ensembles. But since I always make instead of buying new unless I absolutely must, I’m not going to plonk down $199 on a boot…especially when I already have a whole bunch of shorter boots that will work perfectly as the base (see below).
 Here’s how to make your own version, using an old beat-up leather jacket: (more…)
Leave Comment