Oct 18, 2013 | DIY
 The next part of my 1 Week of Halloween DIY series is focusing on the indoor decorations. I’ve already got the front porch looking season-appropriate with DIY Stenciled Halloween Pumpkins (3 Ways), now I want to decorate my walls. 2 spooky DIY pictures fit the bill, using decoupage paper and cut-outs to make it quick. Use pre-made frames for an even bigger time-saver! Here’s how:
You Need: (more…)
Oct 17, 2013 | DIY
 Welcome to Day 2 of my 1 Week of Halloween DIY! What’s representative of Halloween no matter where you go? PUMPKINS! And today I’m going to share with you a simple DIY to jazz up pumpkins (the faux kind, which means you can use them year after year 🙂 With a couple of stencils it is super quick and easy to make these – and you can truly customize them however you like. Here’s how: (more…)
Oct 16, 2013 | DIY
 What could be better as the crowning detail for a spooky Halloween costume than a glowing gothic eyeball brooch? With Martha Stewart Decoupage it’s super-easy to make your own with just a few supplies! (more…)
Oct 15, 2013 | DIY, Life
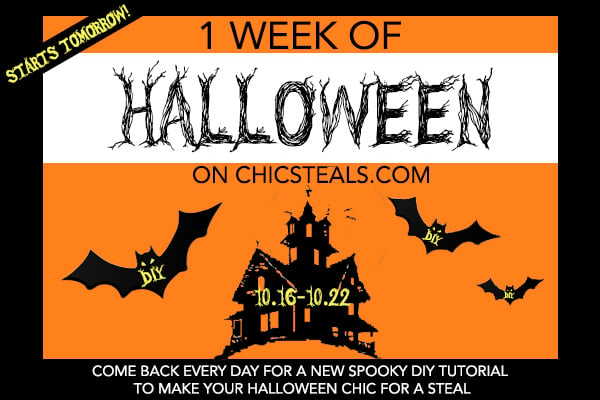
Yes little goblins, I’ve been DIY’ing up a storm recently…and can’t wait to share the spooky and fun results! Starting tomorrow (Wednesday) for a week I’ll be sharing a brand-new DIY tutorial each day for 1 WEEK OF HALLOWEEN…to add a little Boo! to your beautiful holiday decorations (and maybe an accessory or two ;-).
So come back tomorrow to see what’s in store…
Bwa-ha-ha-ha-ha-ha!*
*supposed to be an eerie cackle*
xo
Carly
Oct 13, 2013 | By Carly J. Cais, DIY
 I’ve been loving all of the pouches made by Samudra: these beautiful, printed zip-cases that work so well for your most basic essentials – or that can dress up any outfit for a night on the town. I decided to create my own version of the zippered pouch – and to give it more structure, I designed it with a flat bottom (similar to the Samudra style). And to go the extra mile, I also designed my own photo-print fabric from a photo of palm trees that I took on a long-ago trip to Guam, and then edited to make perfectly seamless and repeating. (You can purchase this exact same fabric here – and it was just featured on Spoonflower’s Latest Favorites list on Friday!) Ready for the tutorial? Let’s go!
You Need: (more…)
Sep 19, 2013 | DIY
 It’s that time of year again: September is upon us, there’s a slight chill in the air, and the kids area heading back to school with brand-new notebooks, pencils, and Justin Bieber folders. Okay, maybe scratch that Justin Bieber part – but September always feels like a time of renewal, reinvention, and a brand-new routine. One always needs a ton of pouches and satchels and bags to navigate the beginning of the year – so why not DIY something totally trendy and useful at the same time?
 Wander & Hunt is a new DIY supply shop, featuring on-trend DIY kits to create awesome projects for a fraction of the cost. (You may have noticed they feature kits designed by Geneva from the popular DIY blog A Pair & Spare – which is doubly fantastic! If anyone has their finger on the pulse of DIY trends, that would be Geneva. 🙂 I was sent the DIY Transparent Satchel Project Kit to play with – and had a blast making my own!
I’ve tried to create a clear pouch made from vinyl acetate AKA PVC before – and found that it’s actually a lot harder than it looks. With every cut of your scissors, you leave an obvious ragged edge. Punching holes puckers the surface, and you need to have a fairly thick sheet of PVC to hold up to being made into a usable bag. I was happily surprised when I opened the Wander & Hunt kit and found that the edges of the acetate were pristine (laser-cut would be my guess) so instead of a raggedy-looking homemade craft, you can make a very polished off-the-rack imposter. Plus, since the holes are pre-punched (and a bonus screwdriver is included in the kit – yay!), attaching the studs to form the shape of the bag is a breeze.
 In all, it took me 11 minutes to actually make the bag from start to finish – which is record time for a project that looks so complicated yet yields such a satisfying result!

 The satchel can actually fit a couple notebooks, a phone, a pencil case, and some makeup – a great size for toting everywhere!
The DIY Transparent Satchel Kit is available from Wander & Hunt for $69 – and all orders over $100 from Wander & Hunt ship FREE worldwide. You can customize your bag with either gold or silver hardware…or pick up some extra supplies (like some glue-on gemstones in settings!) to customize the front flap further. It’s a great project for a fashion-forward handbag perfect for school, work, or play…and no complicated measuring, cutting, or punching necessary.
 Happy DIY’ing – and Happy Back-to-School!
xo
Carly
FTC Disclosure: I was sent a DIY Transparent Satchel Project Kit from Wander & Hunt for review purposes, as well as some other DIY supplies for future projects. I was not compensated in any other way for this post, and the above opinions are my own. My full Disclosure Policy is here.











