Well, it’s high time I shared another men’s shirt refashion, no?:-) Spring is in the air and I’m looking at lighter layers and breezy fabrics.
I last wore this piece on Day 15 in my 30 Days of Outfits Challenge back in November of 2010.
This particular project uses 3 men’s button-down shirts…which may seem like a huge waste, but if you do have a bunch of old shirts laying around, or have shirts where the arms/collars are damaged and no one can wear them anymore, or if you are buying items at 80 cents a pound from the Goodwill Outlet…then it may seem like a useful repurposing. (I used the back of a shirt I had leftover from a previous DIY, and one shirt we were getting rid of since the cuffs were frayed, and one I bought from Goodwill.) And you can obviously use black shirts or differently-patterned shirts so you can create a piece that’s more your own style or works better in your closet than a blue pinstriped piece (which is what I chose to make).
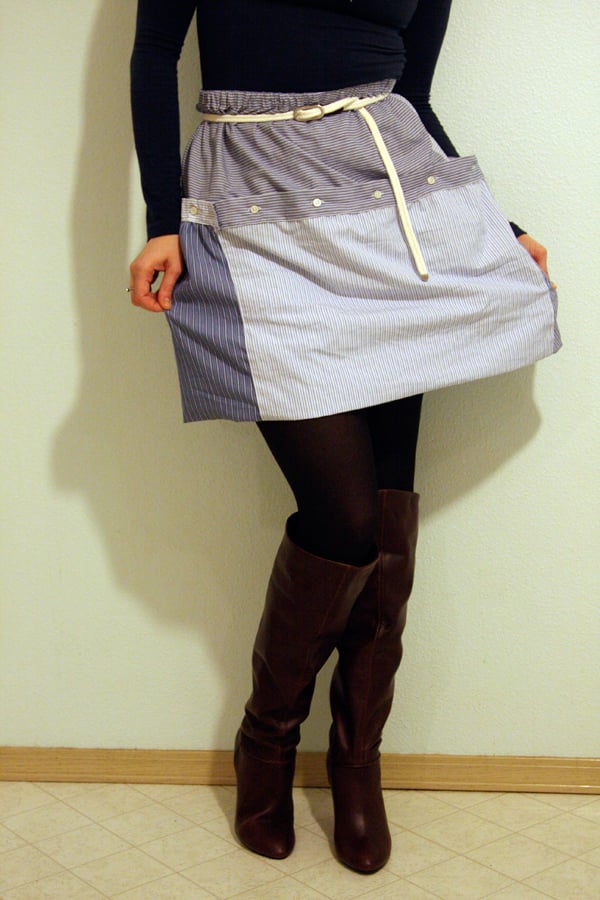
In any case, these shirts can be made into a cute little puff-bottom skirt, whose buttons can be unbuttoned so you can wear it as a puff tube top, OR a midi-length long skirt, OR even a tube-top dress for when the weather gets warmer. Here’s how to do it:
Project Difficulty:  (intermediate)
You Need:

3 men’s button-down woven shirts (only 2 are pictured above…since I first tried to create this skirt using only 2 shirts – which I found impossible. My shirts are size XL.) / 1/2″-wide knitted waistband elastic (don’t get the roll-resistant type; I did and found it “catches” on the lightweight shirt fabric too much when threading it through the casing, making what should be a very simple process extremely difficult)
Tools:
scissors / tape measure / marking chalk / pins / safety pin / matching thread / sewing machine / needle for light- medium-weight wovens / iron & ironing board / about 2 yd. elastic cord (not pictured; you’ll be removing it from the final piece anyway)
How To:
Make the Top Piece
1. Open two of your shirts and lay them with the right-hand sides flat. Measure a piece 9″ wide (including the button placket) by as high as you can get to make a rectangle shape on each right-hand side.
2. Cut out each rectangular piece. Also cut straight across the bottom edges to perfect the rectangle – which I haven’t shown above.
3. Sew the short ends of the button-side of the 2 front pieces together to make a circle. This will be the Top Piece of your skirt.
Make the Main Piece
4. Fold the back of one of your shirts in half (vertically), and measure 9″ from the fold, in a straight line at the bottom of the shirt. Mark that line.
5. Draw straight upwards from the end of the line, as far as you can to the top of the back part, then draw another horizontal line heading back to the center fold. Cut – and you now have a large rectangle 18″ wide and as long as you can salvage from the back of the shirt.
6. Repeat this for the back pieces from your remaining 2 shirts. You should now have 3 large rectangles – all 18″ wide and as long as you could get from the shirts. If your fabric is super-wrinkly, now would be a good time to iron all those pieces flat.
7. Sew the 3 rectangular shirt-back pieces together along their long ends using a French seam.
Not sure what a French seam is? To put it simply, you place the fabric pieces wrong-sides-together and sew the seam. (So the seam allowances are on the outside of your project.) Then you flatten the seam allowances to the left, and then fold the allowances + fabric underneath them to the right, and topstitch the seam to conceal the raw edges. (You can see the fold at the top of the photo above, and my raw edges which I’m concealing as I go at the bottom.) By creating French seams, this allows the skirt bottom piece to be finished completely on the wrong side as well – so it will look perfect when you flip it to the outside for the puffy bottom to the skirt. You can get the illustrated how-to instructions for sewing a French seam here.
Attach the Skirt Pieces Together
8. To size the skirt Main Piece to fit with the Top Piece (which isn’t quite as wide), zigzag-stitch over a piece of elastic cording (with one end knotted) – onto the underside top edge of the skirt Main Piece. Keep the stitches loose and make sure they go over the cord and don’t catch any part of the cord in the needle.
9. Pull the cord to gather the fabric of the skirt Main Piece. Pull the cord until the circumference of this piece is about the same as the circumference of the skirt Top Piece.
10. Pin the skirt Top Piece over the Main Piece – overlapping enough so you can stitch above the buttons and catch the skirt Main Piece beneath. Stitch, following the seam of the button placket (but not through the elastic cord at all). Remove the elastic cord by pulling backwards on the knotted end.
Create the Hem of the Skirt
11. Cut off the left-hand buttonhole placket from 2 of your shirts.
12. So you now have 2 buttonhole plackets. Take the two buttonhole plackets you cut off…
13. And sew them together, end to end, to make a circle, using French seams.
14. Re-use the piece of elastic cord you used in Step 8), and zigzag-stitch over it at the bottom raw edge of the skirt. Pull on it to gather the bottom hem of the skirt so it is the same size as the buttonhole placket circle piece.
15. Pin the bottom raw edge over the buttonhole placket circle piece. (Don’t worry about lining up the buttonholes to the buttons at the junction of the Top Piece and Main Piece of the skirt…they won’t line up perfectly, and that creates a bit of a “puffy” shape to this skirt anyway.)
16. Topstich the buttonhole placket on top of the raw edge hem of the skirt (do not stitch through the elastic cord). Again, I followed the line of topstitching of the placket that already existed.
17. Remove the elastic cord by pulling on the knotted end and slipping it out from under the zigzag stitches.
Create the Skirt Waistband
18. To make skirt casing for the waistband elastic, fold the top part of the skirt under about 1/4″, and then under again about 5/8.” Stitch to create casing. (If holding down the double fold is too tricky, you can always fold down 1/4″ and stitch, and then fold down 5/8″ to be really precise and neat.) Leave about 1″ unsewn so the elastic can be added.
19. Measure your elastic by place it at your waist, and cutting it where the ends meet. (You’ll be overlapping the ends about 1/2″ when sewing, which will create enough tension to keep the waistband in place once finished.) Attach a safety pin to the end of your elastic piece, and thread through the casing from the 1″ opening you left in the previous step.
20. Overlap the ends of your elastic by 1/2″, and stitch over them, making a rectangle with an X through the center for strength.
21. Slip the elastic ends inside the casing, and topstitch the 1″ gap to close.
And You’re Done!
Though technically I think it’s really meant to be a little puff-bottom A-line skirt, with the buttonhole placket on the hem folded up and buttoned onto the buttons on the top piece of the skirt…
You could also wear it as a tube top dress with the waistband pulled over your chest, and the buttons undone. The Top Piece creates a nice little “shelf” at the bodice – which looks sweet and summery when belted…
And you could also wear it as a longer midi-length skirt (with the buttons unbuttoned), though I found it’s a kinda difficult length to pull off…

And when I tried to style it as a tube top (with the buttons buttoned and the waistband worn over my chest), I realized I looked like I was in maternity wear. (*’0’*)
In retrospect I should have ironed this piece again before I took more pictures – it had been squashed in my closet awhile.;-)
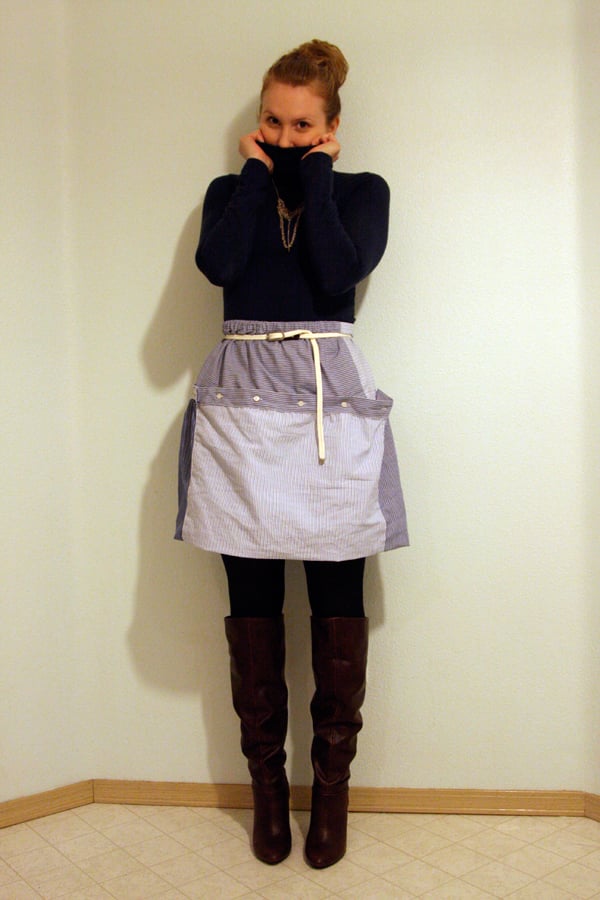
In any event, I know I’ll be able to find a lot of use for it as a skirt – especially when I want to add some pattern to an outfit that is in desperate need of breaking up the solid blocks of color I always default to.;-)
Happy DIY’ing!
xo
Carly

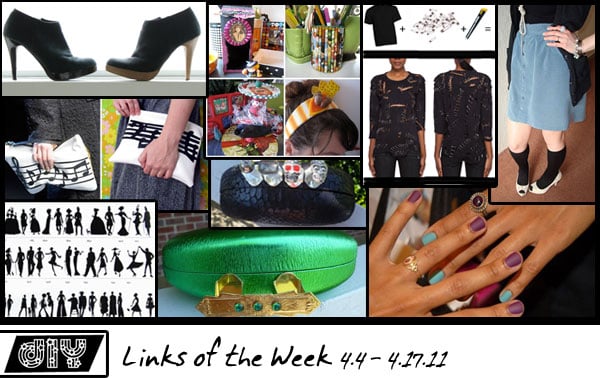 So two weeks have passed since my last DIY LOTW, and it’s high time I shared some links that have caught my interest since then. Lots of projects and ideas are in my inspiration folder for the past couple weeks…
 Img source
 Dismount Creative shared this super-simple way to make a pair of el-cheapo shoes with a faux woodgrain sole…look much more expensive than they are. With a Sharpie, no less! Check it out here and give all your ugly Target and Payless shoes a clean makeover.
 Though it has nothing to do with DIY, I just loved this illustration from Retrogasm: History of Fashion Silhouettes. I kind of want to add 2011 to is: loose blouse + poufy 80’s-style pants!! 😉
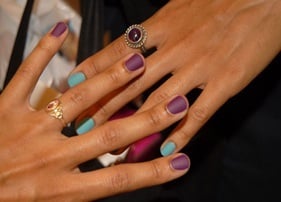 Smashion Babble posted the hottest nail colors for Spring 2011. I think they need a coral-red-orange to add to the list!!
 Chic Intuition‘s DIY Balmain Ripped and Safety-Pinned T and Slashed Pants are so simple but so effective. Where are all my razorblades??
 LOVE this D&G-inspired music clutch by Cut Out + Keep user Andrea. Music to my ears hands. LOL
 Soccer Mom Style is at again – this time with a trio of DIY Alexander McQueen-inspired miniaudieres! GREAT idea to use separate rings to emulate the look of the knuckleduster…and a brooch pinback! Genius!
 Naughty Secretary Club posted 20 Favorite Green Craft projects for Earth Day. (April 22) 3 days left – so get your craft on!
 We all know how much I love a men’s shirt makeover!;-) Here’s a cute project that turns an old shirt into a sweet skirt from Hawadare!


 Sock Dreams
 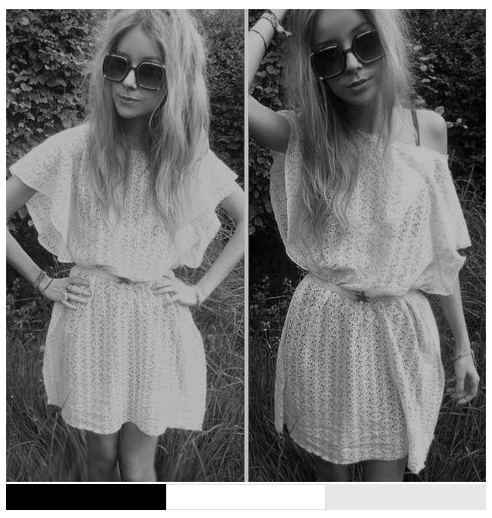 Hi! How do you sew something like this: http://lookbook.nu/look/392753-i-miss-summer or this? http://lookbook.nu/look/908247-Deserts-eating-Oceans
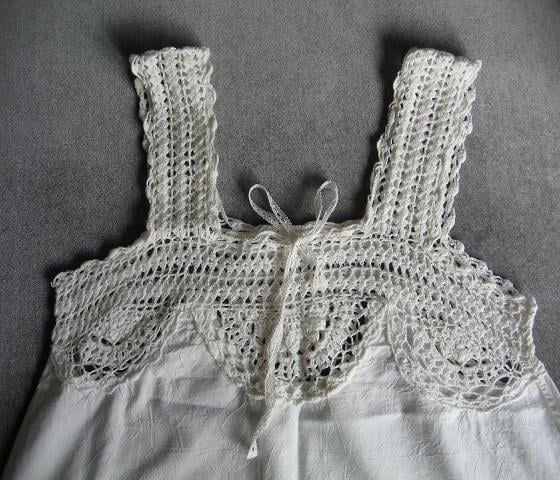 How do you sew this? http://www.easybizchina.com/picture/product/201008/white-cotton-tank-top-with-hand-crochet-507095.JPG Is there a way of cutting the crochet part without it unravelling? Someone told me that if I cut rib knit, it frays, is that true?
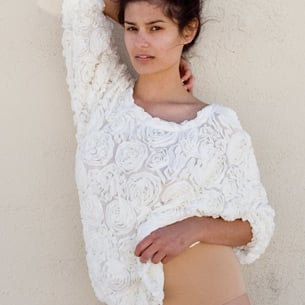 Hey could you do a tutorial on how to make this kind of structure? http://store.americanapparel.eu/rsatd300.html?cid=139
 I saw this photo on Cruel*Thing of a





 After I posted the
  Ingredients
 The meatloaf cupcakes cooked up juicy and sweet because of all the ketchup (which also served as a nice layer in-between the meatloaf and the mashed potato “icing” on top). Lil Tot thought they were cute and tasty…though he admitted he would prefer the meatloaf (meatloaves??) with demi-glace sauce on them next time. Ahwell.
 Ingredients:
 Voila! Tiny hamburgers!
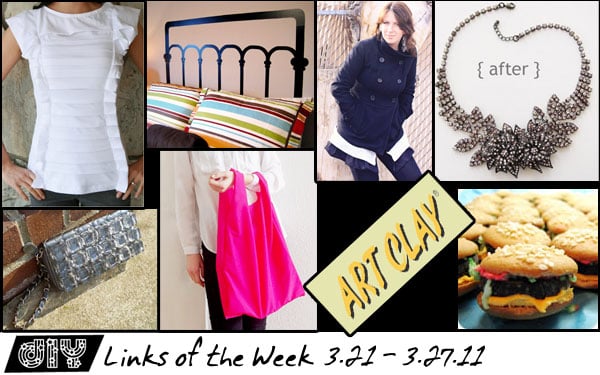 How was everyone’s week? It’s been Spring Break for one of Lil Tot’s schools…which means he’s been home a lot and I’ve been in full Mom mode. But somehow despite the little [3-foot-tall] distractions I managed to get through a whole pile-up of DIYs and projects that have been sitting on my to-do table (yes, I have a whole TABLE of stuff to do…not just a pile;-). I can’t wait to share them all with you!