Jun 8, 2012 | DIY
 {styled}™ by Tori Spelling is a brand-new line of chic jewelry components that you can use to make your own jewelry without the use of any tools (no pliers necessary!)
Available at both Michael’s and Jo-Ann Fabrics stores (though the items available may vary per store), the line is divided into 4 “styles” of components: Noir, Boho, Glitz, and Glam, with different-colored stones and metals that are mix-and-match. The components are designed to work together and to be easily assembled into finished jewelry.
(more…)
Leave Comment
Jun 2, 2012 | DIY
 Lately neon’s been the IT color of the season…and I’m particularly drawn to bright yellow. DIY tassel earrings have been making the rounds for some time on the blogosphere (see …love, Maegan’s version or Studs n Pearls’ version), so I decided to spice up my version with a bit of elegant rhinestone chain around the tops of the tassels. The great thing about using neon embroidery thread for this project? For some reason the quality of the thread is such that it unravels in a heartbeat…particularly annoying for friendship bracelet projects…but perfect for DIY tassels!! Here’s how to make them:
Materials: (more…)
Leave Comment
Apr 14, 2012 | DIY
 As you guys know, I’ve gone out to Japan for a month to help with a family medical crisis. In the meantime, some very talented and very kind DIY bloggers have come to my rescue with offering up some DIY tutorials to share with all of you while I’m away! I’m so lucky to have such incredible friends who can help out with blog content during this time.
First up, Samantha from Bromeliad Living has volunteered an amazing DIY Macrame Bracelet tutorial – perfect for Summer and all those music festivals coming up. Or just if you like saving a hundred or so bucks in mimicking the original!!;-) Take it away, Samantha!
 Hello, I’m Samantha from Bromeliad Living, and I’m pleased to be guest posting for Carly while she is in Japan. Carly’s information-packed blog has gotten me through many DIY projects, particularly the ones that involve inscrutable things like shirt sleeves.
In addition to my personal blog, I write about DIY Fashion and DIY Home Decor for Examiner.com.
Today’s tutorial is inspired by Jensen Conroy’s Macrame and Brass Bracelet ($129; above). My version takes a few bucks and a few minutes to make, and the result is a nice, sturdy, giftable bracelet. Here’s how… (more…)
Leave Comment
Mar 9, 2012 | DIY
 Hello lovely readers!
  Today I have a wonderful talented guest poster here: Katrine from Make It and Fake It. Though her blog is fairly new on the DIY scene, she’s been a posting a number of chic and easy tutorials that can help you get the designer look at a fraction of the cost.
  And she’s been especially prolific with her bracelet tutorials – giving you a TON of DIY options to make your own pretty, bejeweled, knotted, blingy, stacked wrists full of arm candy.
 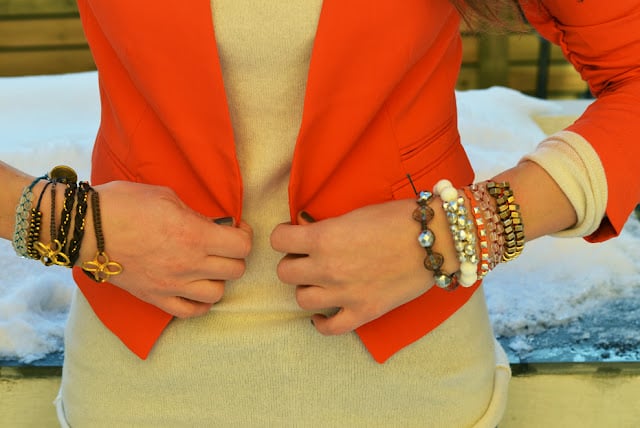 Check out her tutorials for the Orange Stud Bracelet, White & Stud ArmCandy, Hair Elastic/Bracelet, and Gold Clover Bracelets and to get you started!
But she’s here today to share with you guys a never-before-shared tutorial…for a DIY Shamballa bracelet! What’s a “Shamballa bracelet?” you ask. Well, just read on! Katrine, take it away!
Hi everyone,
I am so excited to be a guest here at Chic Steals! Today I’m going to share a special DIY with you all so I hope you love it as much as I do.
Have you seen the Shamballa bracelets everyone from Jay Z to Heidi Klum have been effortlessly rocking?! Well if you don’t have the thousands to spend on a black diamond real one, this is a pretty cool swap.
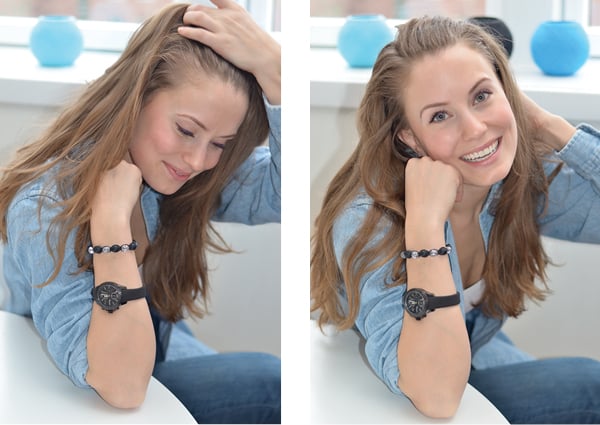
You will need black (or what ever colour floats your boat) cotton string, different kind of round beads and 30min of patience. Lets get started.
 You cut a piece that’s long enough to go around your wrist with a couple extra inches on both sides (for the centre string), and one that’s about 4 times as long for the string you’ll be wrapping around the beads.
Tie the longer string about 4-5″ from one end of the centre string and start with “braiding” (see pic for how to) I love this technique and I use it for several of my bracelets (for different ways to use it you can check it out this tutorial here and my Orange Stud Bracelet [linked above]). How you do it is that you take the right string over the centre string, then you take the left string over the right string, under the centre string and up through the loop made by the right string (see pictures). Then you do the opposite, so the left one over the centre etc., adding your beads as you go.
The clasp is adjustable which is perfection; I hate awkward clasps that are hard to put on by yourself. For this one I just crossed the two sides of the centre string did the same “braiding” technique to lock them together.
I seal all my knots with clear nail polish, and I find that does the trick.
Add beads to each side of the string ends so they won’t slide through…and then you are ready to go!

Well, that’s it for you, readers! Hope you liked this post, and if you’d like to see more of Katrine’s lovely creations, check out her blog below!
Thanks Katrine, it’s been a pleasure!
xoxox
Carly
~If you liked this post, please share it!~
Leave Comment
Mar 4, 2012 | DIY
 Removable collars have been the must-have-it accessory for the past year now, and I honestly didn’t think there were any more varieties I hadn’t seen. Bejeweled! Neon! Flowered! Pearl-encrusted! Leather!
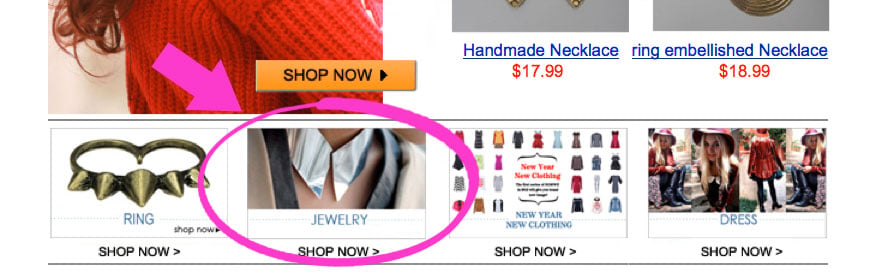 But this metal collar necklace from a Romwe.com newsletter (above) caught my eye – and I was heartbroken to find it was sold out. (Here’s a similar one if you’re interested.) “I can make that,” I reasoned, and set about doing it. (No soldering involved!!) With just some foam, embossing metal, and jewelry supplies, you too can make your very own chic metallic accessory! Here’s how:
You Need: (more…)
Leave Comment











