Apr 11, 2012 | DIY
 I’m so glad that Spring is finally here in all its glory – and floral items are on the top of my must-wear list for the season. But I couldn’t find any chic floral prints that I liked – and that were actually affordable – and so set out to make my own. Applique is the name of the game – and is super-simple to do if you have an iron, a pair of scissors, and a little patience!
  Make your own on-trend lightweight layer for Spring by jazzing up an old piece from your closet (or thrifted – mine was $2.99 from the local Goodwill!) – and infuse your days with a little flowery fun. Here’s how…
(more…)
Leave Comment
Jan 5, 2012 | DIY
 From time to time I get “how do I DIY this…?” questions from my readers, and I’m always glad to help out! Though I may not be able to actually make the item in question (due to time or materials constraints), hopefully I can at least offer up some advice to put you on the right path to making it yourself. I received this question on one of my posts from last week:
I have a request, since you are the best of the best, could you maybe make one of these?
Well I don’t know about the best of the best <*blushes*> but I do know how to translate high-priced into DIY-able!! And for $518, that Marcus Lupfer sweater is just begging for it!!;-)
The absolute easiest way to DIY this? Find a sequined handbag and sew it onto your sweater. Seriously! This would give you a working purse attached to your clothing – how neat. Also, since it’s after the holiday season, many sequined evening bags are on sale. Ebay is also a great source for the sequined, vintage-style pouches that this one looks like.
If you don’t want to literally sew a bag onto your sweater…when it comes to sequined and beaded stuff, there often isn’t a way to do-it-yourself with sequins…unless you want to sew all those little sequins on yourself. (I did this for a top I wanted to DIY, and it took forever.) The results are indistinguishable from the original because of the handiwork, but I think it’s a contradiction of the idea of quick-and-easy DIY.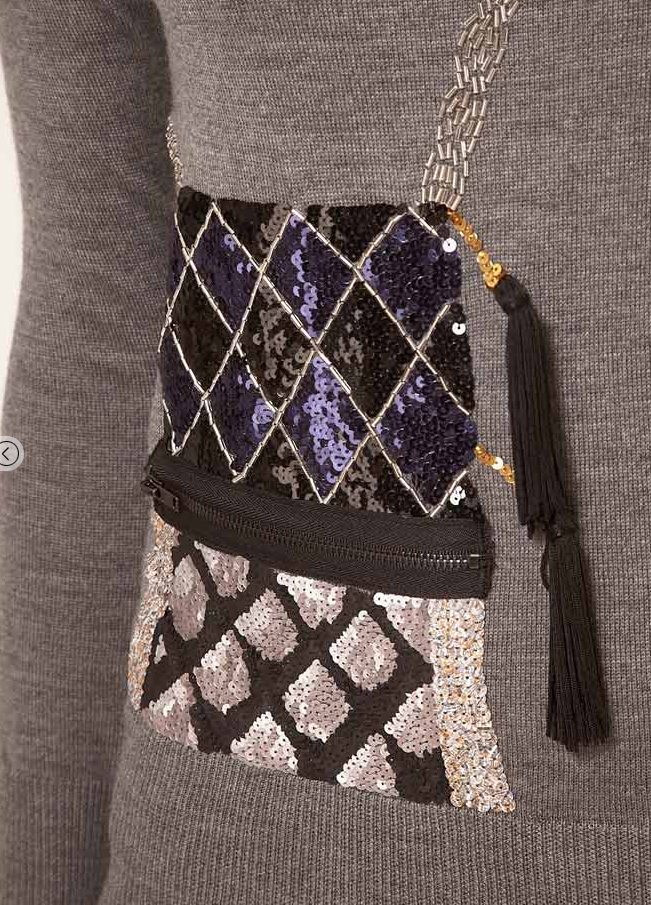
So to DIY this relatively quickly, but still as faithfully as possible to the original, you’ll have to compromise a bit. There’s still a lot of hand-sewing involved…and you potentially could stick a lot of this on using Jewel It! Embellishing Glue…but I’d really recommend sewing as much of it as you possibly can, unless you want stuff peeling off your sweater as your wearing it. Also, because of all the beaded and sequin trims involved, collecting all the materials for this could get pretty expensive. Here’s my list of recommended materials and how to:
Materials:
*gray sweater
*2 black tassels
*1 short plastic-tooth black zipper
*stretchy sequin trim in black, silver, and purple (I’ve used this before in my Sequin Bow Belt Tutorial)
*lightweight gold curb chain
*silver beaded trim (I think this trim from M&J Trimming is a pretty good match!)
*pre-strung silver bugle beads (not the kind loose in the bag; to save you some trouble)
*black acrylic paint

How-To:
1. Use marking chalk to sketch out the size and shape of your bag on the sweater, and mark where the zipper would go.
2. Hand-sew the silver beaded trim from the top of the bag diagonally towards the shoulder, and also on the other side of the bag under the arm.
3. Hand-sew the silver sequin trim to the area below where the zipper will be. Cut short strips and place them vertically, slightly overlapping.
4. Use the acrylic paint to color in some of the sequins in a quilting pattern. Allow to dry.
5. Take strips of the black and the purple sequin trim and weave them together (like a basket-weave) to make an interlocking diamond pattern. Hand-stitch at the overlapping areas to secure.
6. Hand-stitch this interlocked rectangle to the top part of the bag area on the sweater.
7. Cut the top of the zipper accordingly, and hand-stitch the shortened zipper to the sweater, covering up the edges of both areas of sequins.
8. Attach a tassel to each end of the gold chain, cut the chain in half, and-stitch to one side of the bag.
9. Hand-stitch strings of bugle beads in-between the colors in the top part of the bag.
If anybody else out there has a “How do I DIY…?” let me know in the comments, or ask away on Formspring.me! (leave the URL of the inspiration piece, please!)
Thanks for your question – hope that helped!
xoxox
Carly
~If you liked this post, please share it!~
Leave Comment
Sep 2, 2011 | DIY

Nude shoe + Leather paint = Colorblock Pump
(photo: ASOS PATCHI Cylindrical Heel Platform High Shoe)
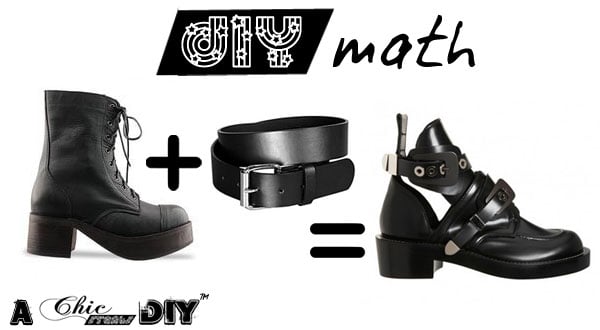

90’s-style clunky boots + Belts (glued on with Loctite Vinyl, Fabric and Plastic Glue = Motorcycle Boots
(photo: Balenciaga Cut-Out Flat Boots)
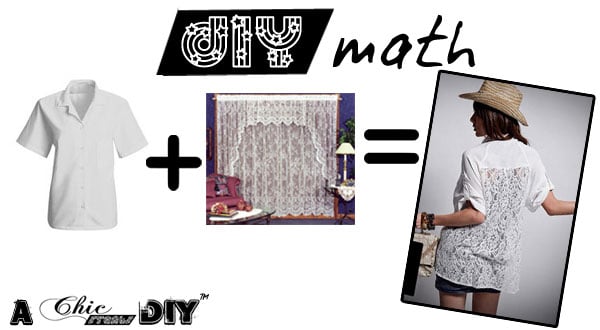
White blouse (back cut away) + Lace curtain (thrifted) = Lace-Backed Blouse
(photo: PUFFY Roll-Up Sleeve Lace Back Shirt)
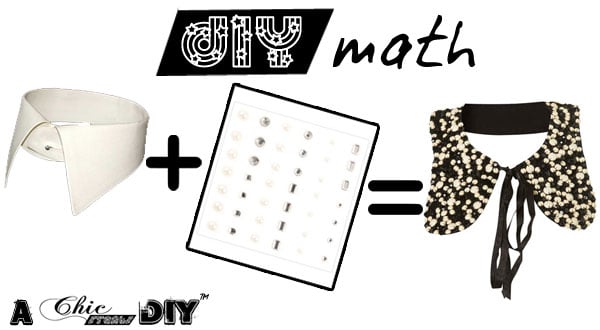
Shirt collar (cut off a white shirt) + Scrapbooking stickers (fixed with Aleene’s Glitter and Gem Glue) = Embellished Collar
(photo: TopShop Cream Mixed Stone Collar)
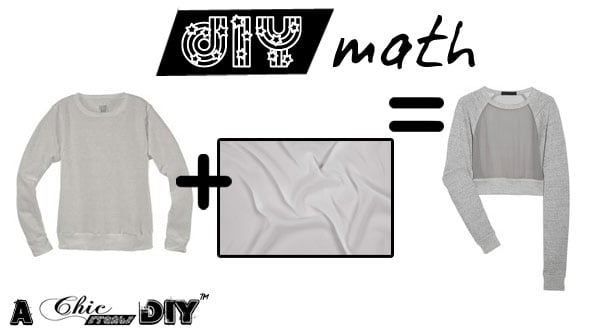
Sweatshirt + Chiffon (hand-stitched to seams, laid over front) = Mixed-Media Sweatshirt
(photo: Alexander Wang Silk-Chiffon Paneled Sweatshirt)
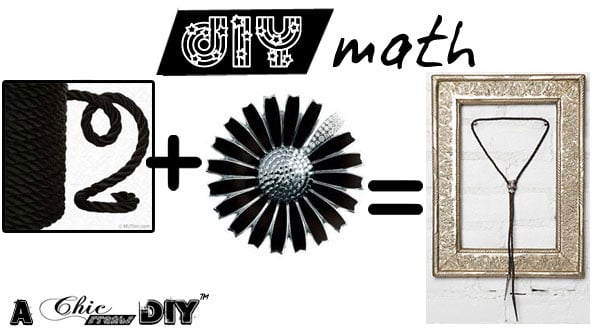
Black cord + Brooch (pinned in center) = Bolo Tie Necklace
(photo: Vintage Zuni Thunderbird Bolo Necklace)
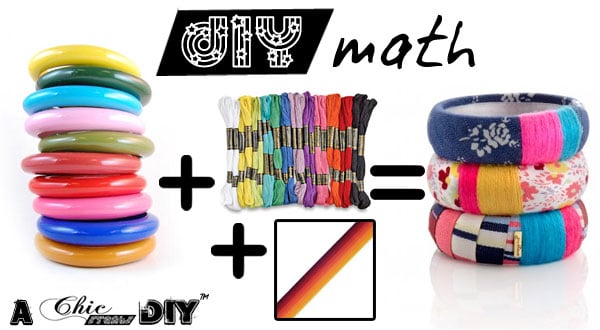
Embroidery thread + Grosgrain ribbon + Bangles = Colorful Wrapped Bangles
(photo: JewelMint Garden Patch Trio)
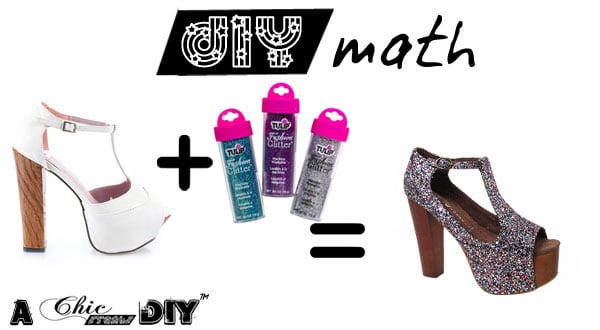
T-strap sandal + Glitter (adhered with Mod Podge or Tulip Fashion Glitter Bond = Glittery Sandals
(photo: Jeffrey Campbell Foxy Glitter Sandal)
Happy DIY’ing!
xoxox
Carly
~If you liked this post, please share it!~
Leave Comment
Aug 9, 2011 | DIY
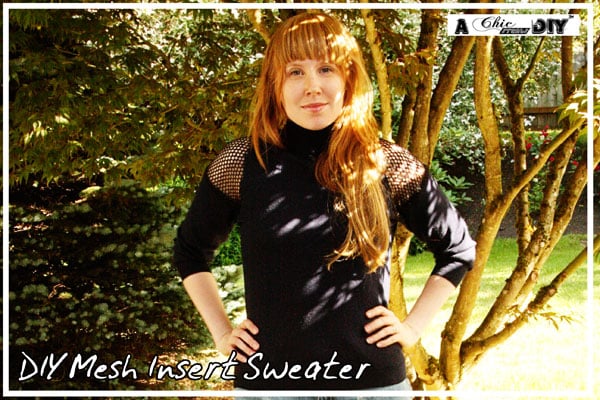
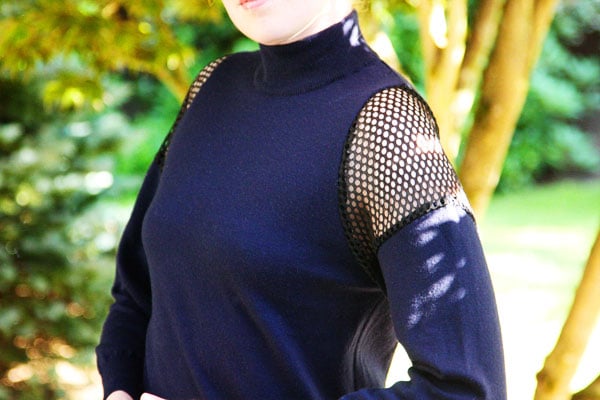
I had the opportunity to guest post for the blog Seamingly Smitten today, and I’m thrilled! They are hosting a 12-day Sew Chic Upcycling event with guest posters every day – and a ton of tutorials on how to upcycle, re-use, and re-purpose just about anything you could think of. In my post I show you how to turn a sweater into something sporty and Alexander Wang-inspired…with the addition of some mesh fabric from a thrifted football jersey. Please check it out below!
Thanks, Jenny, for having me! And definitely check out all the other guest poster’s tutorials, as well as the long Linky list at the end of the post for tons more inspiration.:-)
 Happy DIY’ing!
xoxox
Carly
~If you liked this post, please share it!~
Save
Leave Comment
Apr 26, 2011 | Fashion
 Have you guys seen Fabulous on a Budget? It’s a FABULOUS website all about being creative (with not a lot of cash), run by two DIY mavens: Mary Darling and Leah Ashley. I love their fun and glamorous aesthetic – and you may have also seen them on TV! They also have created videos for Style TV for the Look for Less! (Remember that show??? I LOVED it!)
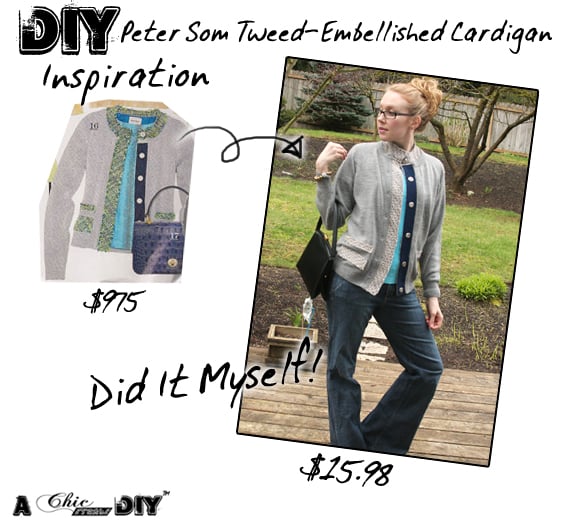 When they contacted me asking if I’d like to guest-blog for them, I said heck yeah! I even went the extra mile and edited and laid out my photos in a Photoshop collage instead of just editing them like I normally would.
With just a bit of sewing and some glue, it’s super-easy to update a boring old cardigan into something Springy and fun. Please check out their website for the full how-to!
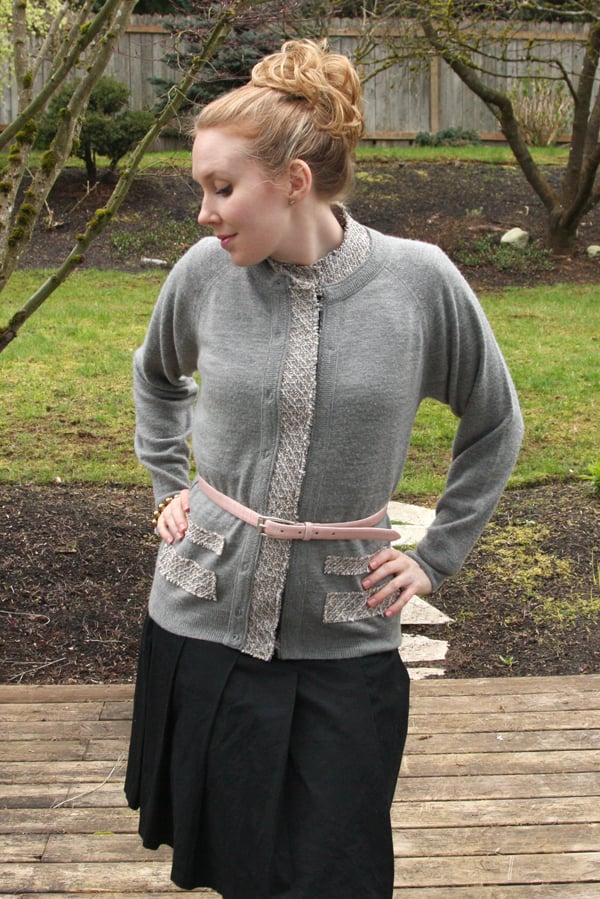
Hope you guys like it!
xoxox
Carly
~If you liked this post, please share it!~
Leave Comment











