Dec 20, 2011 | DIY
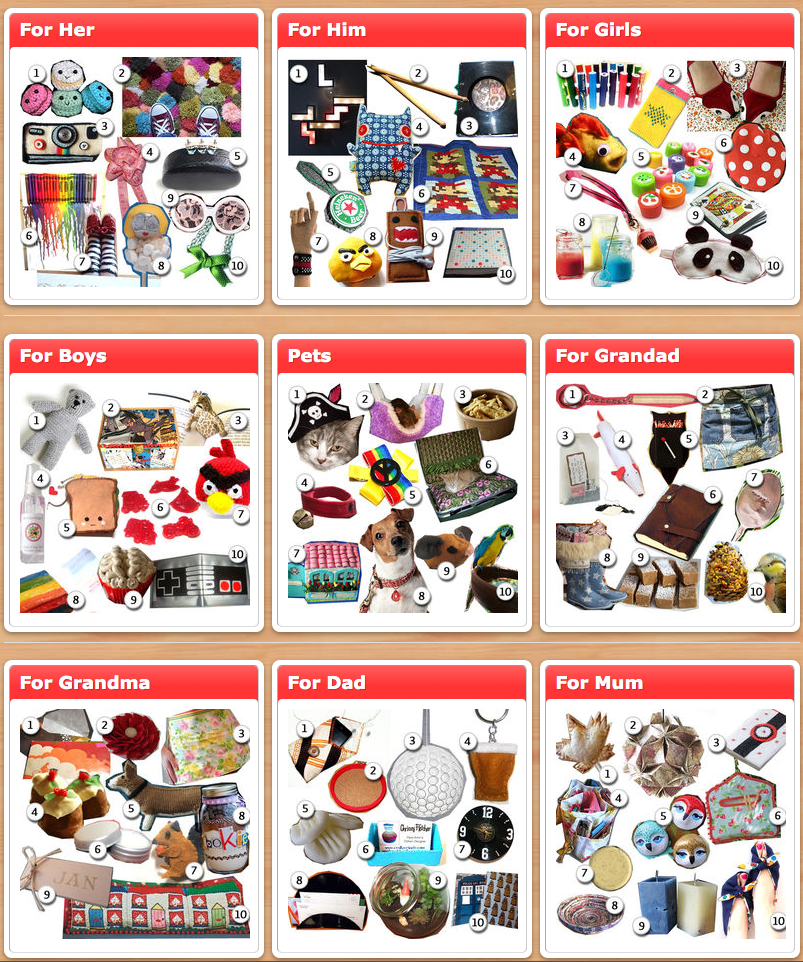 Every year I’ll do a DIY gift guide for my blog, but this year, I may just not get around to it. However, crafty sharing community Cut Out + Keep has got a leg up on me with their NINE fabulous guides for DIY gifts for everyone in your life. From Grandma to your kids (and even your cat!) Check out their great ideas for making it a Handmade Holiday:
I’m feeling so inspired just browsing – and now wish I had seen these before I sent all my Xmas packages out! (But of course all these gifts could just as easily be made for another event…Valentine’s Day, Easter, birthday, anniversary…)
xoxox
Carly
~If you liked this post, please share it!~
Leave Comment
Dec 14, 2011 | DIY
 I don’t know about you, but I have a lot of trouble drawing straight lines with my non-dominant hand. Whenever I attempt some nail art with straight lines, my efforts on one hand turn out perfect, and the other hand looks all wonky and wiggly. I figured a template or stencil would be the best way to combat this – so I thought why not DIY? These candy cane striped nails are actually a cinch to do, and if you’re using sticky color dots (found at any office supply store), they’re also cheap! No striper brushes or special nail polish required. Here’s how:
You Need: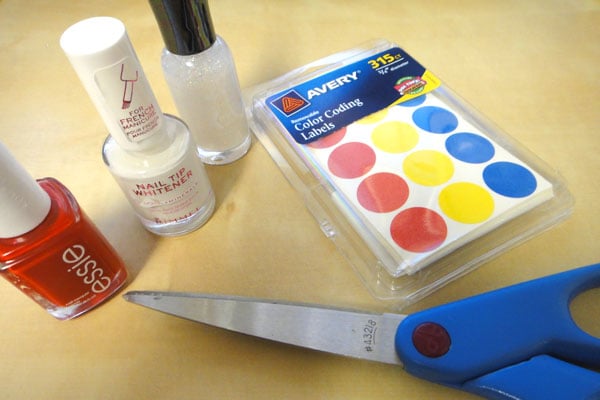
*sticky dots (or you can using sticky labels, or even tape…anything that will stick to your nails will work)
*base nail polish color (I’m using Essie’s Russian Roulette from my Secret Santa Miranda from the Portland Blogger Meetup)
*contrast nail polish color (I’m using white, from a Rimmel French Nail Polish Set)
*glitter nail polish/topcoat (I’m using Sally Hansen Hard as Nails in Disco Ball , which contains little holographic flecks)
And…
*scissors
How-To: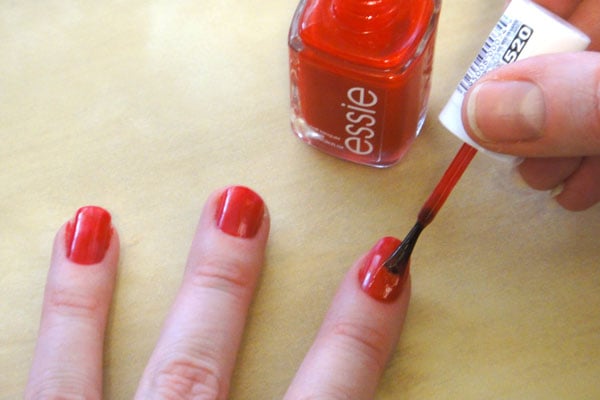
1. Paint the base color onto your nails. I had to do two coats to achieve uniform coverage. Allow to dry completely before going on to Step 3). (I couldn’t wait, so ended up making things a bit messy.)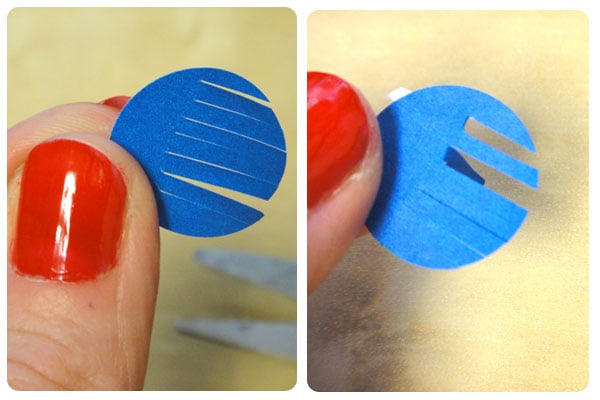
2. Remove 5 dot stickers from the package. Cut each of them into a fringe, stopping the cuts before the edge of the circle. 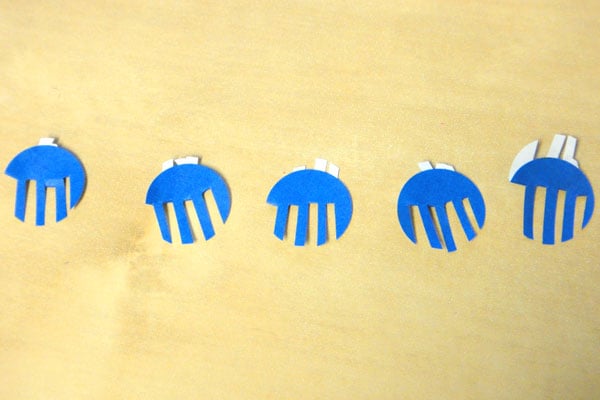 Fold every other fringe strip under itself…this will become the stripe stencil for your nails.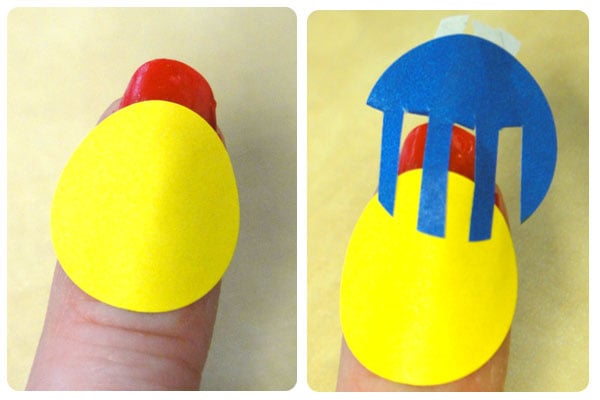
3. After your base color is completely dry, place the dots onto your nails, positioning the stripes how you like. For my shorter nails I made my stripes diagonal, like a candy cane, and for my longer nails I used an uncut dot to create the curve of the tip, and then placed the cut dot with the stripes going up-and-down on the tips only. Have fun with it and mix it up!
4. Use your contrasting color of nail polish to paint the stripes. You may have to do two coats for complete coverage. Make sure the stripes are strongly stuck onto your nails or else you’ll get leakage around the edges!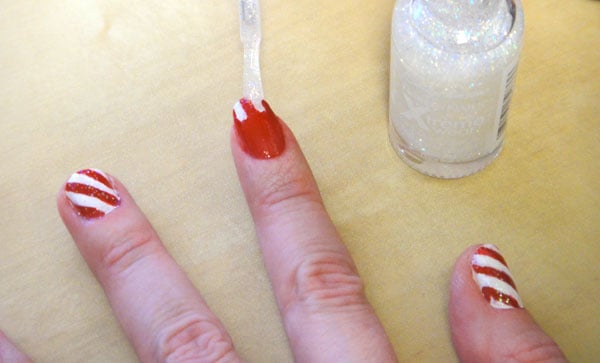
5. After the polish is dry, remove the stencils and finish with a swipe of glitter.
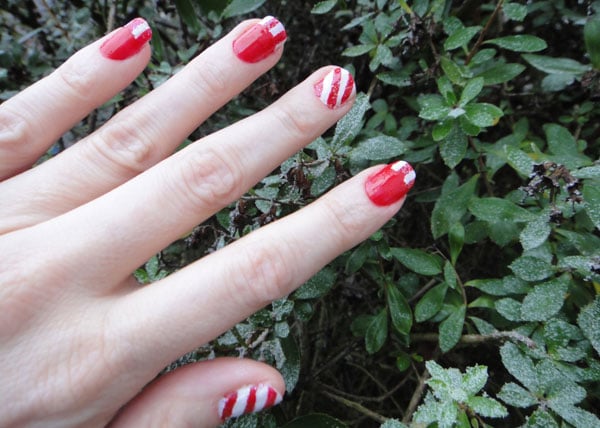
Now if only I had peppermint-scented nail polish…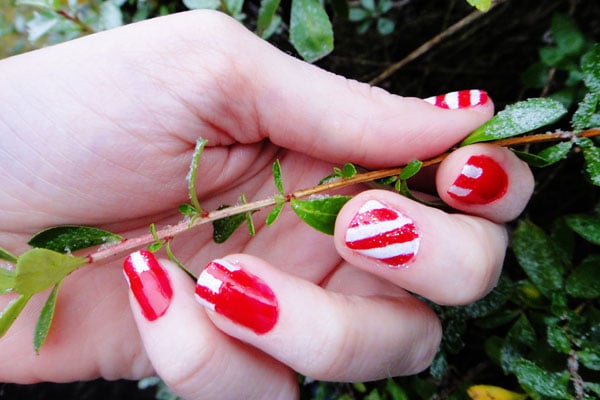
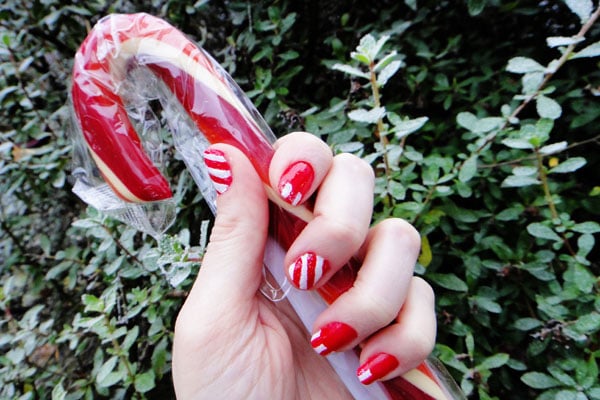 Happy Holidays, everyone!
xoxox
Carly
~If you liked this post, please share it!~
Save
Leave Comment
Dec 10, 2011 | DIY

Now I know there have been a million and one tutorials floating around the internet for glittery, blinged-out items…including shoes. So this may be a little superfluous, but it’s a little bit of a different method than the other tutes I have seen, hopefully resulting in a very permanent DIY! Read on for the how-to…
You Need:
(more…)
Leave Comment
Dec 3, 2011 | DIY
 If you celebrate the holidays with trees and wreaths – have you got your decorations up yet? Or are you maybe thinking something…maybe…a little different this year?
When it comes to indoor decor, I’m definitely not a Pottery Barn or a Crate & Barrel person…but when Crrte & Barrel launched their modern-aesthetic catalog, CB2, I feel in love. The spaces are minimalist and well-designed; contemporary and unified. Maybe a bit youthful and hipster (but when did that become an insult, O Internet?) The design sense is just amaaaahhhzing.
In any case, I always love falling into the CB2 catalog and dreaming of redoing my spaces…perhaps it’s just the lack of kid-clutter I find so appealing? 😉 Their ideas for DIY alternative holiday trees are a great place to start:
The Whirly Tree

http://blog.cb2.com/home/2011/10/20/how-to-create-a-whirly-tree.html
The String Lights Tree

http://blog.cb2.com/home/2011/10/20/how-to-create-a-string-lights-tree.html
The Frame Tree

http://blog.cb2.com/home/2011/10/20/how-to-create-a-frame-tree.html
The Chalkboard Tree
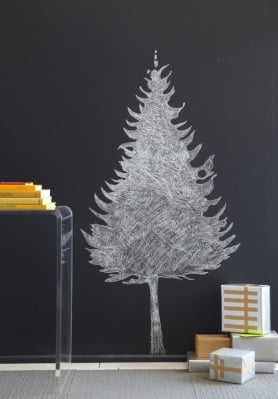
http://blog.cb2.com/home/2011/10/20/how-to-create-a-chalkboard-tree.html
~Ideas for Wreaths~
The Bubble Wreath

http://blog.cb2.com/home/2010/10/14/how-to-make-a-bubble-wreath.html
The Snowball Wreath
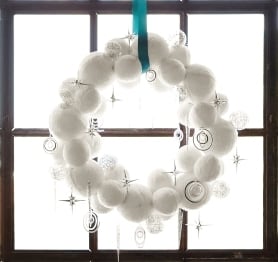
http://blog.cb2.com/home/2010/10/14/how-to-make-a-snowball-wreath.html
P.S. They also post other DIY home and decorating ideas, so check through the blog archives to see what makeover awaits!
Happy DIY’ing!
xoxox
Carly
~If you liked this post, please share it!~
Leave Comment
Nov 24, 2011 | Life
 img source
If you’re an American, today is T-day [Thanksgiving Day] for you, and you’re likely celebrating it in some way, shape, or form. Whether you celebrate with immediate family, extended family, friends, or even going solo, I wish you the very best of holidays! What are you most thankful for?
Thank YOU all for reading, and accompanying me on my blogging journey. I am so thankful for all of YOU!:-D
xoxox
Carly
Leave Comment











