Apr 1, 2013 | DIY
Declare your love for the Big Apple! Take that shirt showing genuine NYC pride and remake it into a stylish totebag. LOVE is in the details! Here’s how to make your own:
You Need:
I Love NY T Shirt (mine is a unisex Large) / White Thread
Tools: Tape Measure / Chalk / Sewing Machine Needle for knits / Scissors / Pin(s) / Serger /overlocker (optional)
Leave Comment
Mar 26, 2013 | DIY
 So, in case you missed being able to attend the Free People Portland x Chic Steals DIY Event over the weekend, here is the tutorial for these pretty wire-wrapped quartz pendant necklaces! Inspired by the Banjara Wishbox Pendant Necklace http://www.shopstyle.com/action/loadRetailerProductPage?exit=ProductDetails-Image&id=404915087 available at Free People this Spring, this quartz necklace is fairly quick and easy to make – and looks lovely layered with other necklaces, or all on its own as a standout piece. Here’s how…
You Need: (more…)
Leave Comment
Nov 2, 2012 | Media

New Dress a Day: The Ultimate DIY Guide to Creating Fashion Dos from Thrift-Store Don’ts is the book based on Marisa Lynch’s popular New Dress a Day blog. In Summer 2009 Marisa lost her job, and in the interim of job-hunting and being bummed out, she happened to catch a screening of the movie Julie and Julia. She left the theater inspired to do exactly what Julie Powell did: create a blog, and post a new recipe on it every day, for 365 days. But her “recipes” would be not cooking but sewing projects: “dressipes” that she could whip up daily and show other people how to emulate. And her choice of materials were thrifted items: the only things she allowed herself to purchase for the entire year.

By November 2010 her blog was receiving huge traffic, media requests poured in, and Marisa was suddenly a name all over upcyling, eco-friendly, fashion, and style blogs. This book contains many of her most talked-about projects, as well as projects, tips, and ideas she’s never shared before, all punctuated with her unique sense of fun.

As you can tell, Marisa is a great model: photogenic, funny, and quirky. The downside to this is that many shots of her finished creations are taken from unusual angles, cropped, or in poses so it’s hard to really get a sense of how the final project looks once done. Some of the photos could be better quality.

The design of the book echoes the design of her blog: homsepun, cute, and stitchery-inspired. She offers a HUGE variety of tips and tricks about refashioning garments, from small fixes and ideas to entirely overhauling the garments from the seams up. Some ideas are not geared for the longevity of the garment (like using duct tape to hold a hem up); they’re more just as ideas for what you could do.
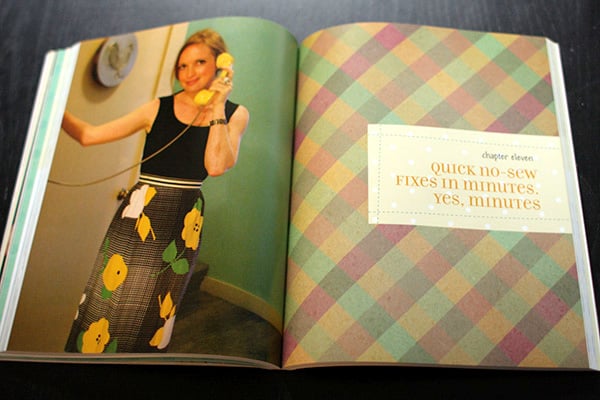

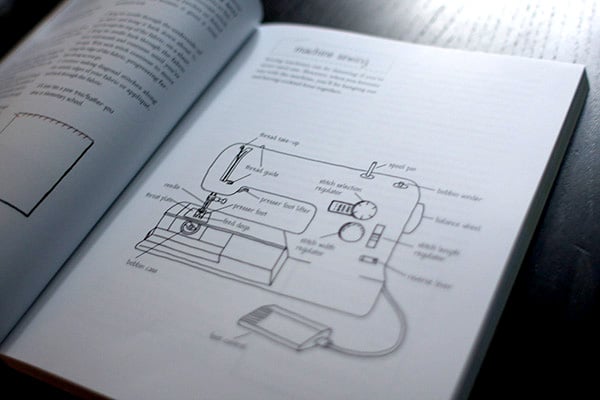
The book starts off with a lesson in the basics: sewing machine parts, stitch types, safety, and choosing the right needles. Essential to any beginner to start with, or any expert who wants a refresher. The majority of this book focuses on sewing, and it’s definitely geared towards people who are at least slightly comfortable with sewing (even if just by hand!) and are looking to learn a little more. (There are some no-sew projects in the book, though.) The projects Marisa shares are more jumping-off points for what you could do with garments you have or thrift; a compendium of ideas that could be applicable in many refashioning projects depending on what you do. Unlike her blog, however, the steps in many projects are not fully or carefully photographed, so unless you already are familiar with the techniques being used, you might have some difficulty following along.

She includes sections on Accessories, Leftovers, and Trimmings, but judging by the number and results of the projects in those sections, it’s clear that her skillset lies more in the sewing and upcycling of garments into…well, better garments, rather than into small pieces and accessories. Some of the finished garments may not be to one’s personal taste or look particularly modern (there is only so much you can do with polyester, after all!), but you can always take the techniques and ideas and apply them elsewhere.
The book is also chock-full of little stories, sayings, and vignettes from Marisa’s life that add to the feeling that she is truly sitting beside you, chatting with you as you work. References to current and recent pop culture abound, which make for fun and current reading, but which could date this book quickly. Flea-market shopping ideas, how-tos on how to fix mistakes, where to shop, and a project ideas section and mood board page make this potentially a useful resource for your future shopping outings and project planning.
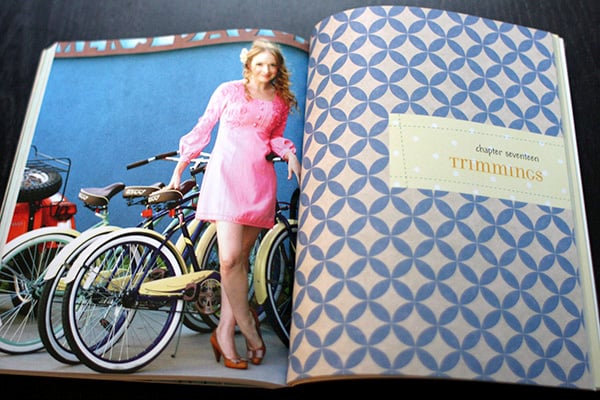
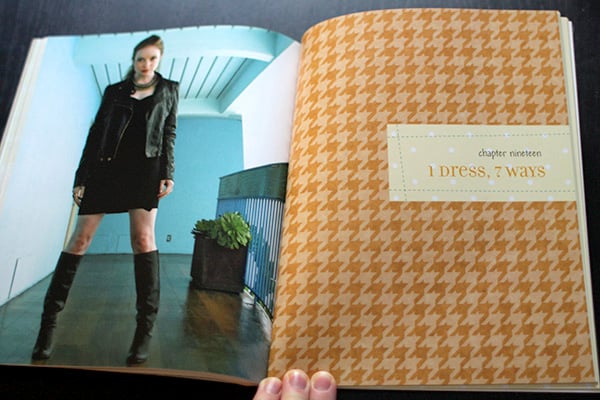
Last but not least, seeing the author in her many ensembles and how she’s been styled can also give you some great ideas for how to style similar pieces in your own closet.
Rating:  (3 out of 4)
Overall: Amusing, entertaining, and full of ideas. A little tough to follow in places unless you’re an intermediate sewist; project techniques sometimes limited to that specific cut/style of the piece. But Marisa’s can-do attitude is infectious, and you’ll find yourself smiling by the last page…even if you use this book only as a technique reference in the future.
Have any of you guys checked out this book, or read Marisa’a blog? What do you think?
xoxox
Carly
FTC Disclaimer: I received one copy of the book New Dress a Day for review purposes. I have not received any other compensation whatsoever. The review and opinions above are my own. To read more about my Disclosure Policy, click here.
Leave Comment
Jul 15, 2012 | DIY

A few of you asked for the instructions for making the milk carton bird feeder I featured in this post, so I scanned the original instructions from Parents Magazine to share with all of you.
How to Make a DIY Bird Feeder Out of an Upcycled Milk Carton

{click on photo to enlarge}
Tips They Didn’t Include:
*Although it doesn’t mention this in the instructions, it is extremely difficult to paint over a milk carton with acrylic paint. It took me 5 coats to even get to the opacity shown above!! (I swear, I studied that photo for near to 15 minutes trying to figure out how they got it that opaque-looking.) I’d highly recommend either lightly sanding the surface, or ideally, applying a coat of primer first and then doing your acrylic paint. That way it should be much easier to get a solid color to the feeder.
*Although this isn’t mentioned in the instructions either, since this bird feeder is probably going to be used outside (right?) a good coating of spray sealant is highly recommended. Once my sprinklers hit it that acrylic paint cracked up completely.
How to Get Birds to Come to Your DIY Milk Carton Bird Feeder:
*place it slightly at or above (an adult’s) eye level, in a sheltered area
*place it away from squirrels, cats, or other predators that may scare away the birds
*make the opening only large enough for the type of bird you’re looking to feed (not large enough for squirrels or crows, etc)
*essentially it’s not the color of the feeder that attracts the birds, it’s more the location, accessibility, and food. (Except for hummingbirds, who are attracted to the color red.)
*place something shiny, like a piece of metal, on the feeder. Birds love shiny objects!
Source
Hope that works for you guys! It’s a super-fun craft to do with your kids (or even by yourself for your garden, deck, or patio!) – so definitely try it out. Ours is drawing a number of birds to it every morning!
Happy DIY’ing!
xoxox
Carly
~If you liked this craft, please share it!~
Leave Comment
May 2, 2012 | DIY
 I still have a ton of lace fabric from that curtain I bought last month to make my DIY Lace Maxi-Skirt…so I did a couple projects before I left for Japan to use up the extra. One of the DIYs was re-vamping a pair of granny-booties with a lace covering and making them into the perfect booties for Spring. With all the flowered boots popping up in retail stores lately, I figured it was high time to do a pretty feminine lace version! Here’s how:
You Need: (more…)
Leave Comment

 *This project I contributed to Snippets Magazine: The New York Issue on Cut Out + Keep back in 2010, and am re-posting here on my blog.










