Sep 20, 2011 | DIY
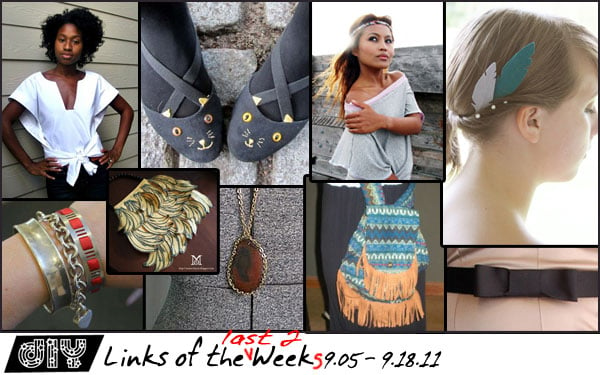 Another week has gone by in a thrice. Between spending 3 hours a day in the car toting Lil Tot to and from school, I’m also trying to stick to my workout schedule. For almost a month now, it’s been 6 days a week of hard, grueling workouts. Focusing on getting healthy, I’ve been preparing a lot more meals at home, measuring everything, and trying to cut out the junk. There’s been a few visual improvements overall, and I’m feeling a lot better – but all this activity is making me exhausted, ready to hit the hay at 9 o’clock at night instead of staying up and browsing the Internet for more DIY. You guys have been so great in sending me links to your projects, I wouldn’t know what to do without you!
So here are a few things that caught my eye this week:
Crafting Your Own Fashion – a Frugal Fashionista’s Guide from Frugal Beautiful contains a number of must-try tutorials and ideas. It will definitely keep you busy for awhile!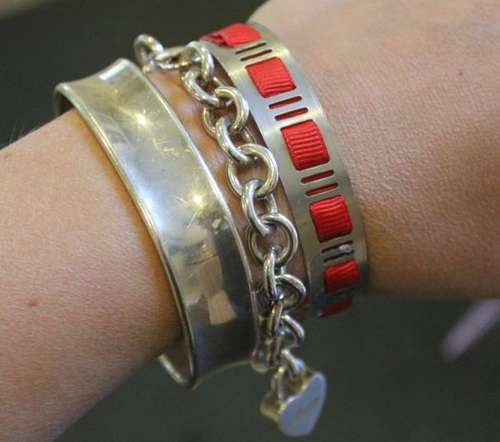
And the hardware as adornment trend continues! Henry Happened‘s Instructable for a grosgrain ribbon bracelet from a hose clamp looks so chic I had to look twice at it to realize it came from Home Depot!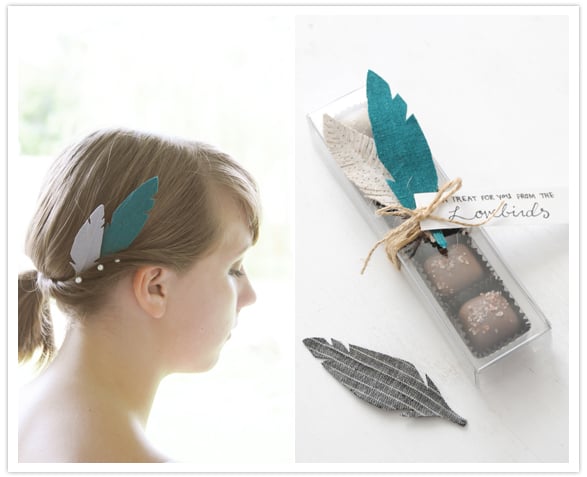
Make some easy fabric feathers with the help of Ez from Creature Comforts (as posted on 100 Layer Cake). Use to decorate headbands, brooches, jewelry – even as a cruelty-free option for weaving into your own hair!
From The Opposite of War comes this sweet fringed boho backback-style bag. It could also be done all in leather or vinyl if you don’t want to use fabric, and looks so chic!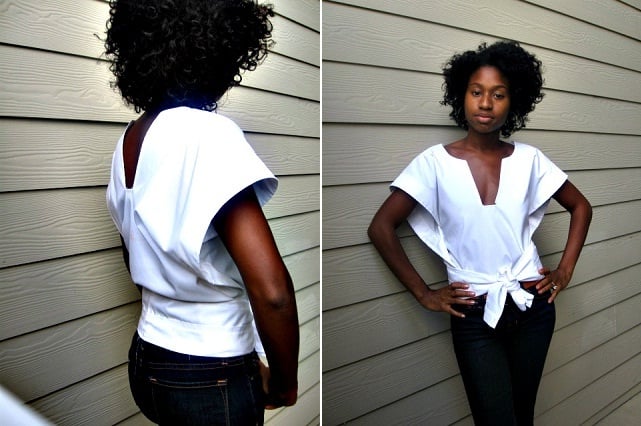
Freshly Given has another fabulous white blouse to share…and this time it’s made from a skirt! Check out her Grandma’s Skirt to Blouse tutorial here.
 New DIY blog discovery! RunwayDIY.com has sprung onto the scene with a number of fresh, cleanly-edited, easily-achieved DIY’s. Love the graphics and simplicity of it – and check out all her fabulous DIY’s like her Little Black Bow Belt.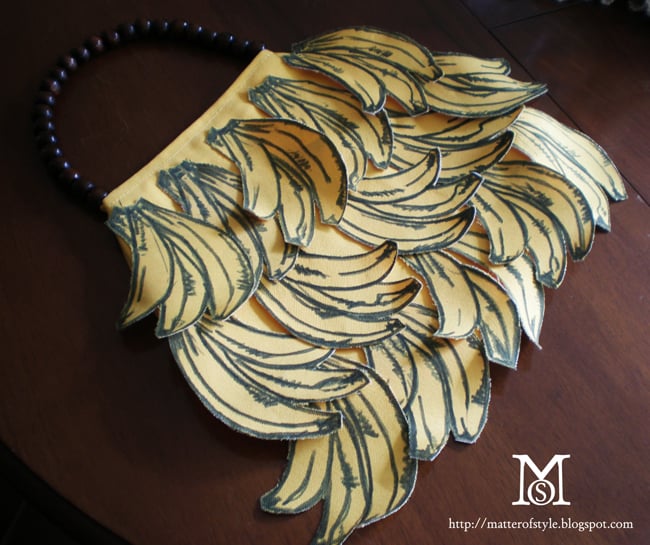
A Matter of Style posted a great Bananas Bag DIY inspired by Prada. How fabulous are all those little bananas??
Love kitty-cats? Make some Charlotte Olympia-inspired Cat Flats with the help of Andrea from The Paper Sparrow, posting on The Teal Cat Project. Utterly adorable!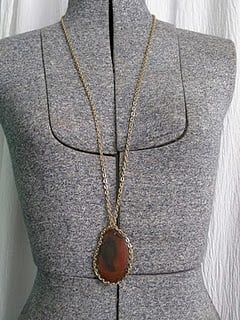
Thanks I Made It just started a DIY blog and posted a tutorial for this lovely Chain-Link Agate Necklace. It looks earthy, bohemian, and just perfect to go with all that Fall Fashion heading our way!
If your project was featured above, feel free to grab a button and share the DIY!

<a href=”https://chiccreativelife.com/category/links-of-the-week”><img src=”https://chiccreativelife.com/wp-content/uploads/2011/09/diylotwfeaturedbutton.png” /></a>
If you have a DIY how-to or tutorial that you’d like to see featured on Chic Steals, please email me at carlyjcais at chic-steals dot com – and I’ll try to squeeze it in to one of my Links of the Week posts! (Tutorials/how-to’s with steps and photos included please! So everyone can share in the DIY goodness:-)
xoxox
Carly
-all photos copyright their respective authors; photo array by me-
~If you liked this post, please share it!~
Leave Comment
Sep 17, 2011 | DIY
 Today I have the pleasure of welcoming Stacie, whom some of you may already know from her blog Stars for Streetlights, which I’ve featured a few times in my DIY Roundups. Or you may have seen how amazingly talented she is by seeing that jaw-dropping DIY Fendi Rose Dress she made awhile ago, or DIY Jeffrey Campbell Tick Studded Espadrilles. She’s a crafty one, alright!;-) We’ve been following each other’s blogs for some time now, and when she contacted me about a possible guest post I was so excited! Take it away, Stacie!
Hi everyone! My name is Stacie and I am a new writer over at Affordable Style and I am so happy that Carly has let me guest post on her blog today. I have followed Carly’s blog for over two years now, (it was actually one of the first blogs I found in the beginning stages of my blog obsession). Carly’s blog is always packed full of great ideas and DIYs that make me want to leave my computer and get craftin’.
A little about me: I just graduated from college in Indiana and started working at Affordable Style—this is my first big guest post. I’ve always loved blogging and finding inspiration in little nooks and crannies around the blogspot and internet world. Part of my job at Affordable Style is to write for Affordable Scarves. It’s really fun, I get to write about anything from alternate scarf uses to 37 Ways to tie a Scarf. A pretty great gig for someone who loves DIY projects and tutorials as much as I do.
Today I am going to show you a really, really easy tutorial on how to make a flowy vest from a scarf. Originally I saw this tutorial on Studs & Pearls (she’s another great DIY fashion guru). You can use any scarf you want from pashminas, shawls, or even square scarves. (Thrift stores are a great place to find scarves if you do not have a specific look in mind.)
DIY: How to Make a Vest from a Scarf
What you need:
-1 scarf (I used this pashmina because of its autumnal colors.)
-Scissors
-Sewing needle or sewing machine
-Pins
Step 1:
First you need to lay your scarf out on a large surface and find the middle. This will be the back of your vest.
Step 2:
Next, you need to make the cuts in your scarf for your arms. It does not have to be perfectly exact, but I measured 4-5” down from the top and made 12” angled slits that look like the lines in the photo.
Step 3:

After you have made your cuts, it is time to pin back the slits towards what will be the inside of your vest. Make sure the rough edges are being pinned onto the side that you don’t want to show off. You don’t necessarily have to sew the slits down, but I think it looks a lot nicer and it will make sure your scarf does not tear more or unravel.
Step 4:

Here is what my scarf looked like after I sewed the edges back. I have a machine that can do little funky designs, but you can do a simple zigzag stitch on most machines and it will look pretty nifty as well. (My sewing machine was the best graduation gift from the best mom ever. :))

One thing I love about the scarf vest is the little collar that the scarf creates if you leave a few inches at the top. Plus, if you want to wear your vest as a scarf again, the scarf drapes and folds so that it is hard to see the cuts!

Another shot.
GIVEAWAY!

Now we have a great opportunity for a Chic Steals reader!
If you want to win this scarf, just visit Affordable Scarves, pick out your favorite scarf, and comment below! You can get an additional entry by tweeting about the giveaway, and if you blog about it, we’ll give you two extra entries! Just leave those links in the comments below as well.
Thank you so much to Carly for having me, and good luck to everyone with their scarf DIY’s! Have fun makin’ stuff. 🙂
Cheers,
Stacie
Thanks so much to Stacie for this great tutorial!
So if you’d like to win this pretty Fall-inspired scarf-turned vest…
1. Leave a comment below with your favorite scarf from Affordable Scarves.
2. Tweet this giveaway and leave the link to your tweet IN A SEPARATE COMMENT.
3. Re-blog this giveaway and leave the link to your blog entry IN A SEPARATE COMMENT.
Total: 3 entries per person allowed.
All extra entries (Tweets and re-blogs) MUST be left in separate comments or they WILL NOT BE COUNTED.
Entry period ends Sunday, September 25, at 11:59 P.S.T.
Good luck!
xoxox
Carly
~If you liked this post, please share it!~
FTC Disclosure: I have not received any compensation for this post, except for a vest handmade by the guest poster which has been offered for giveaway to one of my readers. Read my full Disclosure Policy here.
Leave Comment
Sep 16, 2011 | Fashion, Score!
 Heard of ShopSosie? No? Me neither.
But I did a double-take once I checked out their offerings: colorful, on-trend, not-to-twee, and nothing over $100. And right now you can get a voucher for $45 for a purchase on their website…worth $75 on their site.
Sounds to me like a deal!
I’ve started to put together my virtual wishlist…how about yours?
(link goes to Revinery29 Reserve where this deal is hosted – deal ends this Wednesday or until the vouchers are sold out!)
xoxox
Carly
~If you liked this post, please share it!~
Leave Comment
Sep 15, 2011 | DIY
 I’ve been utterly exhausted this week since it’s Lil Tot’s first full week of school, and driving him to and picking him up from requires a total daily commitment of about 3 hours from me. Three hours in the car, every.day. This means that although I do have a block of time uninterrupted at home, I now am spending so much time behind the wheel I’ve found I’ve had to skimp on time spent elsewhere. And what’s first to go when I get busy? DIY’ing. Then updating my blog. It’s unfortunate, but I have to figure out some compromise here.
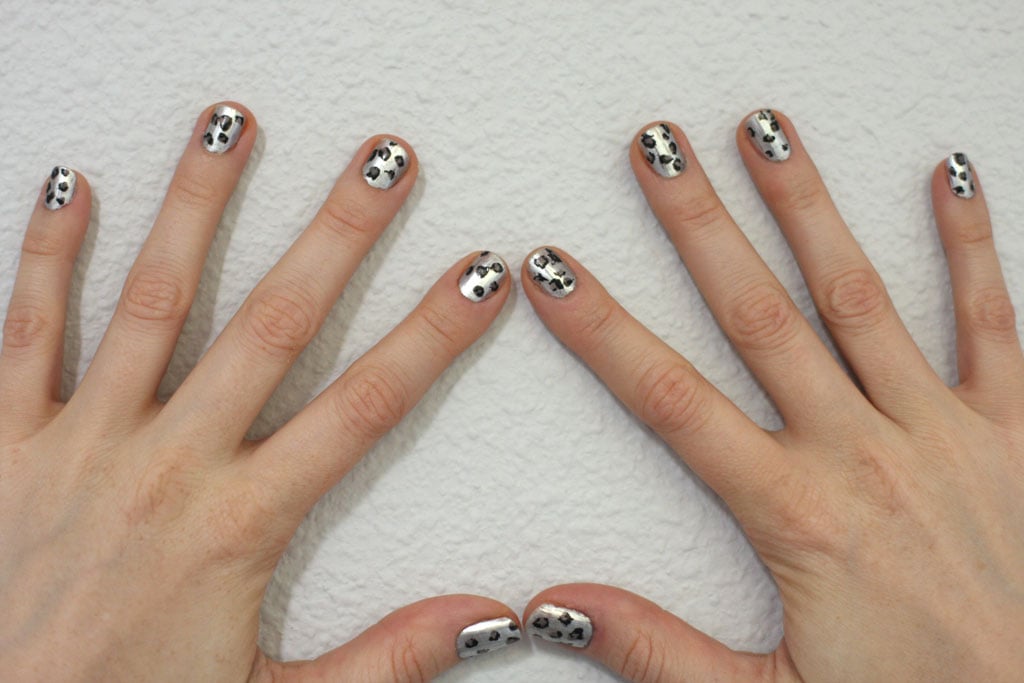
This week I managed to do a mini-DIY with my nails. Sally Hansen Chrome Nail Makeup in Pure Chrome (Sally Hansen Titanium Chrome is similar), with Essie’ Chinchilly dotted on. Finished up with some messy splotches with Sally Hansen Nail Art Pen in Black, and a clear topcoat (because this nail art pen’s doodles come off fast if not sealed with a topcoat). Of course you could always use Sally Hansen Salon Effects in Kitty, but I wanted a silvery manicure anyway.
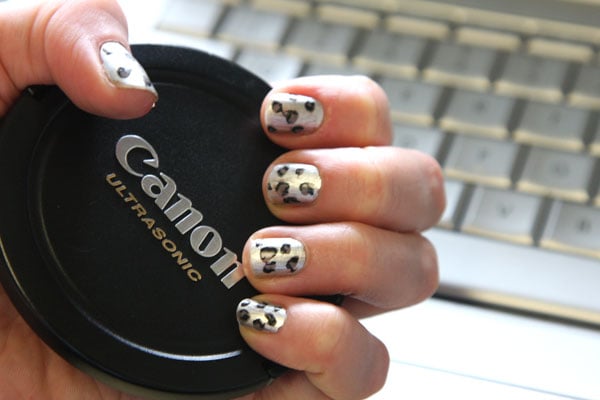 Now off to pick Lil Tot up from school! Just how does one deal with school commutes when there is no bus and no public transport??
Hope everyone’s having a great week!
xoxox
Carly
~If you liked this post, please share it!~
Leave Comment
Sep 12, 2011 | DIY
 70’s-style colorblocking is a hot trend for Fall 2011, seen on the runways and now beginning to trickle down into street style and retailers. I was hankering after a colorblocked purse, but didn’t want to pay a lot for it. Thankfully, thrift stores are a wonderful source of older handbags, and I found an adorable cross-body bag for a mere $4.99. But it was rather beat-up and needed a little makeover, so I figured it was time to break out the brushes and do some leather painting! Though technically when you paint leather, what is most recommended is to use paint that is specifically formulated for use on leather, like Angelus.
However, if you are feeling squeamish about buying an unfamiliar product online, or they don’t ship to your country, or you want to use some acrylic craft paint that you already have on hand, fear not! Leather and suede can actually be painted with acrylic paint, with fairly good results if you take the time to prep the piece properly. So here’s how to add some vibrant color-blocking to some leather or suede pieces you already own:
How to Add Some DIY Colorblocking to a Leather Bag
You Need: (more…)
Leave Comment











