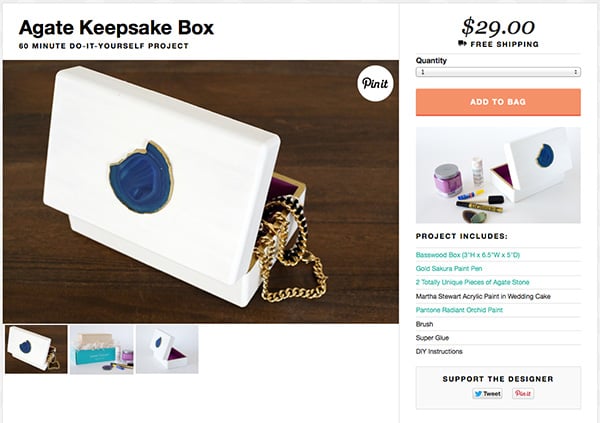
My DIY Agate Keepsake Box was just featured in Darby Smart’s roundup of 33 DIY Ideas for Mother’s Day. If you’re looking for some DIY inspo, Darby Smart is definitely the place!
Portrait photography is definitely not my strong suit, and it’s even harder when YOU are taking a photo of YOU. It’s so much easier to work with someone who knows what they’re doing and can make you relaxed enough to take a great fun photo for your blog headshot.
I’ve had the same sidebar headshot for 3 years (above, taken by Dave Lim) simply because I liked how I looked in the photo. I’ve also had another photo on my About Me page (if you recall, that particular photo was pretty horrible) for about 5 years. I’ve been going through a brand audit ofChic Steals and felt that my head shots didn’t really reflect my blog topic and focus. They needed to be lighter, brighter, closer – and more depicting chic, creative, crafty living instead of just my head in front of a forest.So after playing with a couple different ideas, I settled on a photo of me in my home office in front of a wall that I decorated with gold washi tape in a triangle pattern. (Similar to what I did with my DIY Geometric Bathroom Makeover wall here.) I chose on a white-and-gold palette since I felt that was in line with my blog branding. I did make a little sparkly gold prop as the silhouette of the diamond in my logo, and utilize the DIY paper glitter diamond paperweight I made in this post here. For the overhead and sitting at the desk laptop shots, I styled the desk with my DIY Gold Succulents in Geometric Origami planters, the origami diamond paperweights, and a variety of crafty materials to touch on the “making” theme of my blog. The only piece of jewelry I wore was the DIY Free People Wrapped Quartz Bangle that has been really popular online since I shared it.
My good friend Josh of Joshua Johnston Photography took my photos, and though we shot in the late afternoon and the light was fading inside, his lighting techniques were still able to bring out all the little details and make everything white and bright. In all it took an hour and a half, and the finished photos were awesome – and, I felt, much more fitting with the look and feel of my blog.
So are you experiencing some difficulty with deciding on the perfect headshots for your blog or website? Here are 8 steps to get portrait photos you’ll love:
How to Take Headshot Portrait Photos for Your Blog That Reflect Your Brand
1) Spend some time looking at your blog. Are there colors or elements that you could incorporate into a shoot? Do you feature the same items over and over again? What “goes together” and what doesn’t? (like using a forest background for a crafty blog…which doesn’t make any sense)
2) How can you accomplish what you want in the least cluttered, most direct way? What would make sense as a background? Can you make it, fake it, or is there a place you know that would be perfect for the locale?
3) How about props? Would they be more specific and tie a photo of you into what you write about better? Reiterate your branding or logo somehow?
4) Sketch some ideas out on paper, having in your head a firm idea of the colors and layout of the elements. Where do you want your head to appear? Should you be looking at your content to draw people’s eyes to it? Looking at the reader to connect with them? Looking away so that you’re an object of admiration and having fun by yourself? What are you trying to sell with your head shot?
5) Allow enough time to be able to properly style out your photos and capture them in the best light. Do you need to shoot during the Golden Hour? How long will it take you for hair and makeup? How about styling your props?
6) Choose a lens that has the least amount of distortion for the face: ideally, 85mm. If not, 50mm will also do quite well and create that soft blurred background. Use a tripod if you can, especially in low light situations!
7) Unless you’re used to modeling (or modeling by yourself!), shoot with someone you know well and who you’re comfortable with, preferably someone who makes you laugh. That way your smiles will be genuine and your eyes light up in your photos, which is difficult to fake. You’ll also have someone to interact with which can come out in the final images, creating more of a connection with the viewer. Don’t be discouraged if you have to take a ton of photos to get any you like. Some the framing might be right, but you have a hair out of place. Some your expression might be weird. Keep them all and look at them later.
8) Go through the photos on a large screen, ideally after some time has passed. That way you can apply a fresh eye and be more objective with the ones you choose. Choose ones that you like a lot then compare them against one another. If you like them, your readers will too. Post-process, upload, and announce your new pictures!
Thanks, Josh – I couldn’t have done it without you! Check out his website for prints of cool landscape and nature photography – especially Oregon waterfalls!
Do you have any tips for good blog headshot photos? Please share in the comments!
xo
Carly
I actually helped Josh build the website and optimize it for SEO, learning the Smugmug platform [aff. link] in the process. I’d highly recommend it if you’re a photographer looking for a no-hassle way to sell your prints and photos as digital downloads – since they take care of all the order processing and fulfillment for you!
Last Sunday the Portland Bloggers group came together for a fun speed networking event at the Passionfruit headquarters in SE Portland.It was a morning filled with fun, laughter, quick-fire questions, networking, business card exchanging, and a ton of great advice on blogging issues. We noshed on deli cold cuts, cheeses, fruit, fresh vegetables, and bagels provided by Bowery Bagels (DELISH vegan cashew cheese on salted bagels!) and sipped coffee from Black Rock Coffee.
We also got an inside look at the incredibly cool Passionfruit office space and the inner workings of Passionfruit Ads where you can sell ad space, paid posts, or sponsored content through their blog widgets with minimal maintenance and upkeep (seriously if you haven’t tried it out – DO IT NOW! I can’t believe how much time I spent on managing individual sponsors and advertisers with the emails, and back-and-forth, and getting their banner ads, having to re-optimize them, uploading, then taking down once the ad had run. Once you do it through Passionfruit, all the headaches are GONE and you just collect a paycheck. Seriously cool.)We had a fun photo shooting area with photo booth props Bee and Jenni had made. I’ll be updating this space soon with the photos!It was a great morning and I met a number of local bloggers to add to my reading list and my blogging buddy list. We had a prize draw and 3 bloggers won some awesome prizes including a year of Passionfruit ad service, the book Blog, Inc.by Joy Cho, and a package of blogging goodies like stationery supplies and blog planner. (Plus we all received a sample of Lemon Dream Bar King Cream ice cream to take home with us!)
Have you ever been to a blogging meet up? Was it worthwhile to attend?
xo
Carly
I’m a volunteer member of the organizing team of Portland Bloggers, a local organization dedicated to bringing together bloggers and providing networking and resources. I designed their logo and also maintain their website and do videography for them.
Who wants to learn how to do lumi photo print inkodye?? What is lumi photo print? Well, it’s a fun alternative to screenprinting that uses direct sunlight to transfer photos to fabrics – and Create and Craft has the perfect lumi photo print kit to get started. I wanted to share this neat video with all of you because although they make a wall hanging in the video, you could make anything, including photo-print bags, scarves, or even a cool graphic T-shirt sporting your favorite photography.
Who wants to get started with Lumi Photo Print? I definitely want to try it as my next project for Summer!
Though hybrid cars are not considered a steal per se, I felt slightly eco-friendly when I bought this one. I researched them thoroughly, decided on a Honda, and met with some private sellers and a dealership to find the perfect car for me (and my budget). I negotiated, said no to a lot of unnecessary extras, and ended up driving away in a used 2011 Honda Insight, the first car that I myself bought with my own money and of my own decisions.
In the end, the disposal of the batteries with their heavy metals, and the environmental impact of mining for said heavy metals, may not make hybrid vehicles completely “eco-friendly” in a true sense. They are cars after all. But when I think of the monthly savings in gasoline (38-43 mpg vs. my current Mazda CX-9’s 18-20 mpg) hybrids are very, very attractive to me (and my long commute into work and taking my son to school).
I bought it yesterday last night just as the dealership was about to close. It runs smooth and quiet and hums along and the engine turns off at inexplicable times. Plus, it’s gray. And I love it because it’s ALL MINE.
Huge changes are happening around here, which is why I’ve been unable to update my blog lately. I’m still here. I’ll be back soon.
Once I sell my 2008 Mazda CX-9 8-seater, which is all clean and detailed and ready to be put on Cragislist.
Happy Earth Day, friends! To change…for the more eco-friendly.
xo
Carly
Carly J. Cais I am a DIY’er, designer, sewist, maker, and marketer. Chic Creative Life is where I share what I do, and help others bring their unique style into their own lives.



 I’ve had the same sidebar headshot for 3 years (above, taken by
 So after playing with a couple different ideas, I settled on a photo of me in my home office in front of a wall that I decorated with gold washi tape in a triangle pattern. (Similar to what I did with my
  I did make a little sparkly gold prop as the silhouette of the diamond in my logo, and utilize the
  For the overhead and sitting at the desk laptop shots, I styled the desk with my
  How to Take Headshot Portrait Photos for Your Blog That Reflect Your Brand

 Last Sunday the
 It was a morning filled with fun, laughter, quick-fire questions, networking, business card exchanging, and a ton of great advice on blogging issues.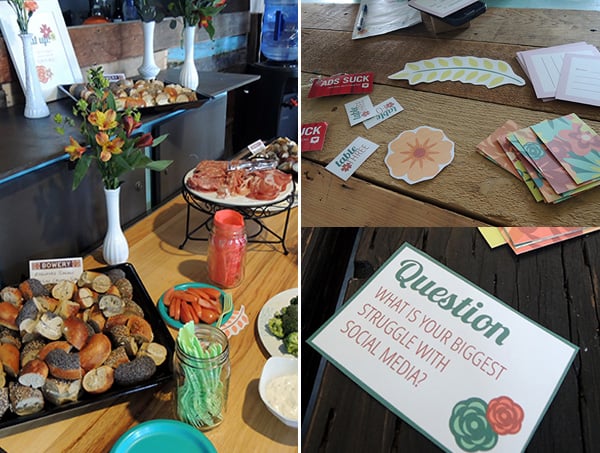
 We noshed on deli cold cuts, cheeses, fruit, fresh vegetables, and bagels provided by
 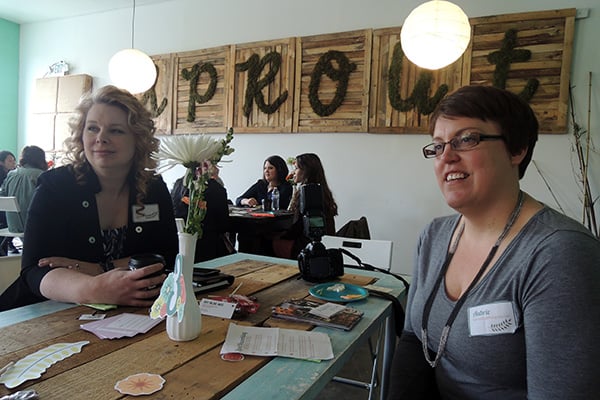 We also got an inside look at the incredibly cool Passionfruit office space and the inner workings of
 We had a fun photo shooting area with photo booth props Bee and Jenni had made. I’ll be updating this space soon with the photos!
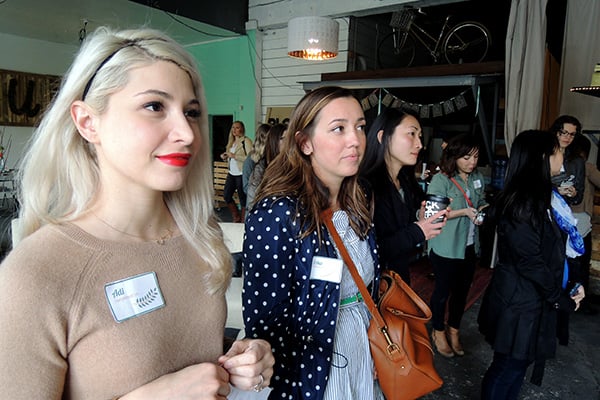 It was a great morning and I met a number of local bloggers to add to my reading list and my blogging buddy list. We had a prize draw and 3 bloggers won some awesome prizes including a year of Passionfruit ad service, the book
  by Joy Cho, and a package of blogging goodies like stationery supplies and blog planner. (Plus we all received a sample of Lemon Dream Bar










