Jul 13, 2012 | DIY

I’ve been ogling kitten tees as of late…I’m a total crazy cat lady (except I live with my Hub’s dog…go figure). So the best I can do is a little kitten of my very own..on a T-shirt per se. But being as type-A as I am, I just couldn’t settle on a design I liked. Some were too twee for me, some t-shirts weren’t loose enough, or were too short, or too pink; some had writing on them, some had ugly cats…and wouldn’t ya know it, it is now the middle of Summer and I am still hankering after a watercolor-style kitten t-shirt.
So I decided to DIY!Jul 11, 2012 | DIY
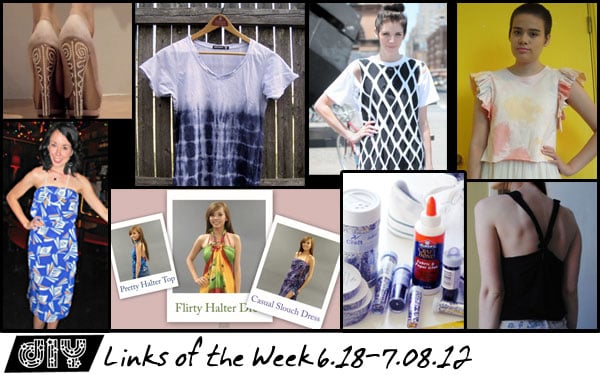 Rolling 3 weeks into 1, what with computer mishaps, being super-busy with work, and school projects seeming to take over my life. But you guys have all been up to some fabulous DIYs, so let’s check them out!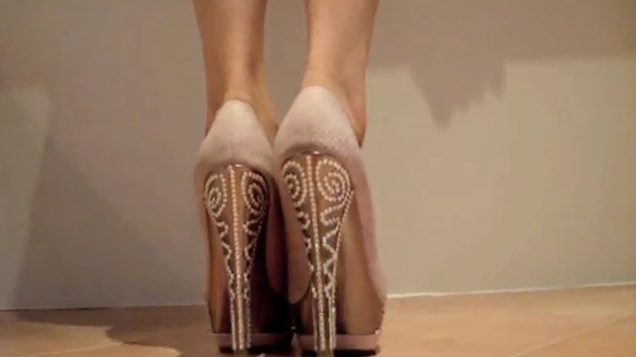
I’m in love with these decked-out DIY Deko heels by Youtube user 01b0o! How snazzy are they – and think of the possibilities of pattern and design with crystals on your shoes!
Though technically not a DIY tutorial blog, ReFashionista has posted daily for 366 days her refashions of ugly thrift store garments (and even – gasp! – her wedding dress). Get some great ideas for refashioning, remaking, and upcycling your own way out of outdated hell. (And for more inspiration, see New Dress a Day, who’s also currently doing the same thing!)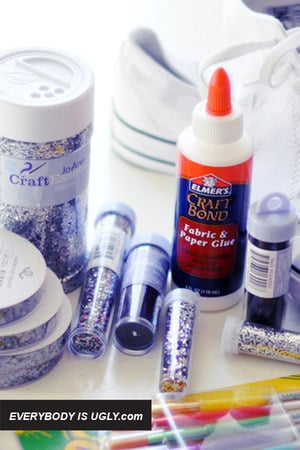
Chictopian Headbandit discusses the DIY Controversy: in short, DIY vs. knockoffs, and how fashion bloggers play who create DIY tutorials deal with it. A must-read!
Did you know? A piece of fabric + a bangle = endless cute dress combinations for Summer! Watch the video by Youtube user DWDShoes here.
Now, to get on with the t-shirt refashions…
Bust Magazine turns an oversized T into a racerback tank. Reminds me of …love, Maegan‘s DIY Jersey Tank tutorial…hey, great minds, right?!
Speaking of DIY’ing your tee, why not try Refinery29‘s take on the DIY Cut-Out T-shirt? Cool, breezy, and a little bit edgy, it looks fab over an outfit or as a beach cover-up…and I love how they offered up some styling possibilities too!
Revamp your basic white tee with Short of Something‘s tutorial on striped tie-dyeing. I love the results – and all you need are binder clips, plastic wrap, and rubber bands! Ingenious.
To round up my collection on T-shirt refashioning tutorials (seriously, it’s the Summer of T-shirt Recon!!), Rookie Mag posted their DIY Ruffled Tees tutorial as well. Love the girliness of the finished piece!
If your project was featured above, feel free to grab a button and share the DIY!

<a href=”https://chiccreativelife.com/category/links-of-the-week”><img src=”https://chiccreativelife.com/wp-content/uploads/2012/07/diylotwfeaturedbutton.png” /></a>
If you have a DIY how-to or tutorial that you’d like to see featured on Chic Steals, please email me at carlyjcais at chic-steals dot com – and I’ll try to squeeze it in to one of my Links of the Week posts! (Tutorials/how-to’s with steps and photos included please! So everyone can share in the DIY goodness:-)
xoxox
Carly
-all photos copyright their respective authors; photo array by me-
~If you liked this post, please share it!~
Jul 9, 2012 | DIY
 Sorry for that little hiatus there!
My laptop’s internal battery overheated and put my computer out of commission for awhile, so it’s been unusable over the weekend while I waited for the replacement battery to arrive. Now it’s installed and everything seems to be running smoothly again.
So I took some time to work on some DIYs, including my new favorite material, UV resin. So simple and easy to use – and perfect for the bright, sunny weather we’re having here in Portland! 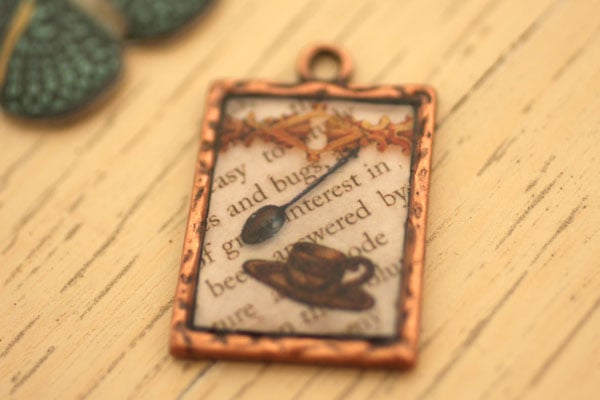
 It cures within minutes, is completely clear, and layers images and charms so beautifully.
 I finally found an equivalent available here in the U.S., so once I’m done testing it I’ll be sharing the tutorial with everyone!
  The above are just some pieces I put together quickly…and will likely be listing in my Etsy shop once I relaunch that.
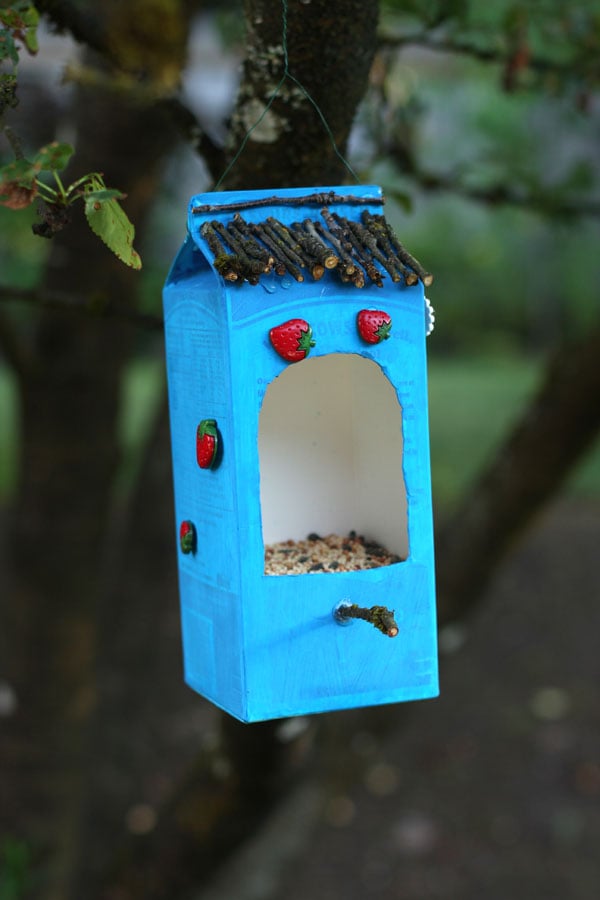 Given that I couldn’t use my computer, I spent much of the weekend also having some quality family time. Yesterday I helped my son make a DIY bird feeder out of an old milk carton, some twigs, and some buttons.
 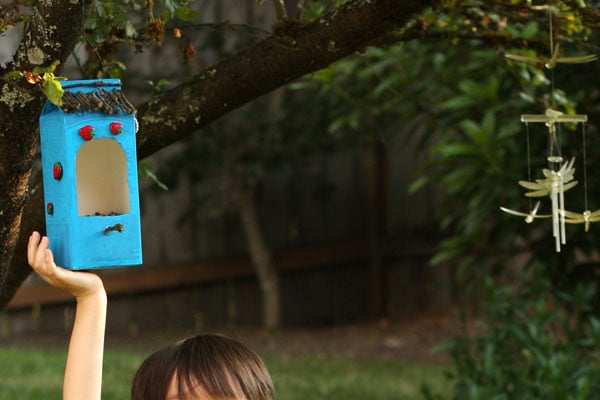 So far the birds in our garden haven’t noticed it…but it’s just a matter of time…
xoxox
Carly
~If you liked this post, please share it!~
Jul 4, 2012 | DIY
 img source
Happy July 4th to all my fellow U.S.-based readers out there!
Though this day may be filled with family gatherings and barbecues for some, for others it may just be a lazy day off work and a time to relax. Here are a couple ideas for projects to do if you’re looking to fill up your day:
CRAFTS
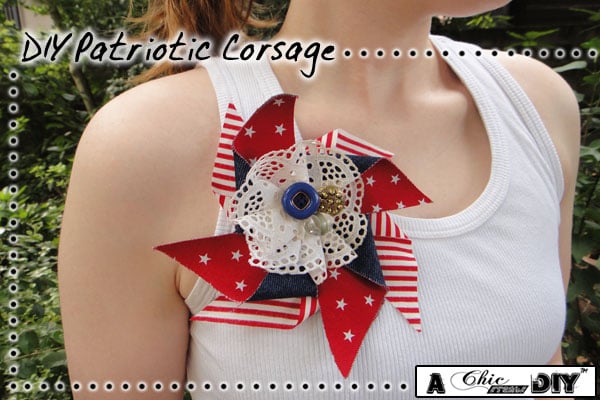
Make a Patriotic Pinwheel Corsage quickly with some printed fabric and hot glue. (And try the accompanying Pinwheel project for some old-school fun or party decoration!)

Stamp cloth napkins, a blank apron, or t-shirts with hand-carved potato stamps dipped in fabric paint for a patriotic pattern.
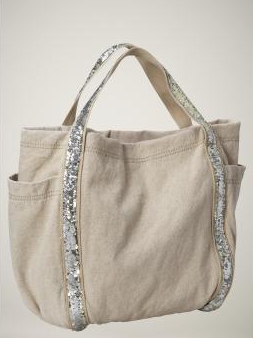
Add some sparkly adornment to a canvas tote (this photo is of a tote from The Gap from a couple years ago) by sewing sequin trim onto the straps.
FOOD
 Make a Patriotic Fruit Salad with watermelon, blueberries, and white peaches. Or go for a July 4th Savory Salad: watermelon, feta, and purple fingerling boiled potatoes…or mozzarella balls and cherry tomatoes (both red and dark purple)…or blueberries, strawberries feta, and lettuce.
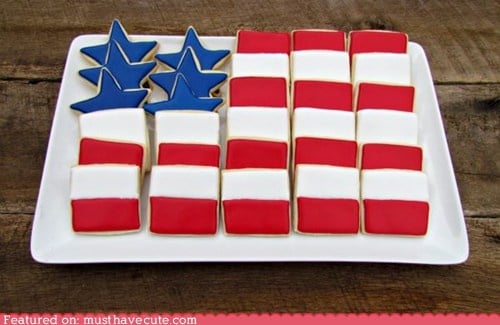 Bake cookies in squares and start-shapes, and then ice in red, white, and blue frosting to piece together a U.S. flag like this inspiring Pinterest pin.
A Fourth of July Flag Cake is easy with blueberries and strawberries arranged strategically on whipped cream!
Hope your Fourth is a happy one!
xoxox
Carly
~If you liked this post, please share!~
Jul 1, 2012 | DIY

Recently I’ve been playing around with the half-moon manicure. Though I’ve tried it free-hand (with an uber-steady hand) before with middling results, I found that using those sticker color dots from the office supply store work just perfectly for this purpose. (I’m sure they’re useful for other things besides fancy nail art manicures…but I haven’t used them for anything else yet!;)

It’s easiest to lay down a double coat of your base color (what will end up as your half-moon color). Then, once the base color is bone dry (this is really important; it has to be totally dry and non-tacky!) lay the top half of a circle sticker over your nail at the half-moon area. Stick it down well, paying attention to the sides of the sticker. Then finish up with 1-2 coats of the main nail color. I peeled the stickers off while the top color was still wet; it left little ridges in the manicure so I might try this again but wait until the top color is dry before peeling off to see if the results fare better. In any case, seal with a clear topcoat and you have an elegant but understated chic manicure that looks pretty unique too!

 Colors used: Essie Nail Color in Mamba for the half-moon and Sally Hansen Xtreme Wear in Wet Cement for the main color.

What colors do you think would look good together?
Happy polishing!
xoxox
Carly
~Please share this post if you liked this mani!~
Jun 26, 2012 | DIY
 I tend to wear tights year-round; even in the Summer it’s often cool enough here in Portland to need that extra leg-covering. Right now tattoo-style tights are trending: get the bare look without being bare; the inked look without being inked. They’re so absurdly easy to make I almost feel silly posting the tutorial…but as a quick ‘n easy project, these can’t be beat! Here’s how:
You Need: (more…)











