Nov 3, 2010 | DIY, Fashion
Hand-shredded T-shirt: Urban Revisions Etsy store. Angels Secret Embrace Push-Up bra: Victoria’s Secret. Roxy Gray Jeans: Thrifted. Fleece Cuffs: DIY. Heeled Combat Boots: Forever 21.
Day 1 in my personal
30 Days of Outfits Challenge! So psyched! (Though I may lose momentum later…I hope this “getting dressed nicely for today” thing will not end up becoming a chore.;-p
So Day 1 was technically yesterday: November 1.
And this is what I wore.
I’m in love with everything in Urban Revisions’ Etsy shop, and have had the designer on my radar for awhile. If there’s one DIY technique I suck at, it’s shredding cotton! My DIY shredded t-shirts are just NOT lovely. I can’t seem to truly get the hang of it and am not able to create shreds where the vertical threads are still intact. Well, I can, but it takes me 12+ hours for even a small amount of shredding. Which is obviously not the way to go about it.
So anyway, I’ve been spying on Urban Revisions for awhile, hoping some pieces would go on sale. And then I spotted with lovely hand-dyed peachy pink piece – and knew I had to have it!
Though technically it’s a sleeveless piece, the shredding has widened the collar and so now it sits on my upper arms. It’s so sexy and edgy – normally I don’t walk around with my bra showing, but this just begs for it! (My bra is the lovely Victoria Secret Angels Secret Embrace Bra in black. I love that it has these subtle scalloped edges – so feminine and pretty!) The top is super-long so it can be worn as a dress, beach cover-up, etc. I chose to tuck it in just to change the shape around. I’m so in love with peachy pink right now!

The gray cuffs you see above I made from the sleeves that I cut off the shirt when I made my Embellished V-Neck Sweater (tutorial here). Last winter my mother-in-law gave me a pair of knit cuffs that were apparently all the rage in Japan – you can wear them peeking out from your coat, on top of a sweater, or over your shoes to add texture, color, and warmth. Mine were black and I wore them practically every day until they pilled apart. (I get exceptionally cold wrists and ankles during the winter.)
I loved them, so I made another pair out of this beautiful gray fleece, which just consisted of folding the sleeve pieces under and sewing some elastic hidden in the fold.
Then they stay secure on my wrists or ankles. I put these on with my coat – they’re nice and warm, and act as my final bit of outerwear before going outside into the chilly Oregon weather. Though as anklets I guess they might look better with skinny jeans, LOL!
Gold Eiffel Tower necklace, Oxidized Hematite Crystal 2-Finger ring, Wrapped Feather Ring: Forever21. Rock Candy Rose Quartz Ring: my own design, available here. Gold Hinged Bracelets: bought in Japan. Gold Watch: Vintage.
This outfit called for mostly gold jewelry, I felt. My Forever 21 Eiffel Tower Necklace is my own little homage to my trip to France.;-)
Day 1…Done!
xoxox
Carly
~If you liked this post, please share it!~
Leave Comment
Oct 31, 2010 | DIY, Life
I noticed on Outsapop this short n sweet little video on how to create a bag from any scarf.
But the art of using a scarf as a bag is not a new one…in fact, the furoshiki (basically a large scarf) has been used since the early 1600’s in Japan as a carryall/gift wrap/bag/multifunctional accessory. From the Ministry of the Government of Japan, here is Minister Koike’s illustrated guide to using a furoshiki (with the recommendation that the Japanese people should start using them more, as they are eco-friendly, re-usable, and reduce plastic bag waste). Here are14 different ways to tie it:
(Click to enlarge)
What do you think? Do you have any beautiful scarves that might be repurposed into a casual bag or wrap?
xoxox
Carly
~If you liked this post, please share it!~
Leave Comment
Oct 30, 2010 | DIY, Life
Still stuck for something to wear – TOMORROW NIGHT??! (*gulp*) Here are a couple ideas that you could make from items that are perhaps already in your closet…or that are available at many stores for cheap:
From What I Wore, Jessica put together a list of her costume ideas from years past:
From Quickandsimple.com, here are some DIY Kid’s Costumes…that could be easily adapted to an Adult version:
On Instructables.com there’s a million iterations of Lady Gaga costumes (including many fabulous by user Carleyy – maybe it’s just the name that’s making me partial??;-))
Red Lace Costume by user scoochmaroo
And my own 2cents:
DIY Style Blogger
Go as your favorite Style Blogger! So many people have such signature looks. A couple photos to get you inspired:
Though you’ll have to wait until Halloween to see what I ended up as;-)
Happy Halloween!
xoxox
Carly
~If you liked this post, please share it!~
Leave Comment
Oct 26, 2010 | DIY
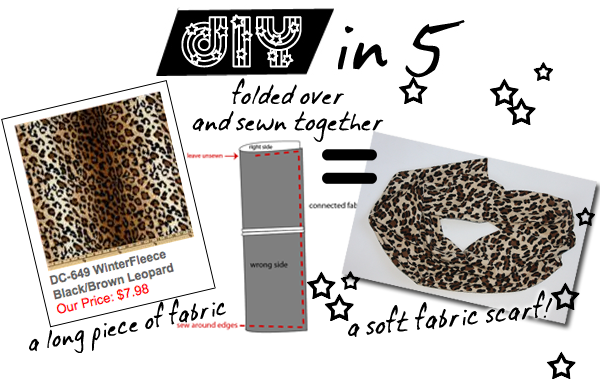
Fold a piece of fabric over and stitch around the edges to make a long rectangular scarf.
Earlier this month I posted some ideas how to style it, today I’m going to DIY it. It’s DIY in 5 – minutes, that is. The easiest, quickest ways to take a piece from blah to fab and update it to current trends.
Animal-prints are still BIG for Fall… and if you’re not ready to go full-on animal, you can try just adding a pop of print to your outfit. I’ve chosen to craft a scarf – made out of fabric in just the print I chose – in order to dabble in this trend.
How To Make a Quick Folded Fabric Scarf
You Need:
24″ (2/3 of a yard) of 60″ wide printed fabric // sewing machine // needle matching fabric type // thread matching fabric // fabric scissors // measuring tape
How To DIY:
1. Cut the fabric in half lengthwise so you have TWO pieces that are 12″ wide by 60″ long.

2. Sew the short ends of the two long pieces together. Cut the short ends of the fabric piece so the whole length of the piece is either 72″ or 80″, depending on how long you want your finished scarf.
3. Fold the scarf in half along the super-long end, right sides together.
4. Sew all around the edges, leaving the last 2″ or so unsewn.
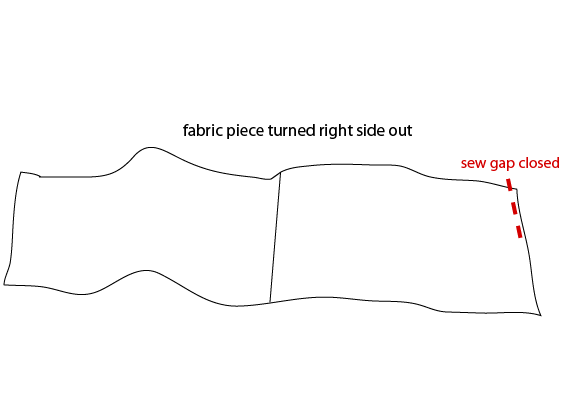
5. Turn the fabric right-side out.
6. Sew along the edge to stitch the gap closed.
7. (optional) Iron the scarf flat to set the seams.
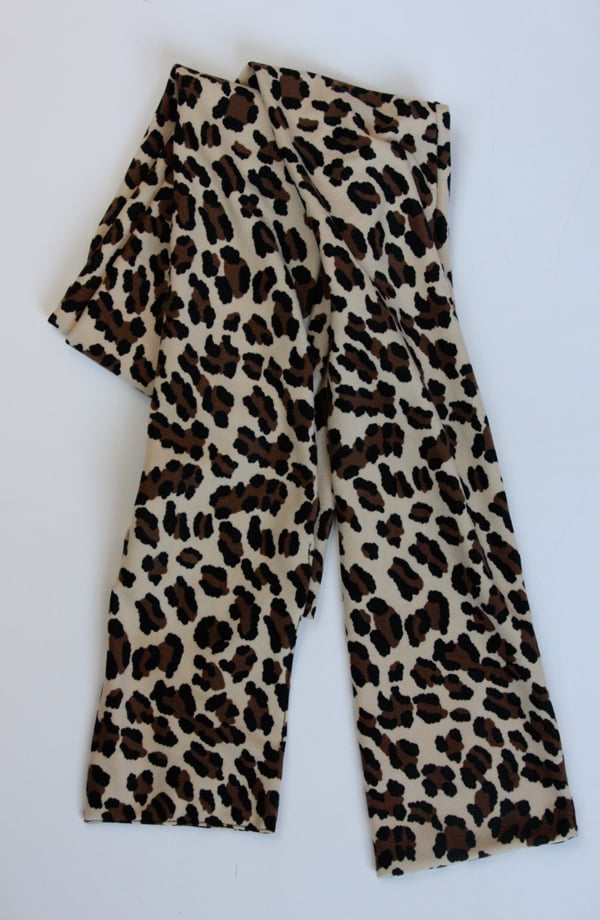
And voila! A new, on-trend scarf in just the print you wanted! (And yes, this really does take only a few minutes [though it may be closer to 10-15]…and it’s very, very easy!)
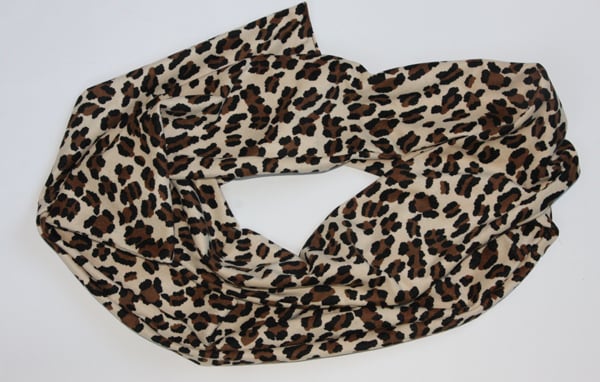
You don’t have to do leopard, of course – though I’ve made a version with leopard-printed velour and one with striped jersey.

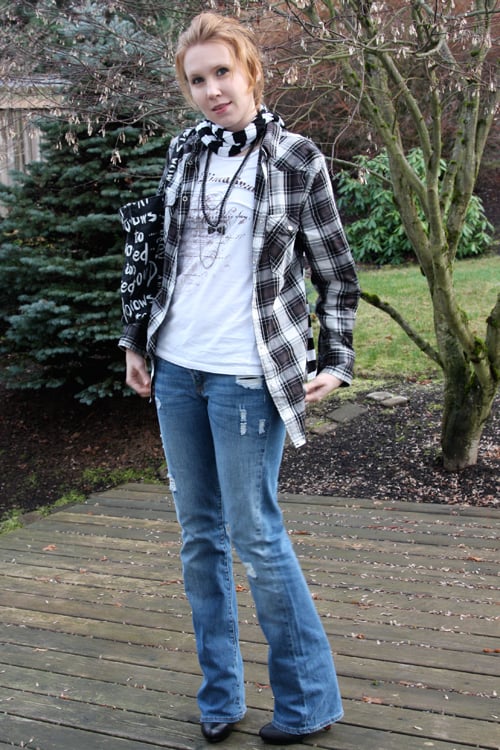
(Sometimes I even wear them together when I’m feeling frisky!;-)
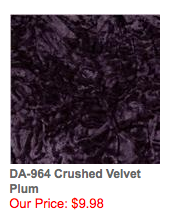
Make sure the fabric you choose is “puffy” or has some tactile sense to it; otherwise, it will stretch flat like a long, skinny scarf (which is also a great possibility!) You can try making your scarf wider thank mine by cutting your fabric at 18″ wide (thus, folded over, it will be 9″ wide). You can even try with faux fur (though cut your fur from the back using a craft knife and NOT a pair of scissors!) Some fabulous options for your fabric:
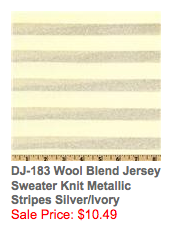
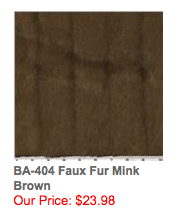
Hope you have fun making your own easy printed scarf!
xo
Carly
Save
Save
Leave Comment
Oct 21, 2010 | DIY
Since right now I am enjoying all the fruits of Paris…and probably some macarons too…I thought to share with all of you some accessories I made a little while ago: tiny macarons with Swarovski crystals!
These are super-fiddly to make but I love how they look…just delectable, and just how I always imagined macarons should look! I also made some whipped cream blobs with fruits and crystals embedded in them. These will probably become rings soon.
I shall probably make the macarons into necklaces and eventually list in my Etsy shop, though I may have to refine some of them a little first… The whipped cream looks a little sloppy. The pastel colors make me so hungry to look at!;-)
So welcome to DIY Roundup 7! If you’re unsure how to link up your tutorial (or finished project), here’s how:
Just click the light blue “Ad Your Link” button that appears to the bottom left below. Follow the instructions in the Inlinkz window, pasting in the URL of your project or tutorial (from your own blog, Facebook page, Flickr account, Craftster.org, CutOutandKeep.net, etc). Don’t forget to write the NAME/DESCRIPTION of your project – like “Bow T-Shirt” or “DIY Lanvin Necklace” – not your own name or your blog’s name!!! You can link up any piece you’ve made or tutorial you’ve written from any time, not just in the last two weeks (though it would be nice if it’s a recent project, just to keep the content fresh). It’s all about sharing and bringing in more like-minded visitors to your site!
So now you get to share your own DIY’s! If you have a DIY project or tutorial that you’d like to share, please feel free to link below! (However you can only link YOUR OWN PROJECT. Please do not link others’ projects!)
If you’ve linked up your project to the Roundup, feel free to grab the button below.
Can’t wait to see everyone’s projects!
xoxox
Carly
~If you liked this post, please share it!~
Leave Comment
Oct 18, 2010 | DIY
Though I’ve been in Paris (Ah, Paris!) most of this week, I’ve still been surfing the net. (Not even Paris can keep me from that!) Here are some DIY- and fashion-related stuff I’ve noticed around the past week…and a couple other links that caught my eye.
*…love, Maegan shows how to transform an old jersey skirt into a scarf/belt/hair-tie. I just love multifunctionality!
*Got a lot of old books laying around your house? Flavorwire has some great ideas for what to do with old tomes – rather than having them clog up your bookshelves.
*iartistlondon sells DIY kits for famous art pieces – like that crystal-embellished Damien Hirst skull. (Though 8,601 crystals seem like an awful lot to have to affix oneself!)
*H&M launched a dress that costs $4.95. $4.95. Less than a Value Meal at McDonald’s. Though the article doesn’t truly quote any H&M sources, whether the company is encouraging disposable fashion with these extremely low prices is definitely food for thought.
*DIY Junk Food??!! You had me at HELLO! Videos on make-it-yourself kale chips and Twinkies. Um, awesome!! (And I luuuurv making kale chips – and more importantly, Lil Tot lurvs eating them!! As do I.)
*Through Outsapop.com I’ve just discovered the blog Between the Lines. Beautiful photography and DIY tutorials for simple, useful things. LOVE!
*Twin Rabbits in Cups had both me and my 5-year-old transfixed though multiple viewings. I love when their nose woffle in sync. Soooooooooooo cute! *squeeee*
xoxox
Carly
~If you liked this post, please share it!~
Leave Comment