Mar 26, 2010 | Beauty
We all hear the same tired skin care tips year in and year out. You know the ones…“moisturize daily” and “drink plenty of water.” Effective? Yes. Interesting? No. Here are some WEIRD ways to care for yourself that actually work:
1. I’ll have the Bird Poop Please: Based on a traditional skin care secret practiced by the beautiful Geisha of Japan, this facial combines powdered nightingale droppings (generally sanitized using ultraviolet light technology) and delicate Japanese rice bran. This unique mix both exfoliates and lightens dark areas of the face. This facial is known as the “Geisha facial,” and it is showing up as a new offering at many day spas.
2. Extra Ssssspecial Scalp Care: If your scalp is “shedding” and dandruff is an issue, try a scalp massage with Solid Snake Oil Shampoo. The natural blend of oils heals dandruff quickly while making hair buttery soft and shiny. (no oil was extracted from snakes in the making of this shampoo, LOL)
3. Put on SPF 285: When outside, shielding skin from damaging UV rays is vital to combat anti-aging. But what about when at home working or playing near your windows? Recommended by the Skin Cancer Foundation, professionally installed Panorama window film will protect your skin from 99% of the most damaging UV Rays.
4. Pretty in Pink The old tried and true go-to belly fix, Pepto-Bismol, makes a fantastic face-tightening mask. Slather it on with a facial sponge and let it dry. Then remove with warm water. Skin will feel moisturized and tighter immediately. As an added benefit, this mask can also help cold sores heal faster.
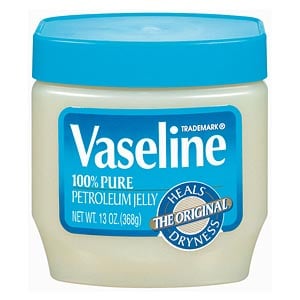
5. Knock Your Socks Off! With sandal season around the corner, now is the time to fix those dry, cracked heels and feet. After showering at night, smear Vaseline all over feet especially on the heel area. Don’t be shy! You’ll need to use a lot for it to really work. Next, pull on a pair of thin white socks and hit the sack. When you wake up in the morning remove socks and be thrilled at how soft and beach-ready your feet are.
tips courtesy of Panorama Window Film
And…a couple of my own weird yet wildly EFFECTIVE beauty tips:
6. Super-dry cuticles and nails that won’t grow? Before you go to bed each night, massage cuticles with Neosporin. Within only a few days, not only will your cuticles be healed…but amazingly, your nails will be significantly longer than without the massaging. Make it a nightly habit, and in 3 weeks you’ll be astounded at how fast your nails have grown! (And how strong they are:-) [The Neosporin aids in quick cell turnover, healing, and regeneration, and the massage stimulates bloodflow to the cuticle bed.]
7. Spoon me After a cry and your eyes are puffy, nothing, I repeat nothing feels as good as two spoons on the eyes that have been chilled in the refrigerator (or freezer, for faster chilling). It brings the puffiness and redness down right away, with none of that concern of Preparation H getting into and irritating your eyes [a commonly-recommended remedy for under-eye bags].
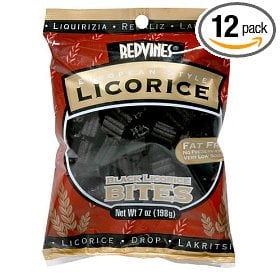
8. Black Licorice Chew black licorice pieces when canker sores pop up. Studies have shown that licorice extract has been proven to aid in the healing of canker sores in the mouth. (from Health Magazine)
Do you guys have any weird but effective tried-and-true beauty tips?
xoxo
Carly
images from womansdays.com, usa.lush.com, Panoramafilm.com, drugstore.com, oneida.com, istockphoto.com, amazon.com
Leave Comment
Jan 6, 2010 | DIY
 $498 for a piece of fabric with some spikes on it??? Wow.
Jennifer Behr’s couture headbands have been featured in countless magazines (including Vogue) and TV (on Gossip Girl, for instance). Beautiful and distinctive, they are a favorite of brides and Hollywood starlets. They’re hand-made in New York City.
And they’re very, VERY expensive. Take the turban above, for instance.
It’s silk with patent leather and stainless steel spikes, and $498. Come on.
Obviously I’m in a bad mood this morning, noshing on Cheese Straws. Note to self: DO NOT EVER BUY CHEESE STRAWS AGAIN.
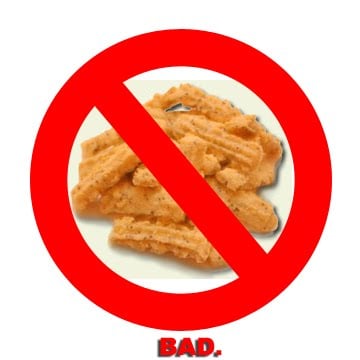
Cheese straws: the work of the Devil.
But back to this “turban” headband.
Lately turbans are experiencing a revival: evidenced in part by Forever21 offering up a turban last month on their site – no, not towel wrap for drying your hair, folks…a real, live turban – as fashion accessory. Plus the girls at BleachBlack blogged about wanting one awhile back (I’m just too stuffed with cheese straws lazy to find the link). Eek.
Friendly reader Kay sent me the photo above saying that the Jennifer Behr piece reminded her of my DIY’s. I do like me them studs, heh heh!
So, here’s the DIY if you’re curious…
You Need:
*20-pc bag of 1/2″ cone spikes ($5.59, Studsandspikes.com)
*100-pc bag of 3/8″ cone studs ($2.89, Studsandspikes.com)
*strip of stretchy black fabric (I used a Lycra swimsuit fabric)
Tools: fabric scissors / matching thread / sewing machine / hand-sewing needle / pliers / awl / Phillips screwdriver
How To:
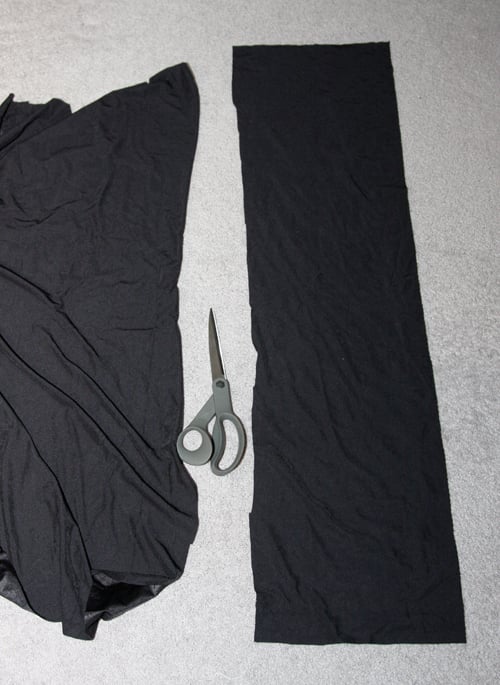 1. Cut a piece of fabric long enough to go around your head and then some. Mine was about 8″ wide and a yard long.
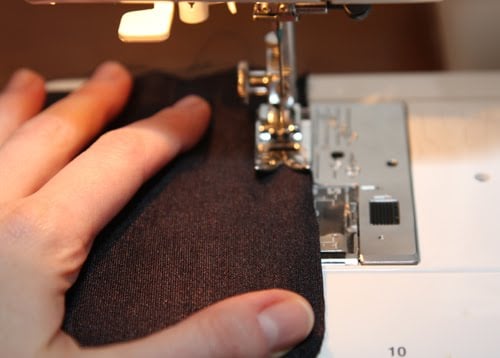 2. Fold cut piece in half horizontally, right sides together, and stitch along long edge.
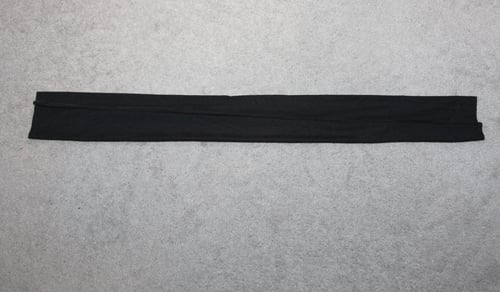 3. Turn piece right side out and you now have a long tube.
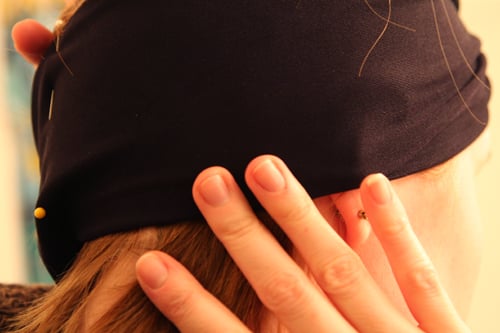 4. Wrap the tube around your head and pin at the correct length. (I made a single twist in the fabric at the front center.) Make sure the tension is correct – you need it a little looser than what you would think is a good tightness for a headband/wrap, lest you get a headache after wearing it all day.
 5. Sew ends of wrap together (right sides together). (not pictured) Then fold seam allowance to inside of wrap, cut excess. This will give you a clean seam on the outside of your wrap. Sew one more time vertically down that seam allowance to secure it down. (not pictured)
—>If you just want a plain twisted-front turban like the Olsen twins below…you’re done! If you want to spike it and stud it like Jennifer Behr’s piece, keep reading… Tutorial continued…

6. Try on head-wrap; bunch it up in a couple places and pin. 7. Hand-tack the bunched-up areas so the piece has a “gathered” look to it.
 8. Now we stud! I slipped the turban over my leg and sat it on my knee for stability. I pushed the prongs of the cone studs into the fabric, and folded them over on the underside of the fabric using pliers.
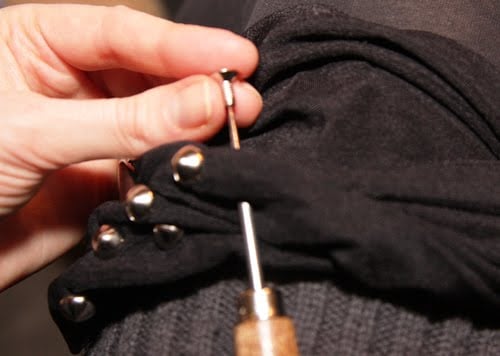 9. Then use an awl to pierce the holes for the cone spikes, which have a thick screw that needs to pass through the fabric. (The easiest way to do this is to poke the hole thru from the right side – then thread the spike screw in from the wrong side, following the awl as you pull it out.) Then attach the cone spike tops, and use a screwdriver to secure from the underside. (not pictured)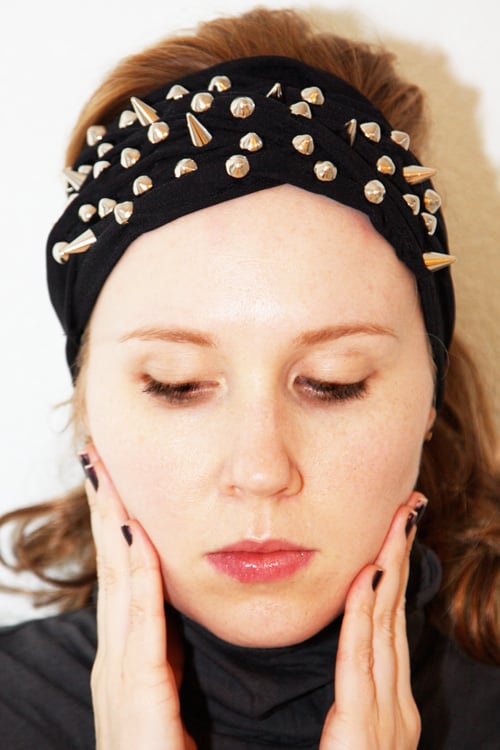
As you can see above, it turned out kind of like a wide headband!
You’re done! I didn’t add quite as many spikes ‘n’ studs as the Jennifer Behr version – simply because I got tired of it. I actually made a second layer to the piece so the center twist wouldn’t be so narrow and I could stud and spike through the upper layer only. This ensured no scratchy stud prongs would be directly against my forehead, but it turned out that the inner layer was a no-go since the spikes wouldn’t sit properly when there was fabric sitting underneath them. If you do choose to add another piece of fabric inside the headwrap (making it shorter than the headwrap and stitching its edges to the headwrap edges so it’s like a little stitched-down flap inside); I’d recommend studding the cone studs in the upper layer of fabric, but setting the spikes through both layers so they sit right. I know that sounds confusing!
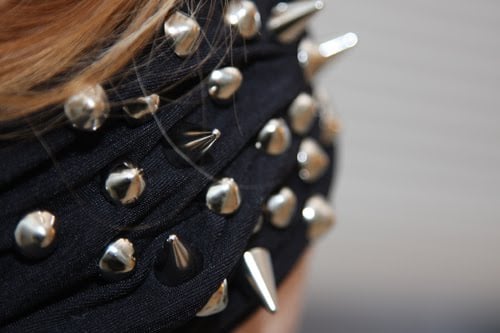 The fabric’s stretch is a bit of a problem – some spikes may fall out if you pull the piece too much, so this requires care when handling. FRA-GEE-LEH as they say in Italian! (Okay, I guess I’ve seen A Christmas Story way too many times…;-)
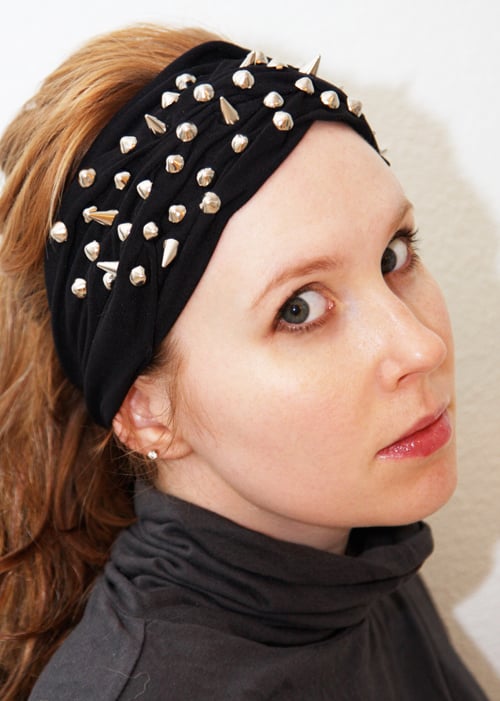
What do we think? Does this work? Is this a no-go? Do I look like I am about to join a biker gang?
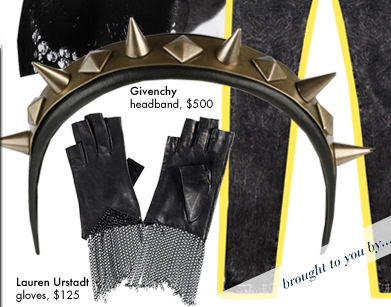 If you need further proof that studded headbands are all that this season, this Givenchy studded headband was featured in WhoWhatWear’s December holiday gift guide. Loving the chain gloves too!
But I’m a little wary of the studs-around-the-head look…they remind me of something quite Biblical. Ah, who’m I kidding?? It’ll be my next DIY, guarantee ya. (DIY available here.)
Happy DIY’ing!
xoxox
Carly
Save
Leave Comment
Sep 1, 2009 | DIY
So you can buy your own even at Fred Flare ($18) or Macy’s now…but early this Spring I couldn’t find these anywhere except online for the staggering price of $72 or something (this was somewhat before the trend broke and Lucky Magazine had showcased one of those headbands in January or so, sparking my interest). So I made my own with a pack of feathers bought at Michael’s for $2.99 (I think they’re guinea?? but don’t quote me on it LOL), and a plain black headband from Claire’s for $3.50.
I cut out an oval from a stiff piece of felt, and hot-glued the feathers onto it, beginning at the top of the oval and working my way to the bottom. This created a nice overlap and I was able to use the fluffy down feathers at the bottom that goes right above the ear, so I look like I have some nice old-man fuzz growing out of my ear there – exactly what I was going for!!
Then I cut out another oval of felt and sandwiched the headband in-between the two ovals, to create a stiff curve. The whole process took about an hour because I was picky about the placement of the feathers.
Of course, I could have just bought a hat pad at Michael’s (which they NOW carry, 6 months after I completed my project) or online at plumesnfeathers.com. (But then again DIY’ing it really gives you complete control over the types of feathers and the placement of them…so to each her own!)
Happy DIY’ing!
xo
Carly
Leave Comment
Aug 30, 2009 | Beauty
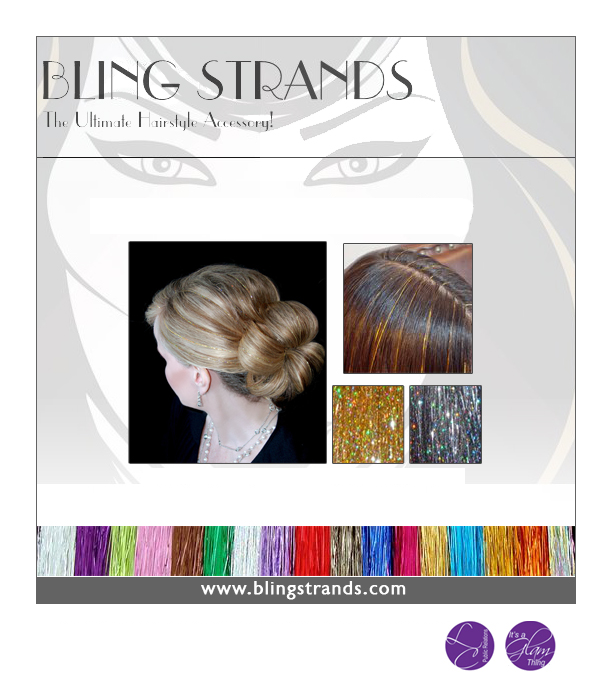
 The new wave of extensions for 2009: shiny, holographic Bling Strands that add a metallic sparkle to your hairstyle.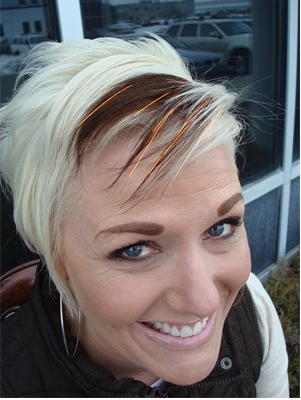
 Very simply tied on to your hair at the root (the same as your average hair extensions), Bling Strands come in 15 colors and cost about $2 – $4 a strand for a salon to add them to your hairstyle. Find a list of participating salons here. (The average hairstyle uses about 10-15 strands, just to give you an idea of the cost involved.) They last about 4 weeks (depending on how often you shed hairs), can be shampooed and styled with regular products, and can be blow-dried, curled, and flatironed as long as you follow the directions.
 Find out more about the product on their website.
It seems a good idea in theory, and maybe more geared to cheerleaders or people performing onstage – not the average woman. I’m not sure about you, but to me, on the elderly lady they make her look like she’s trying out for the Ice Capades. The only style I really like is the punky one with the woman who has the coppery color in her bangs – the rest remind me too much of some limited-edition Bratz doll or something. (I think I’d be digging them much more if the strands were purely metallic, not holographic-print.)
 What do you guys think? Chic – or cheap?
Leave Comment