Sep 15, 2010 | DIY
Project #9 in my submissions for Style Sample Magazine and New York Design Shop’s Create Couture Challenge back in early August.
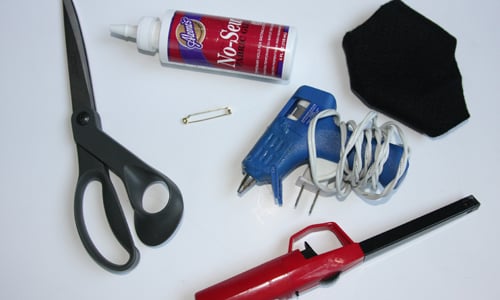
You Need:
*Victoria Lace
*Cream Ruffle Stretch Trim
*Brown Sweater Style Stretch Trim
*Baby Single Face Satin Ribbon in Brown
*Large Iron-On Butterfly
*White Rose Pin (pin back only)
Additional Tools/Materials:
*scissors
*fabric glue
*hand-sewing needle
*matching thread
*black felt
*lighter
*iron
*sewing machine (optional)
[prep: iron ribbons and trim if kinked or curled]
How-to:
1. Cut Victoria Lace in half.
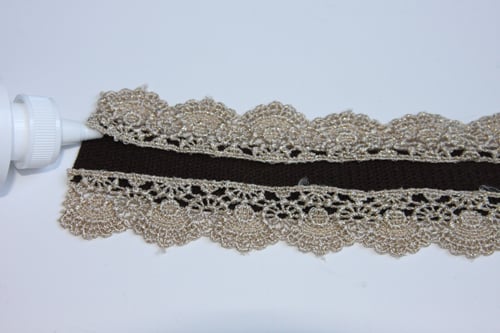
2. Place each side onto the edges of a piece of the Sweater Style Stretch Trim. You can either glue them down with fabric glue, or sew them down.
4. Trim the end off the Sweater Style Stretch Trim.
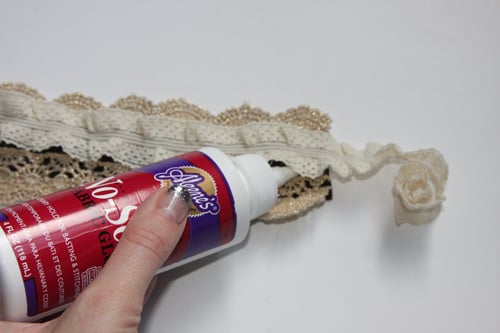
5. Sew or glue down the Cream Ruffle Stretch Trim in the center, covering up the Sweater Style Stretch Trim. I cut the Ruffle Trim a little shorter so it wouldn’t go completely all the way around my waist.
6. Cut the Satin Ribbon in half, on an angle. Seal the ends with an open flame.
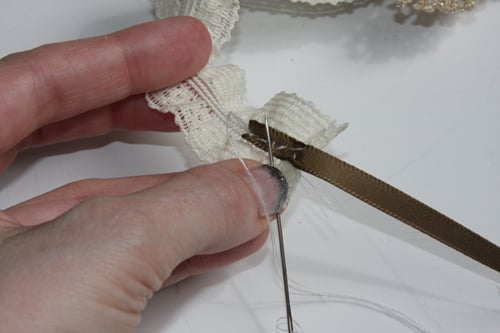
7. Hand-stitch the un-angled ends of the Satin Ribbon to the underside of each end of the Ruffle trim.
8. Iron the Butterfly on to the felt.
9. Trim the felt around the butterfly carefully.
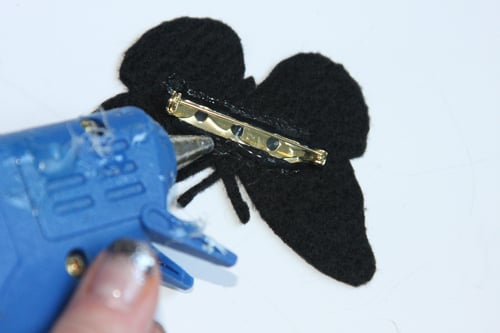
10. Remove pin back from White Rose.
11. Hot-glue pin back to the wrong side of the butterfly, and pin to the belt.
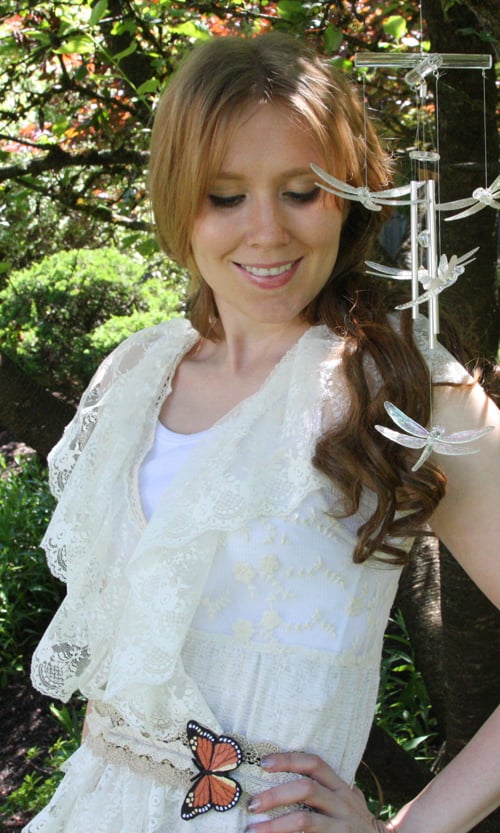
A pretty and vintage-fabulous result for a pretty simple process!
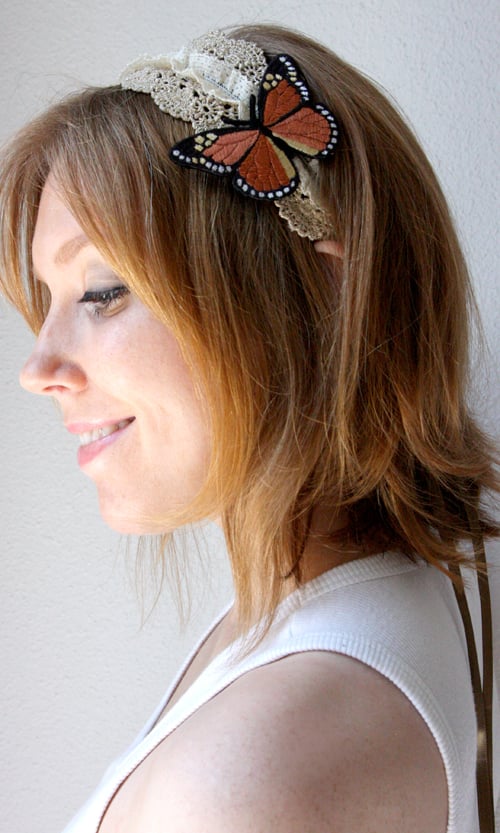
You can wear this piece as a belt or as a headband – and the butterfly as a separate pin.
Choices, choices…
Happy DIY’ing!
xoxox
Carly
~If you liked this post, please share it!~
Leave Comment
Sep 14, 2010 | DIY
Another project -this time a bag project- I submitted for Style Sample Magazine and New York Design Shop’s Create Couture Challenge back in early August. It’s a little bohemian and a whole lotta fun!
Materials:
*Rust Suedette Fringe
*Gold Circle Studs
*Leather Flower Appliques
Additional Tools/Materials:
*faux suede handbag
*scissors
*pliers
*leather glue
*awl (optional)
[prep: remove embellishments on bag…I also cut the shoulder strap off and braided it, reattaching it to the bag]
How-to:
1. Cut Suedette Fringe in half.
2. Apply leather glue to underside of fringe, and place just under the top edge of the bag.
3. Allow to dry.
4. Lift fringe up, and glue second layer of fringe underneath so the top fringe just barely overlaps it.
5. Push a Circle Stud through the center of each Leather Flower.
6. Apply flowers to bag, pushing the prongs of the studs through the bag, and using pliers to fold the prongs over on the inside. If the material of the bag is very thick, an awl can be helpful to poke hole first.
7. If you prefer more security, add a thin layer of glue between the leather flowers and the bag in order to glue them down.
Let the 70’s come alive again!
Happy DIY’ing!
xoxox
Carly
~If you liked this post, please share it!~
Leave Comment
Sep 8, 2010 | DIY
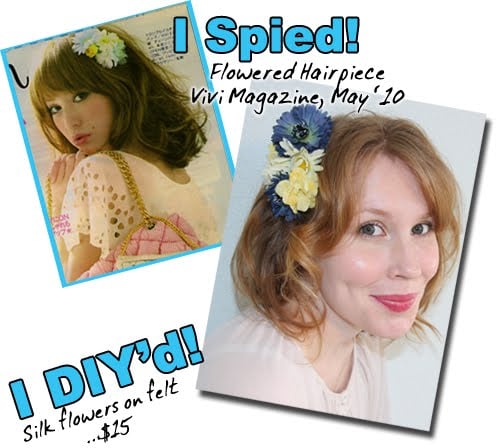
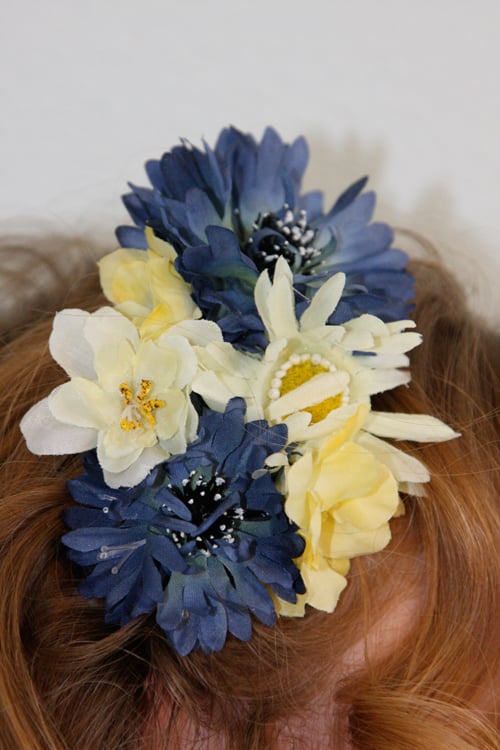
I have such a thing for accessories, and Japanese magazines such as Vivi never fail to supply an endless source of ideas and inspiration. Always torn between whimsically feminine and punky/edgy, I constantly vascillate back and forth in my own outfits…but when it comes to frilly, flowery, and girly pieces Japanese mags always beat the rest. This flowered hair clip (similar to one featured in Vivi May 2010) is super-easy to make, but lends a pretty and feminine vibe to anything you’re wearing.
You Need:
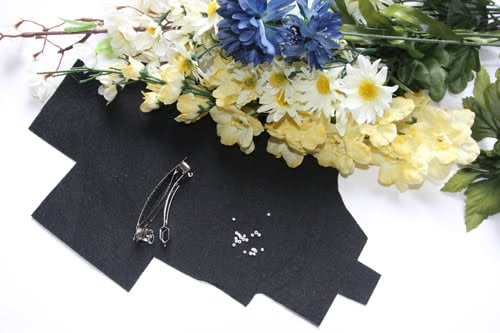
*silk flowers (mine were cornflowers, daisies, and forsythia…and a white plum or something but I’m not sure)
*tiny white seed beads
*stiff black felt
*hair clip
and…
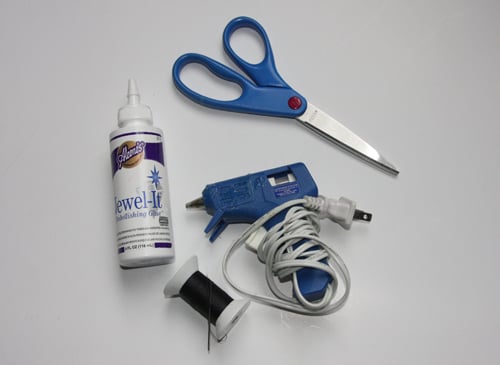
*hot glue gun + glue stick
*hand-sewing needle
*black thread
*scissors
*toothpick
*craft glue
How-To:
1. Separate the silk flowers from their stems.
If the flowers have jutting base stems, cut those off.
2. Cut a small piece of the felt in a oval shape. Mine was about 4″ long by 3″ wide.
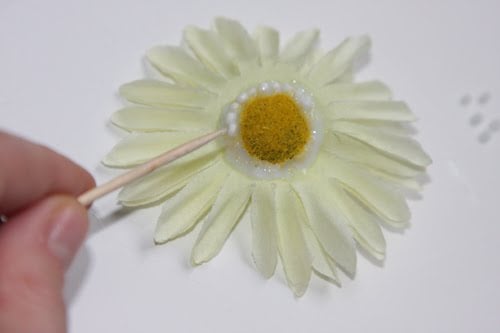
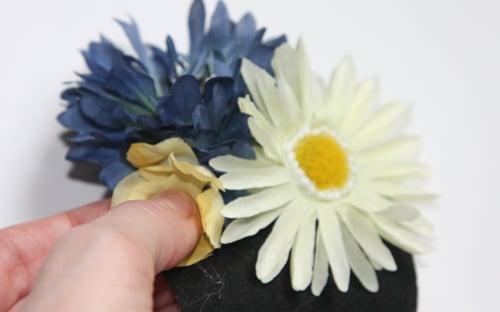
3. Spread a tiny amount of craft glue around the center of the main daisy. Use a toothpick to position the seed beads in a ring around the center. (You could also potentially do this after you’ve glued the daisy to the felt base, but I found it easier to do it first.) Allow to dry.
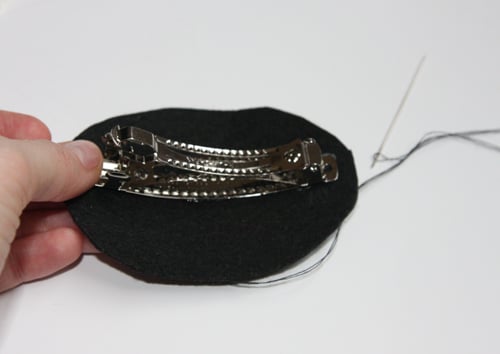
4. Use a needle and thread to anchor the hair clip to the felt oval. (Remove the center prong first and then loop the thread around the clip base.)
5. Spread some hot glue on the underside of a flower and press onto the felt. Add more flowers, clustering them close together. If the petals begin to separate, add more hot glue in-between the layers of petals.
Use the toothpick to prevent the petals from tangling on one another. 
6. Trim the edges of the felt base so it can’t be seen from the front.
And that’s it! Soft, slightly curled hair works best with this piece – or you could try this in front of a ponytail (again, going for the soft look).
If you want more security, you could also make this attached to a thin headband, or add a pin-back to use it as a corsage pin on a jacket or a bag.
I’d love to see your combination of flowers and colors on this little piece!
Happy DIY’ing!
xoxox
Carly
~If you liked this post, please share it!~
Leave Comment
Aug 6, 2010 | DIY
Myself and 9 other DIY bloggers were selected to compete in Style Sample Magazine and New York Design Shop’s Create Couture Challenge.
We were all sent the same box packed to the gills with trims, studs, and flowers, and were asked to make “one or more projects.” I made 12!
The leftovers.
I used almost the entire contents of the box, hoping to create as many different projects as possible that could appeal to a wide range of ages and styles, as well as making the projects as simple as possible (so anyone could replicate them) and using as few outside materials as possible, in order to truly showcase New York Design Shop’s products. But I wanted my finished creations to be durable, wearable, and look polished – and be pieces that could potentially stand up to scrutiny in any retail store.
So here’s another of my projects:
Feathered Cape
You Need:
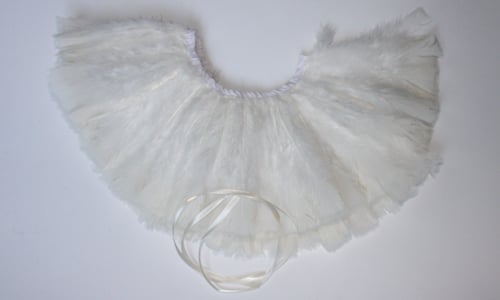
*White Feather Fringe
*Baby Single Face Satin Ribbon in Cream
Additional Tools/Materials:
*scissors
*fabric glue
*hot-glue gun
*lighter
How-to:

1. Cut Ribbon in half.

2. Squeeze a small amount of hot glue into the ribbon opening on the top of the Feather Fringe, and stuff the end of one piece of the ribbon inside. Do the same for the other piece.
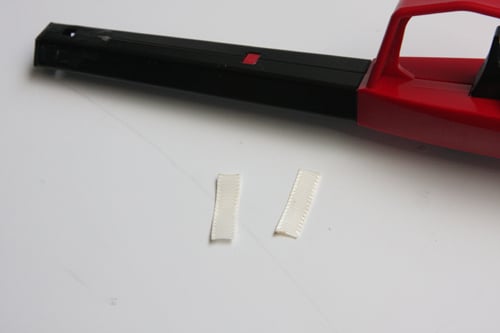
2. Cut a small piece about 1″ long from either end of the ribbon, and heat-seal raw edges with the lighter.
3. Use fabric glue to glue the small pieces of ribbon around the raw edges of the Feather Trim top.
4. Cut the ends of the long ribbon pieces on an angle and use an open flame to seal them.
You’re done!
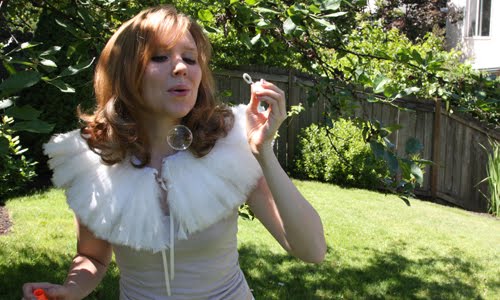
Feeling angelic and light as air all swathed in feathers…
If you enjoyed this project I’d love to have your vote!
(One vote is allowed per unique IP address, anywhere in the world. You don’t have to register or leave your name or anything! But if you do leave a comment in your vote, you are automatically entered to win one of the projects by the Contest Winner. Now that’s a great way to share the love!!:-)
Thanks for looking!
xoxo
Carly
Save
Leave Comment
Aug 3, 2010 | DIY

Louis Vuitton runway photos by Roberto Tecchio and Gianni Pucci, Style.com
That title was a mouthful!:-)
Rabbit-ears have infiltrated the fashion fray since Marc Jacobs threw them down the Louis Vuitton runway for Autumn/Winter 2009-2010. Though the black lace version has been donned and DIY’ed in numerous reincarnations since then, the scarf headband (with a little wire inside to hold its shape) is the grown-up version of this enduring trend. Take a favorite cotton handkerchief and make your own in a few simple steps right at home, and hop on outta there in style.

You Need:
(more…)
Leave Comment