Mar 15, 2011 | DIY
 I don’t think I ever posted the step-by-step tutorial for this. Woops!
Inspired by this neckpiece (actually a belt)…from the J. Crew Fall 2009 catalog.

A very simple, but effectively pretty, DIY. Seen in this outfit last…last year here.
You Need:
*8″ Pearl-edged Lace Ribbon
*36″ Cream Satin Ribbon
*15″ x 3″ wide cream-colored Scrap Fabric
*8 Assorted Shades of Silk Flowers
*1 Large Pom Pom
*1 Small fabric Rose
*18″ x 6″ wide Peach Satin Fabric
And…
*Sewing Machine
*Needle & Thread
*Hot Glue Gun
*Fray Stop
1. Create the backing for your piece. I used an 18″ x 6″ piece of peach satin voile – and turned the edges under, hemming so as to conceal the raw edges.
2. Cut your satin ribbon in half; stitch the end of each to each side of your fabric backing. Apply Fray-Stop or burn ribbon ends to keep from fraying.
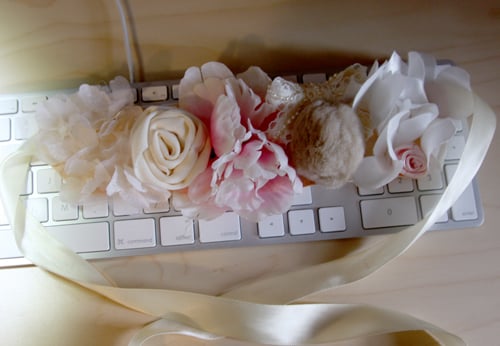 3. Add design elements with a hot glue gun onto your fabric backing. I added the flowers first, then squashed the pompon and small fabric rose (premade) in-between.
4. Create large fabric rose by rolling a piece of cream-colored scrap fabric, securing with hand-stitching. Glue onto backing.
5. Tie pearl-edged ribbon in a bow, and glue onto collar.
You’re done! You can wear it as a collar/necklace, as shown – or even wear it as a belt – which I love!
Happy DIY’ing!
xoxo
Carly
Leave Comment
Mar 8, 2011 | DIY
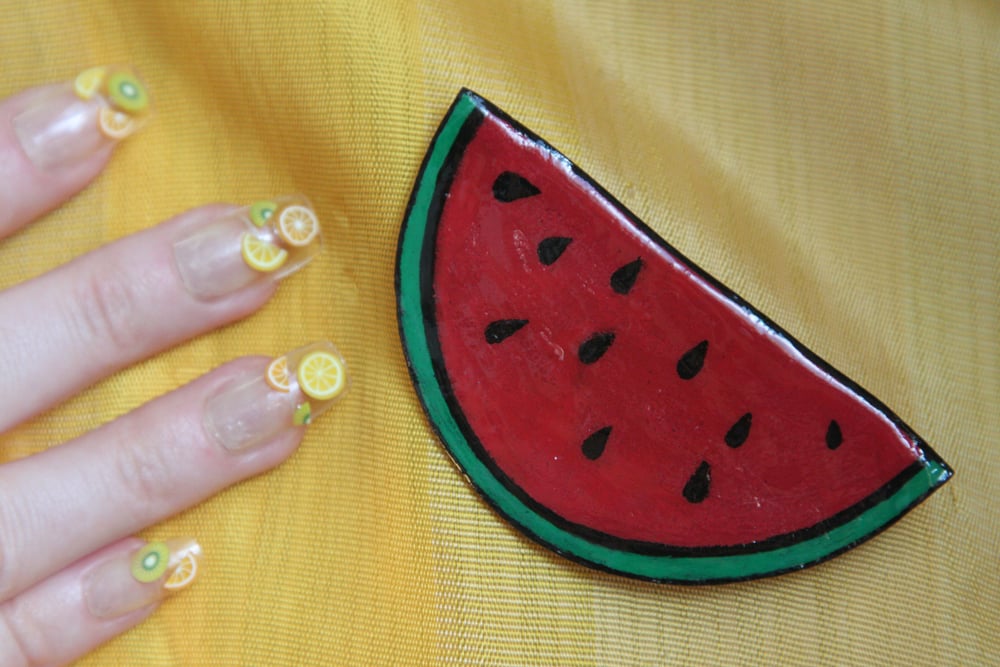 Actually it’s a DIY of a Yazbukey brooch that was featured in the Spring 2011 Z Spoke by Zac Posen show…but that title was a little long.;-)
 This is unfortunately the best photo I have of the original. Img by Yannis Vlamos / GoRunway.com.
Remember those pieces? Or maybe the lips brooch from his Zac Posen Spring 2010 RTW Collection?
 Photo by Don Ashby & Olivier Claisse
Yazbukey as well. (Known for their pop-art and attention-getting accessories, the Parisian line Yaz Bukey uses mirrored plexiglass as their main material of choice.) Since the actual watermelon brooch in question never went into production, I was inspired to DIY my own version…though it can’t double for lasercut plexiglass close-up, it’s a pretty good dupe for much, much cheaper.

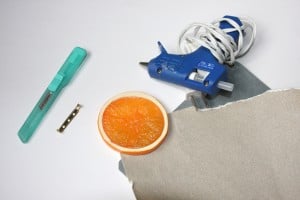
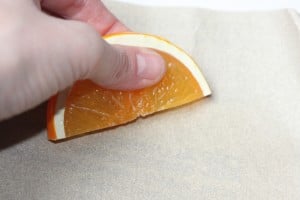
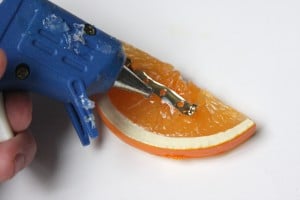
 For the other brooch I bought a plastic fruit slice from Michael’s (in the floral/decorative fruit crafts section),
1) sliced it in half with an X-acto knife
2) rubbed the rough edges off with sandpaper, and
3) hot-glued a pinback onto it.

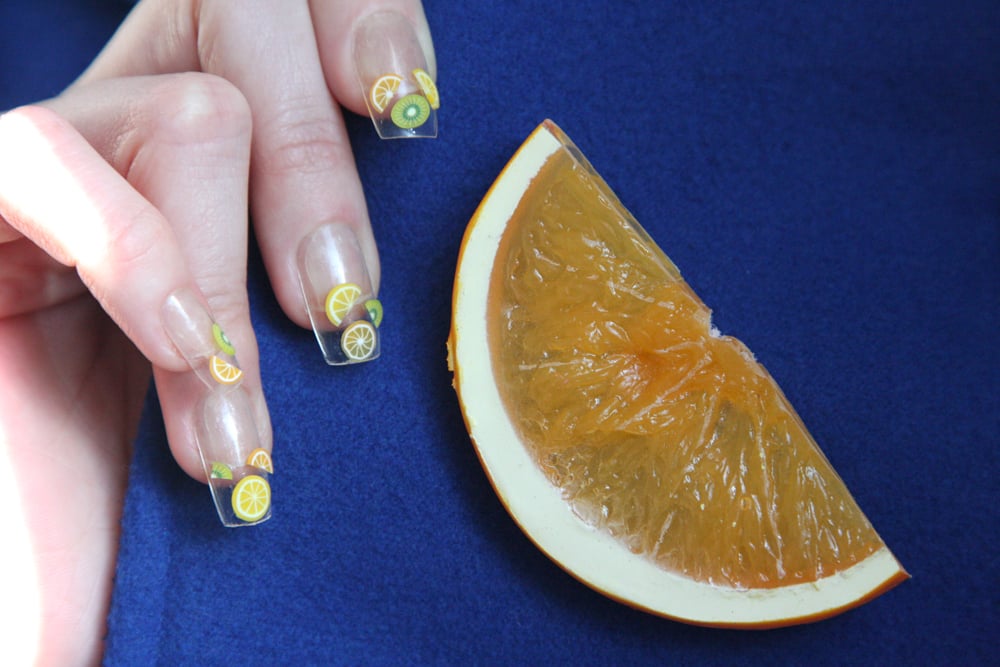 And I managed to do my nails, too.;-)
Since fruit is such a HUGE trend for this Spring…if you’re not ready to plunge into all the bright colors for the season, why not try a smaller brooch? You can certainly mimic the enamel- or plexiglass look with liberal coatings of high-gloss sealant! (And even try for a Zac Posen lips brooch…or an ode-to-Prada banana brooch..or a Stella McCartney-inspired citrus slice if you’re up for it!) And if you’re looking for super-easy, just find some plastic fruit from a garage sale, Goodwill, or your local craft store and have fun with it!
 Thank you to Anita and the whole Free Magazine team for this feature! I’m so excited to have been able to contribute!
Happy DIY’ing!
x0x0x
Carly
~If you liked this post, please share it!~
Save
Leave Comment
Feb 8, 2011 | DIY

runway photos: Marcio Madeira, Style.com; photo array by me.
Seen on the Spring 2010 runways (more than a year and a half ago, would you believe?) these stirrup socks, gaiters, or whatever you wanted to call them were the quintessential accessory for Alexander Wang‘s 2010 football-inspired sporty-girly aesthetic. With a little hand-stitchery and some Stop Fraying sealant, they’re a breeze to make.
You Need: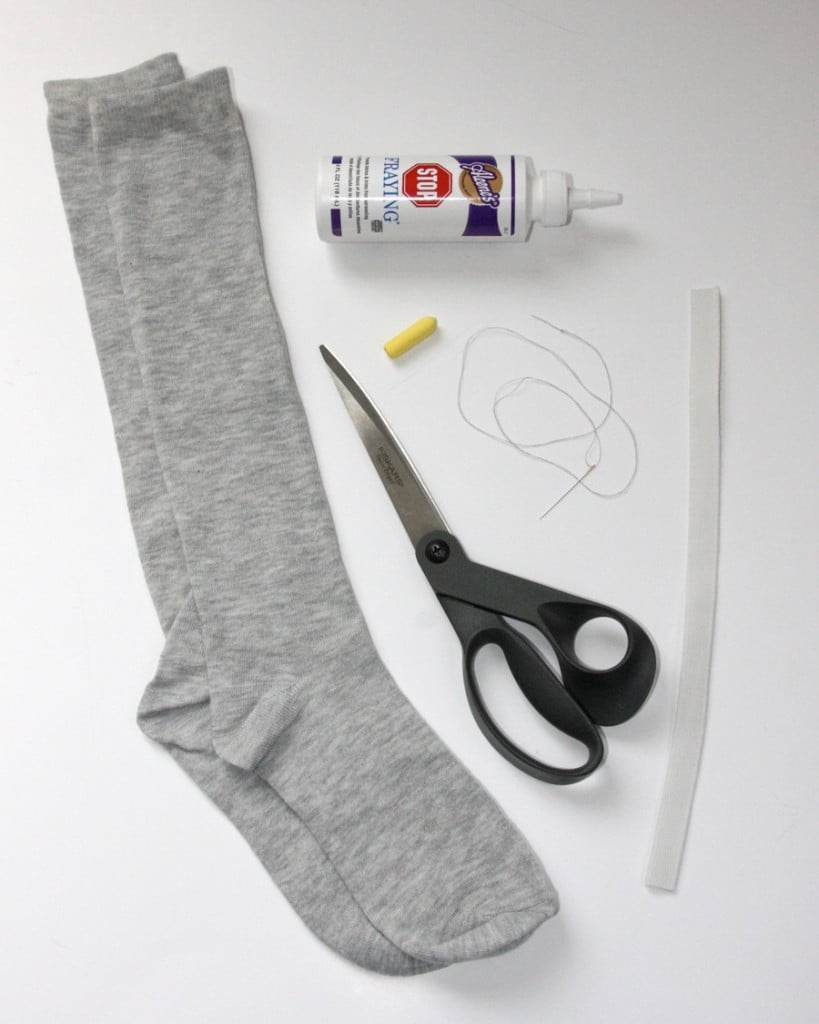
*pair of knee-high socks
*marking chalk
*white 1/2″ wide soft, lightweight elastic
*matching thread & hand-sewing needle
*fabric scissors
*Aleene’s Stop Fraying fabric sealant
How-To:
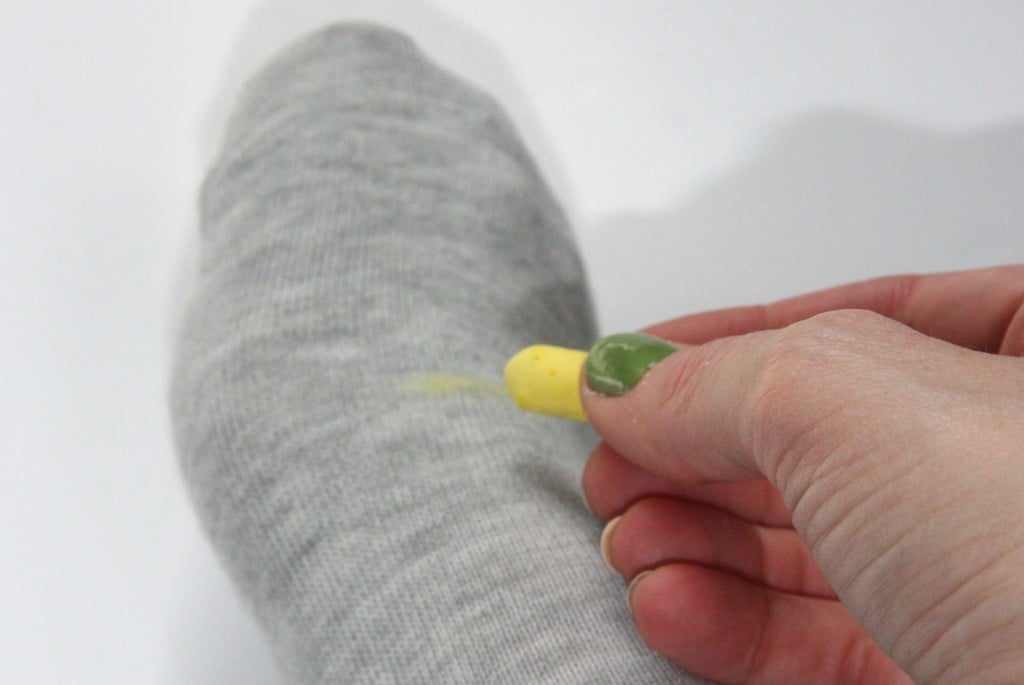
1. Try one sock on, and mark where you want to cut off the toe.
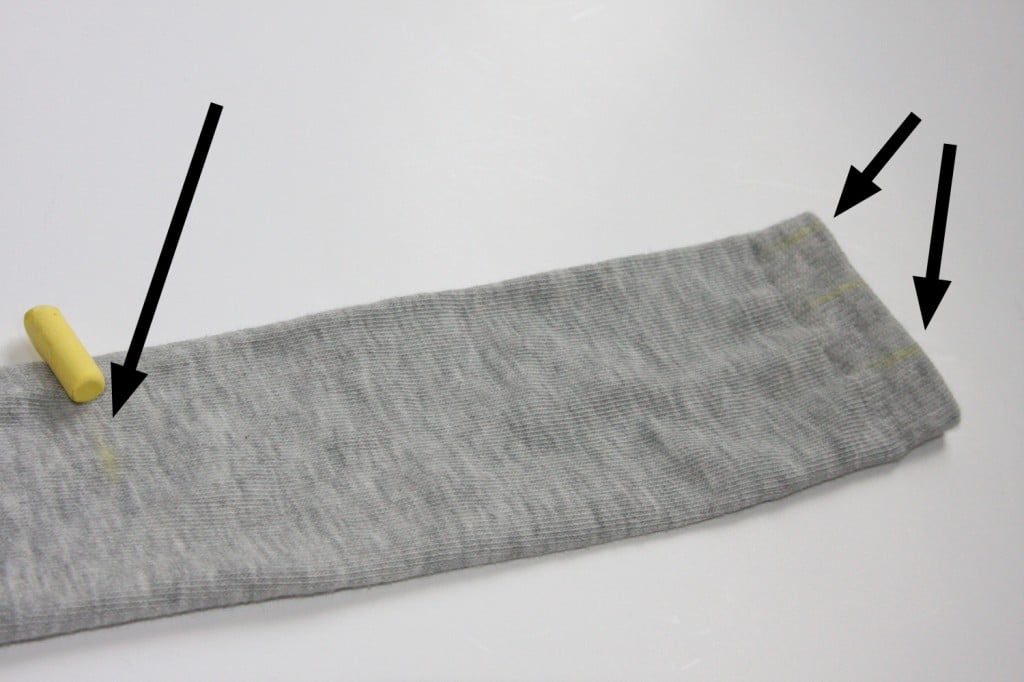
Also mark the back of the sock at the widest points you want your cut-out to be…and at the lowest point you want it to reach.
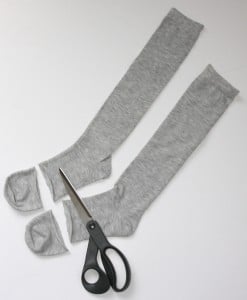
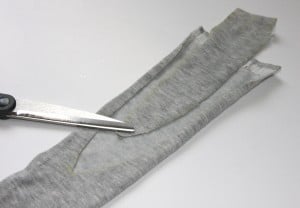
2. Take off sock and cut off toe, straight across. Draw a curve on the marks you made at the back of the sock in the previous step, and cut out along the curve.
Cut the other sock in the exact same way.
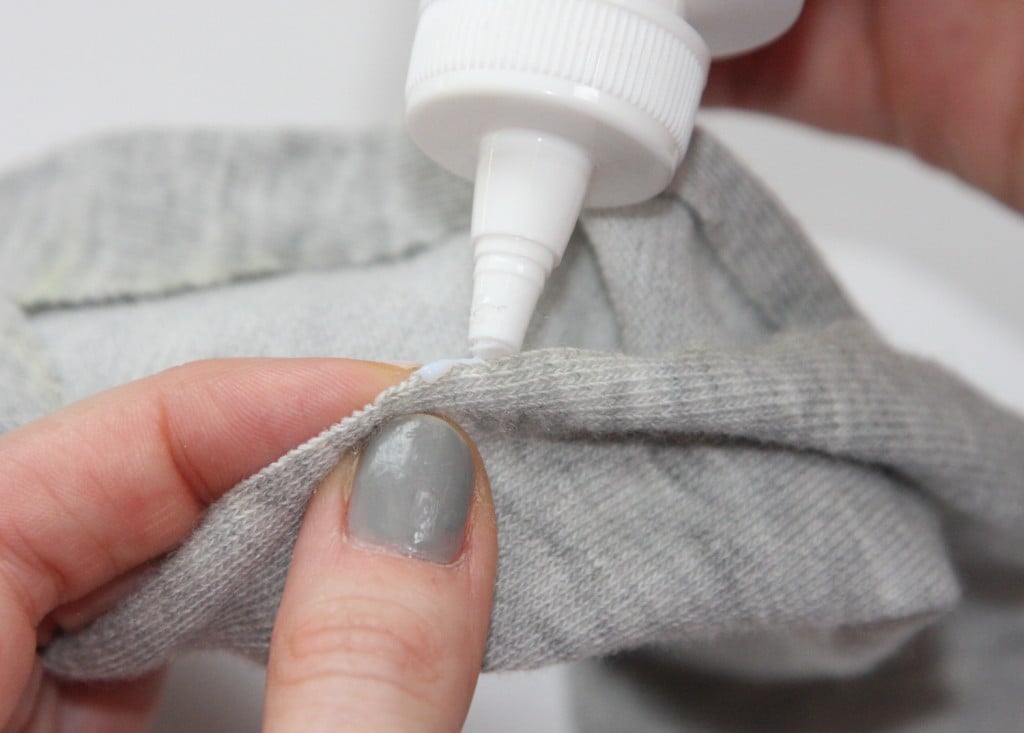
3. Apply Stop Fraying to cut edges and allow to dry according to instructions. (If you can use a sewing machine or overlocker, overlocking the edges will create a permanent, washable piece! With the fabric sealant these are more special-occasion-only socks, and probably won’t stand up to much washing.)

4. Sew one end of elastic to one side of the cut part of the sock. Try on sock again to see the fit, and stretch the elastic to the other side of the cut. Anchor elastic with your needle and take off the sock again. Sew other side of elastic down.
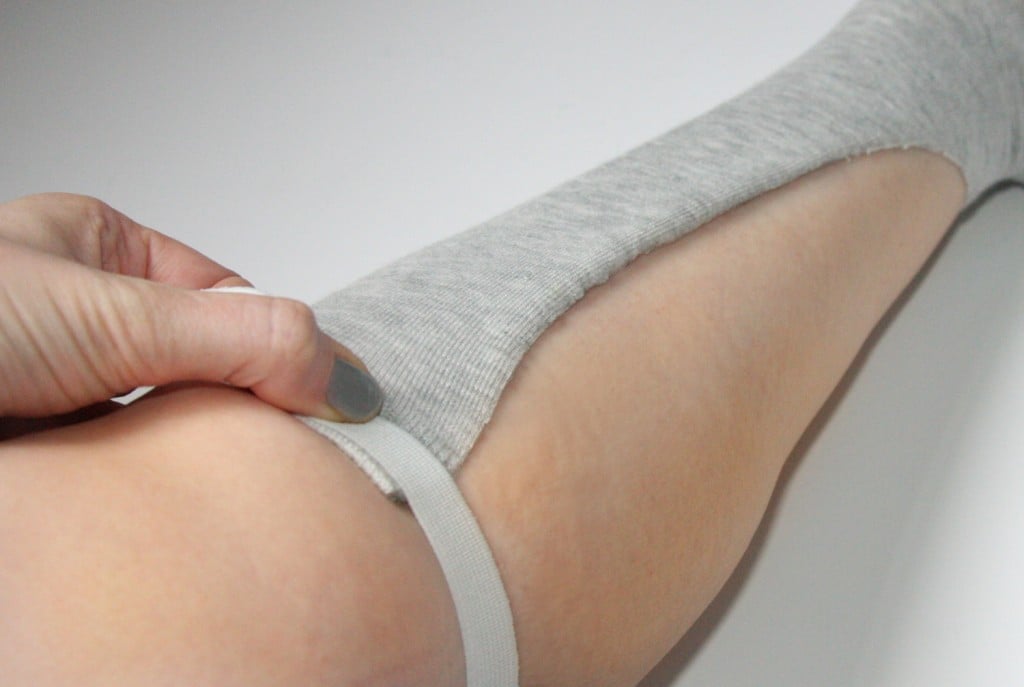
5. Trim elastic. Cut other piece of elastic the same length and sew both sides to the other sock.


Wear with a pair of clogs, mules, oxfords, sandals, or anything that acts as a straight-laced counterpart to this sporty legwear.


Happy DIY’ing!
xoxox
Carly
*I actually wrote this tutorial for Foam Magazine online, in May 2010. It unfortunately has been lost somewhere out on the Internet…if anyone has seen it, please let me know! I also found another tutorial for these exact same stirrup socks, done by the fabulous Jazzi McG, long, loooong prior to me ever doing mine…which I was totally unaware of when Foam asked me to do a tutorial for these socks. So sorry, Jazzi – you deserve the credit for first DIY!
**and thanks to reader Ejiro for reminding me to post this!
Save
Leave Comment
Dec 13, 2010 | DIY
My tutorial for this sparkly, holiday-style jeweled DIY cardigan clip was featured in the Nov/Dec 2010 issue of Style Sample Magazine (see pg. 20!). It’s super-easy to make – with just a glue gun, some sparkly buttons, and some trim scraps you too can make one in no time.
As the holidays approach, we’re all looking for that perfect accessory to elevate a blah outfit into FABulous; office-wear into party attire; the everyday into elegant. And what better than a functional closure to your sweater (or jacket, or scarf) that can double as a statement brooch? Clip it on, bling it out – however you wear it, it’s sure to be the focal point of any outfit!
Materials:
*stiff felt, cut into 2 circles (each about 1.5″ diameter)
*scrap of lacy ribbon
*assorted jeweled buttons
*2 shoe clips
*short length of chain (about 3″)
*Optional: 2 jump rings
*Optional: 2 brooch pinbacks
Tools:
*scissors
*glue gun & gluesticks
*pliers
*needle &thread
How-To:
1. Start by stitching the lace around the edge of each felt piece, in a spiral. (Although you can use the hot glue for this, the stitches look neater.)
2. Hot-glue the buttons on top of the lace.
3. Turn each felt piece over, and hot-glue a shoe clip onto its back. Keep in mind that in order to wear at the front of a jacket or cardigan, each clip has to open outwards, so make sure they face the right way before you glue them down.
4. Add the chain to the bottom of the felt pieces. I attached it using jump rings, but if you like you can just use hot glue to affix it, hiding the ends underneath the lace.
5. Optional: If you’d like to wear this piece as a brooch, also glue a pinback to the back of each felt piece.
You can try a number of configurations, using ribbons, soutache braid, fancy trims, different chains, studs, vintage findings, or even stick-on jewels (form the scrapbooking section of the craft store!) The sky’s the limit!
And make sure the very next time you rock it out – you tell everyone that you didn’t buy it…you DIY’d it!
I love how it looks like a little smiley face! (Once you see it..you can’t UNsee it!:-/)
And if you’re interested in the other features in this issue (like an interview with Project Runway Season 6 finalist Althea Harper and the how-to on making your own badge for your blog)…
Read the full issue online here
Thanks so much to Tamia and the team at Style Sample! I truly appreciate the inclusion and am honored to be a part of this great publication.
[And since they are the only magazine currently dedicated to bloggers and the art of style blogging, please help support this great publication by reading, contributing, or even purchasing the print version online. Thanks so much!]
xoxox
Carly
~If you liked this post, please share it!~
Save
Save
Save
Leave Comment
Dec 10, 2010 | DIY
Feathered things are experiencing a revival lately – and I’ve been hankering after a maribou feather clutch for awhile. But I’m not going to buy when I can DIY for much cheaper! It’s sooooo easy too…
DIY Marabou Feather Clutch
Difficulty: (Easy/Beginner)
You Need:
*old clutch-style purse
*tacky glue
*marabou boa
*scissors
How-To:
1. Lay your clutch flat and visually estimate how far apart the pieces of your boa need to be to get the kind of coverage you want.
2. Spread the tacky glue in vertical lines down the front of your clutch, and across the top below the clasp.
3. Starting from one side, lay one end of the boa onto the glue at the bottom of the clutch.
4. Fold the boa piece over at the top of the clutch, and then loop it down towards the bottom. Snip at the bottom of the clutch.
5. Repeat for all the lines of glue until the front of your clutch is completely covered. Allow to dry and then trim the ends so they’re all one length.
Pretty easy, right? To cover both the front AND the back using this method, you’ll probably need two boas. And you could use any type of feathers that suit your fancy…they don’t have to be marabou, and they don’t have to be in boa-form, either.
Did You Know?
“Marabou” is a term for fluffy feathers – and most “marabou” feathers available for crafting, fishing lures, garment trims, or millinery supply are actually turkey or chicken feathers, not feathers from the Marabou Stork (which are extremely expensive). Feather supply companies may obtain their feathers from birds that are killed by the meat industry, or the down may be plucked from the bird as the seasons transition and it has no need of it anymore (termed “live-plucking”). Feathers also may be collected as they naturally molt (like peacock feathers), or from birds’ nests (like eider down).
So finally, welcome to DIY Roundup 8! If you’re unsure how to link up your tutorial (or finished project), here’s how:
Just click the light blue “Add Your Link” button that appears to the bottom left below. Follow the instructions in the Inlinkz window, pasting in the URL of your project or tutorial (from your own blog, Facebook page, Flickr account, Craftster.org, CutOutandKeep.net, etc). Don’t forget to write the NAME/DESCRIPTION of your project – like “Bow T-Shirt” or “DIY Lanvin Necklace” – not your own name or your blog’s name!!! You can link up any piece you’ve made or tutorial you’ve written from any time, not just in the last two weeks (though it would be nice if it’s a recent project, just to keep the content fresh). It’s all about sharing and bringing in more like-minded visitors to your site!
So now you get to share your own DIY’s! If you have a DIY project or tutorial that you’d like to share, please feel free to link below! (However you can only link YOUR OWN PROJECT. Please do not link others’ projects!)
If you’ve linked up your project to the Roundup, feel free to grab the button below.
Can’t wait to see everyone’s projects!
xoxox
Carly
~If you liked this post, please share it!~
Leave Comment